Sunday Morning Cinnamon Rolls
For over 50 years we have served fresh-baked cinnamon rolls on Sunday mornings.
This honored tradition is an enormous treat!
Sure, it’s not the healthiest of breakfasts, but it sure is delicious. Our bakers make the dough from scratch and form the rolls the night before so they can “proof” overnight in our large walk-in cooler. It takes several hours to make about 400-500 rolls (we typically serve 200+ mouths). The next morning we pull them out of the cooler, let them rise for another hour or so, and then bake them in rounds. Just as the wake-up bell rings, the vanilla frosting goes on quickly and they are put in baskets for each table. By the time our campers sit down and help themselves, the rolls are still warm and soft. YUM…

Special Supplies:
Rolling Pin
Sheet Pan
Standing Mixer with Dough Hook
Dough Scraper *optional - just nice to have!
Serrated Knife OR dental floss**
Ingredients:
For the Center/Filling:
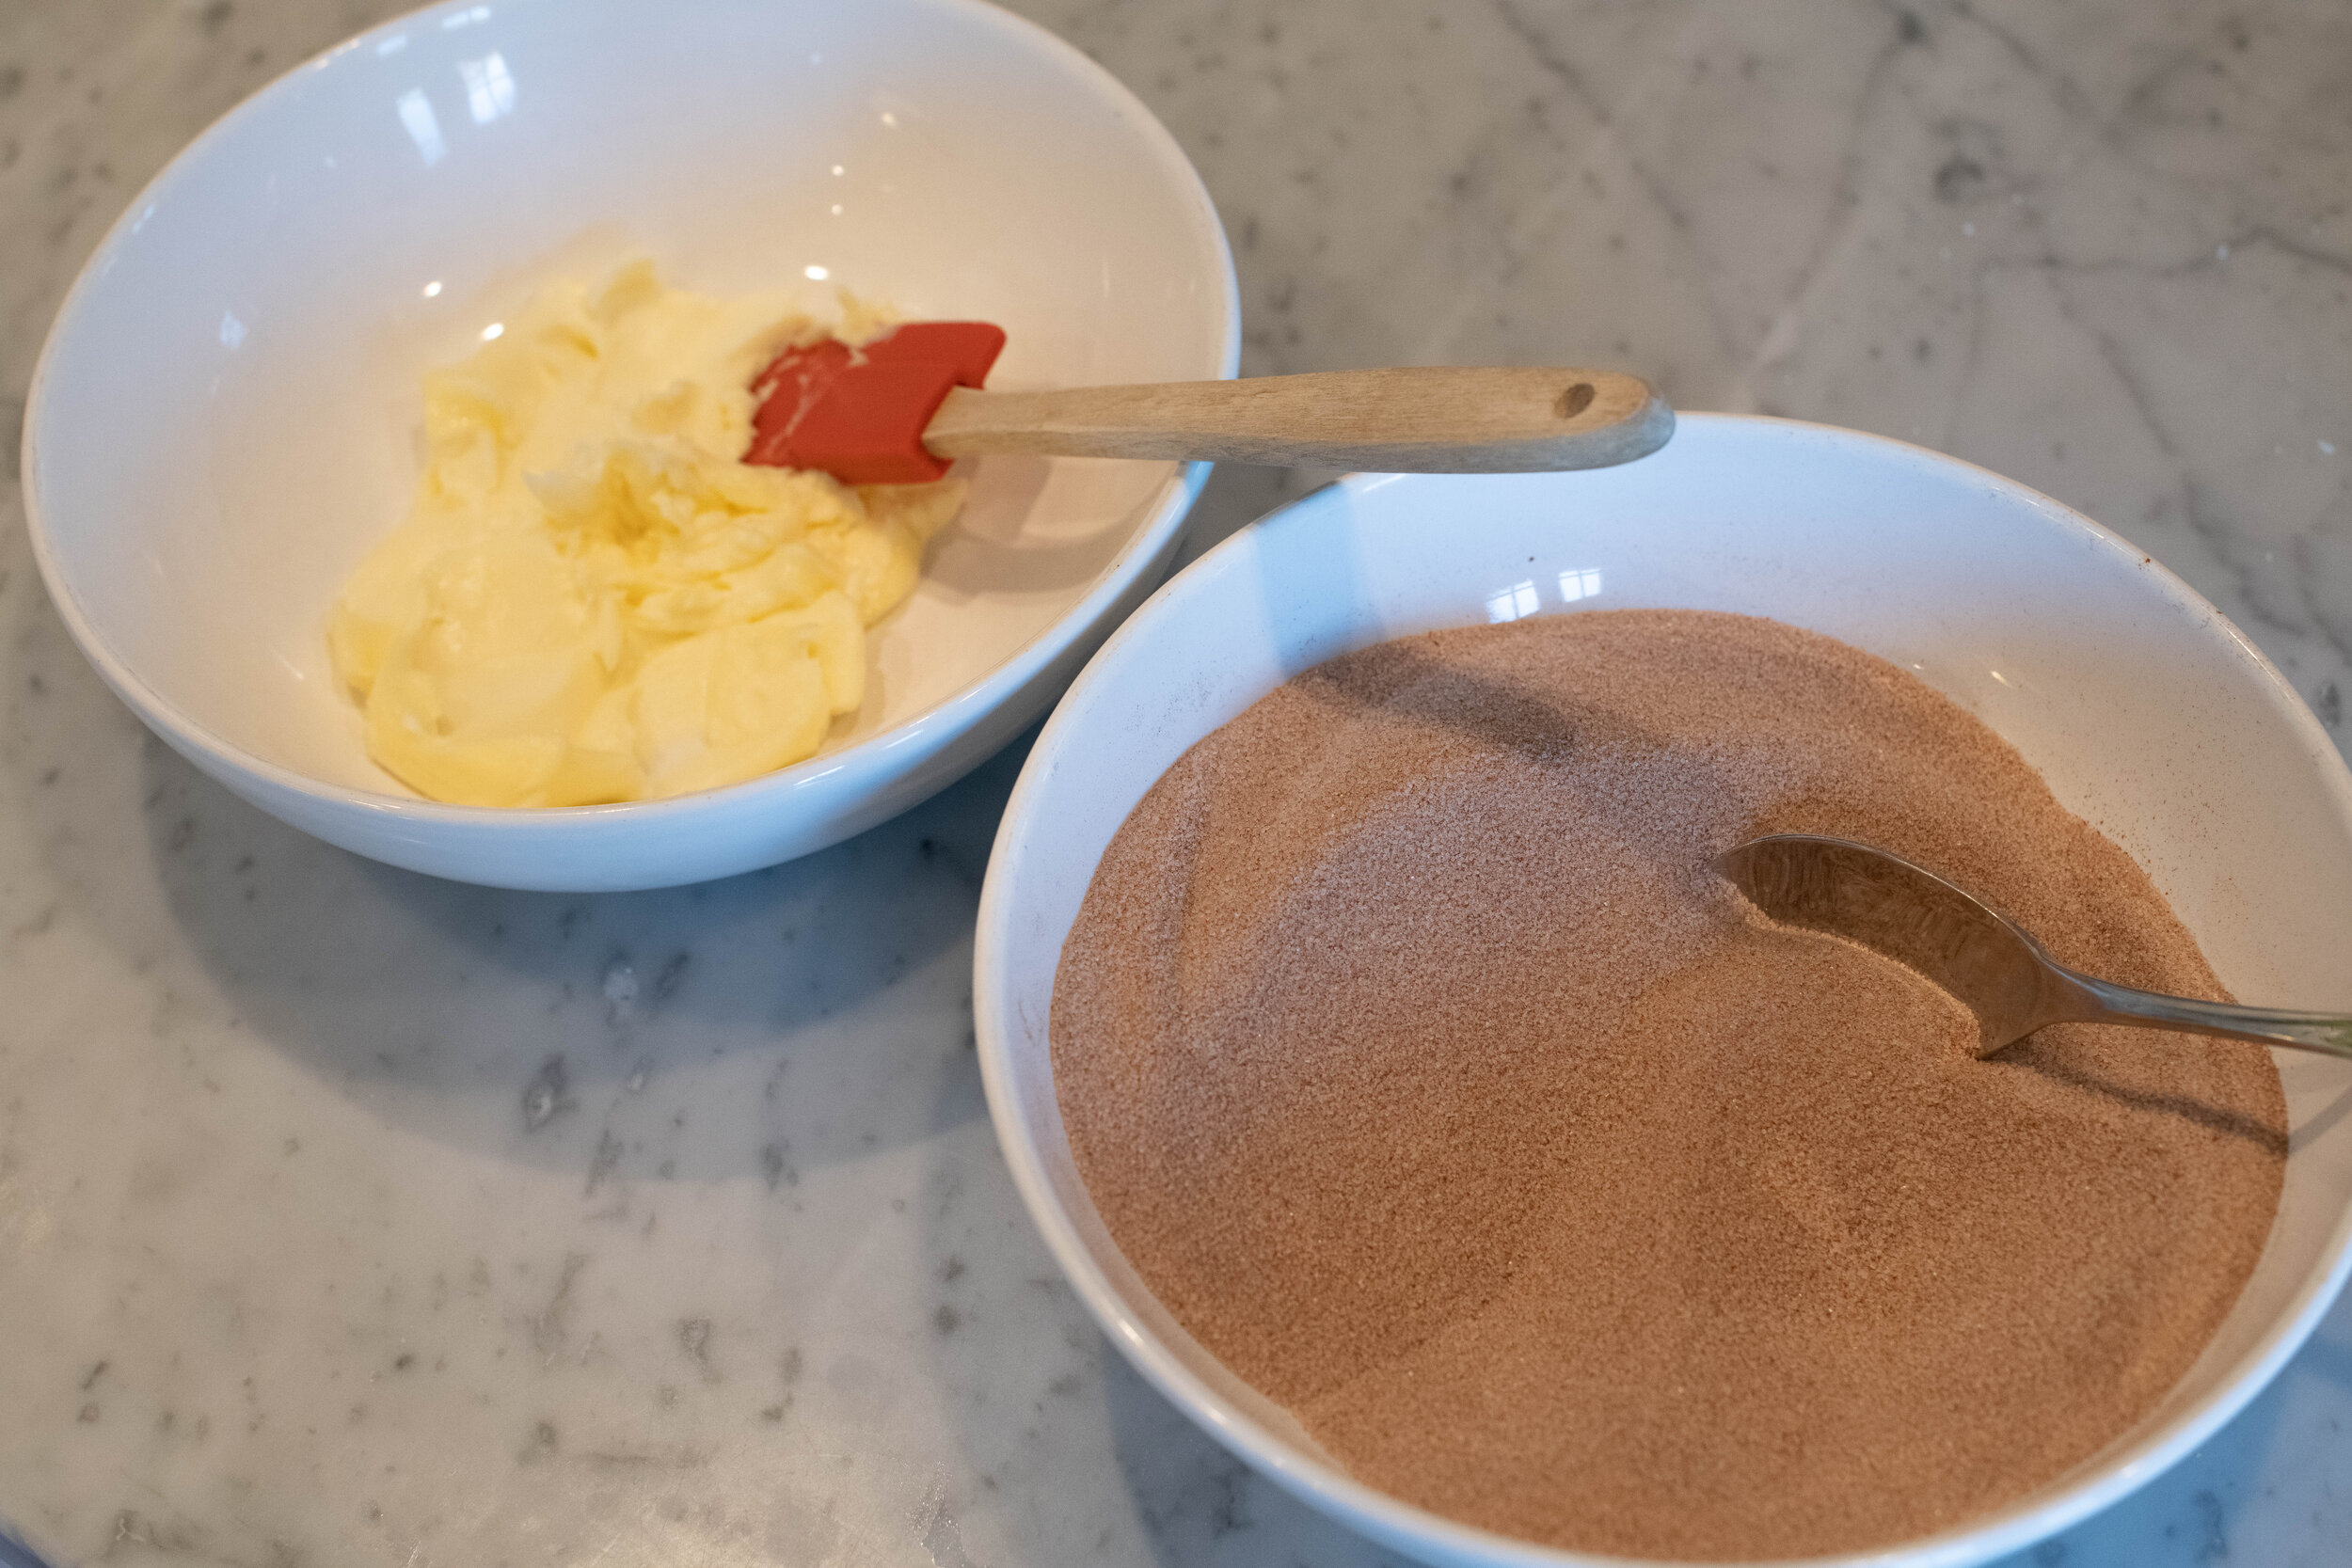
1-2 Sticks Softened Butter
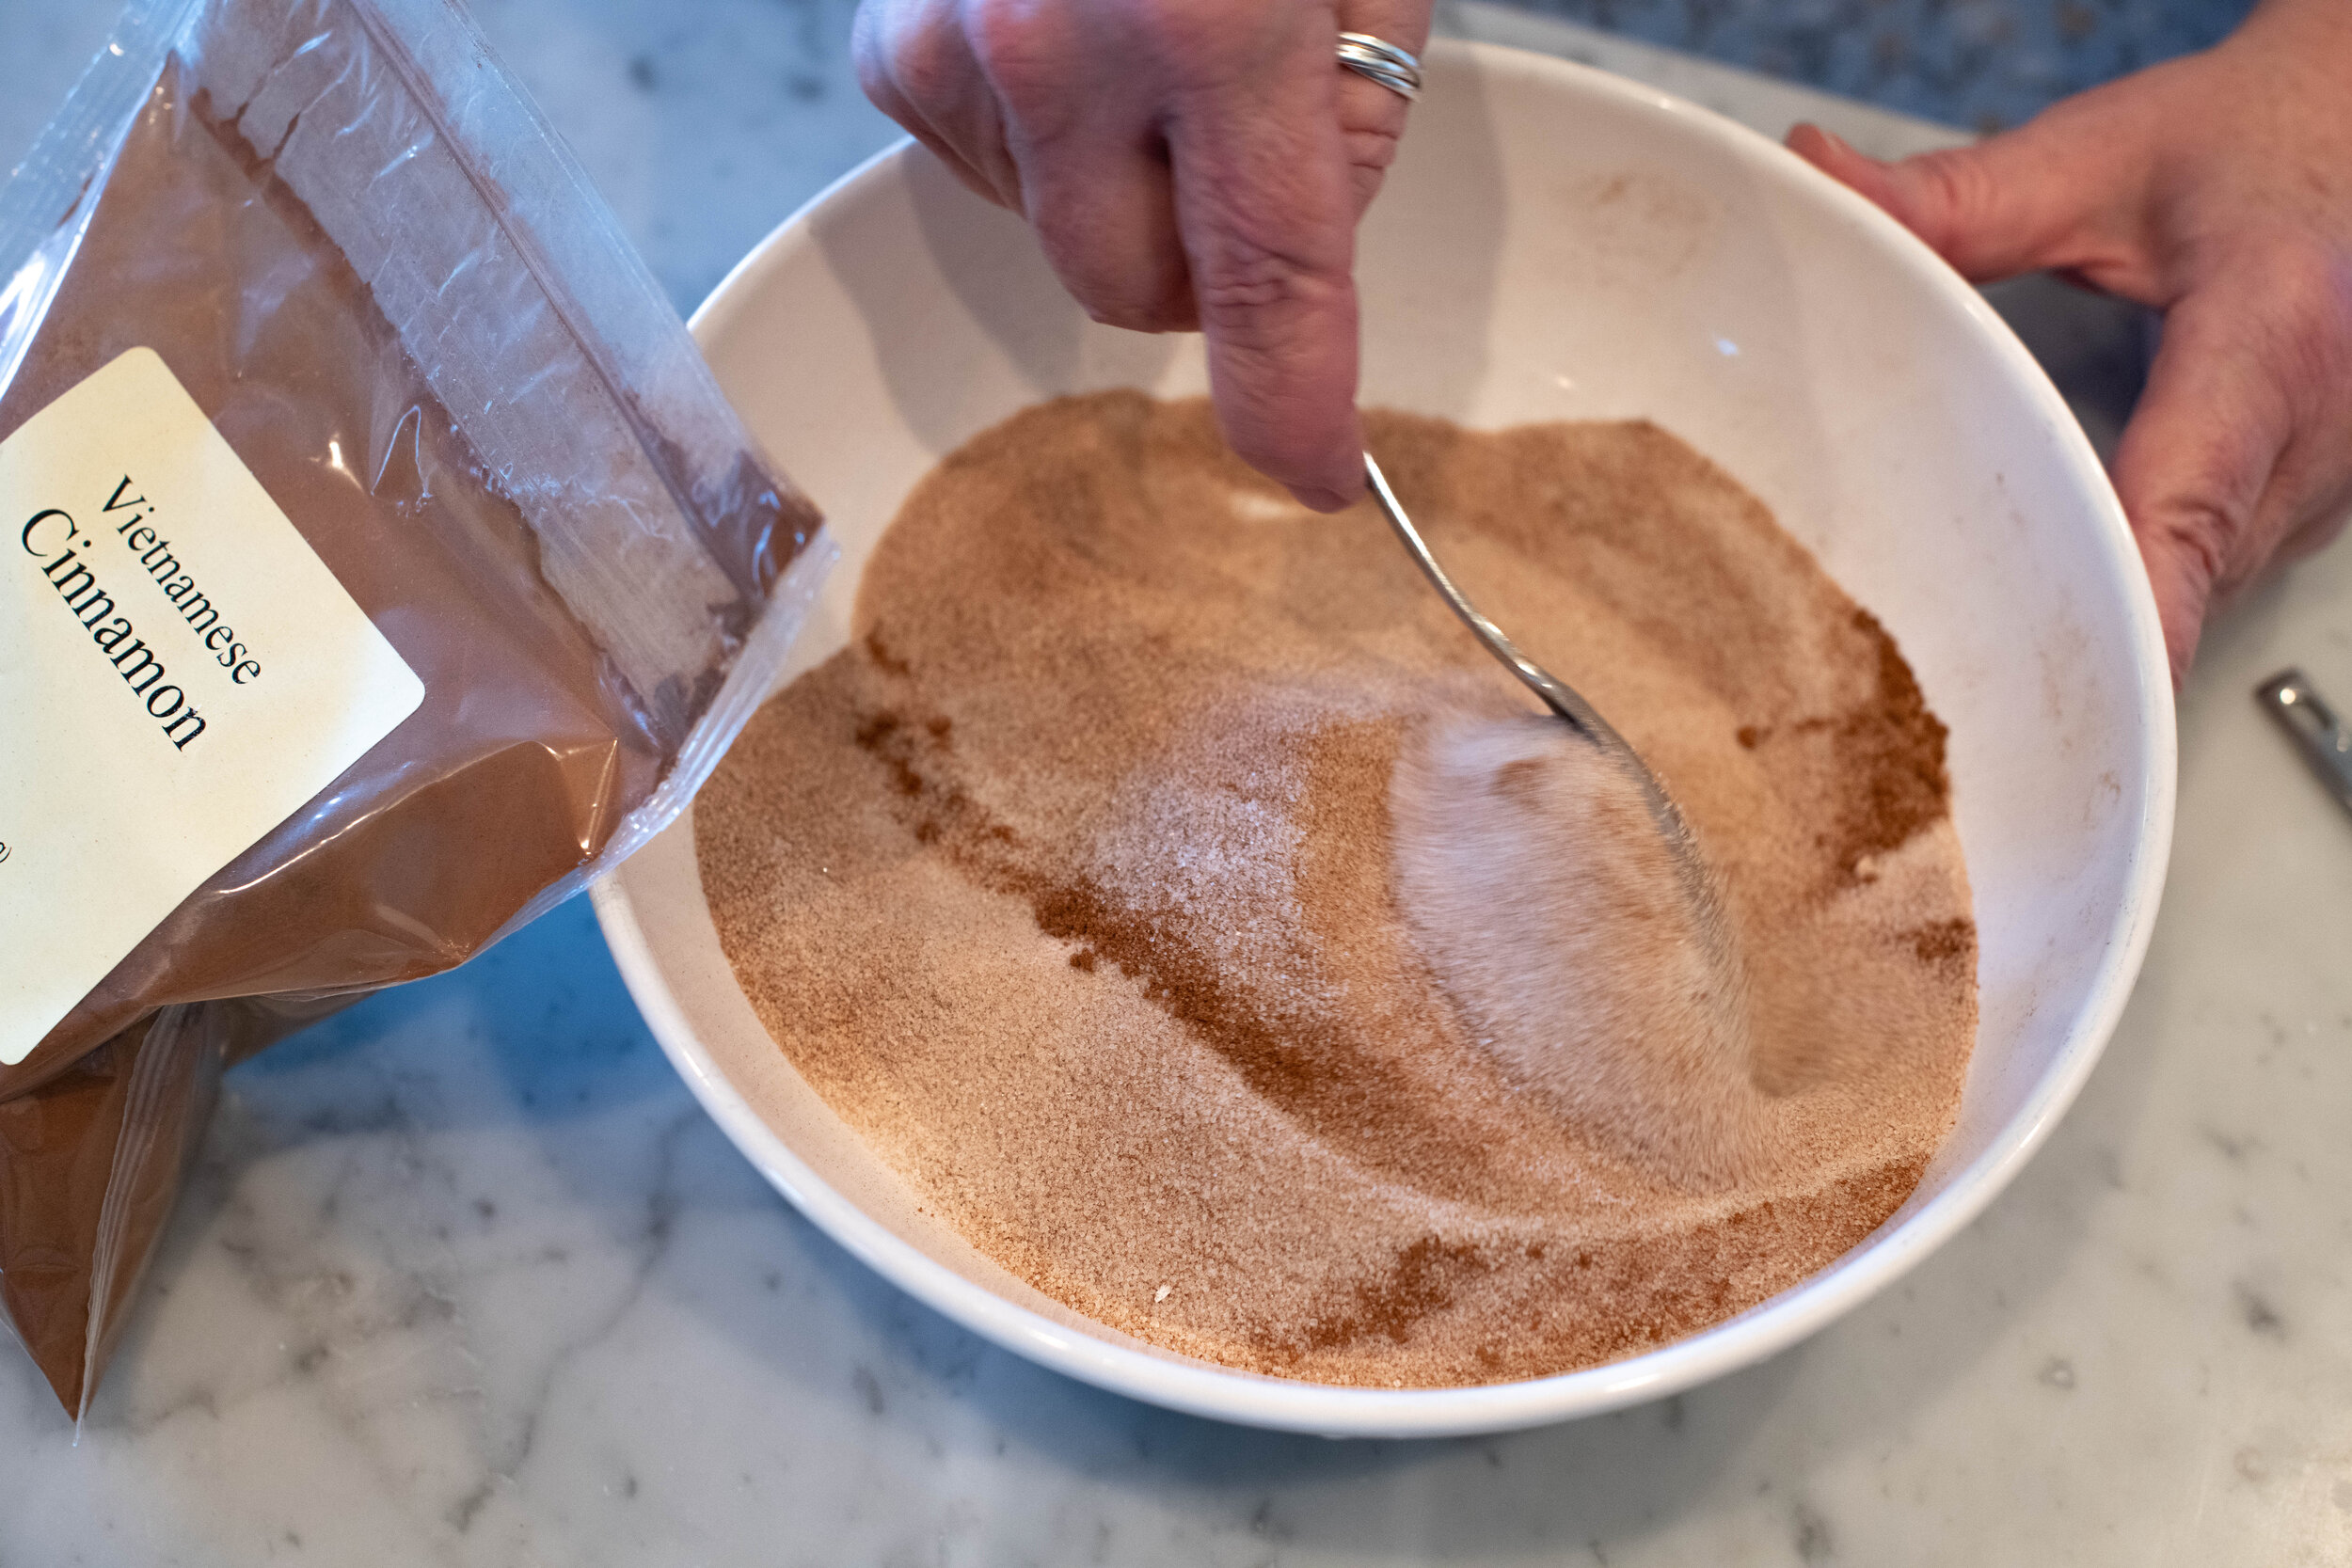
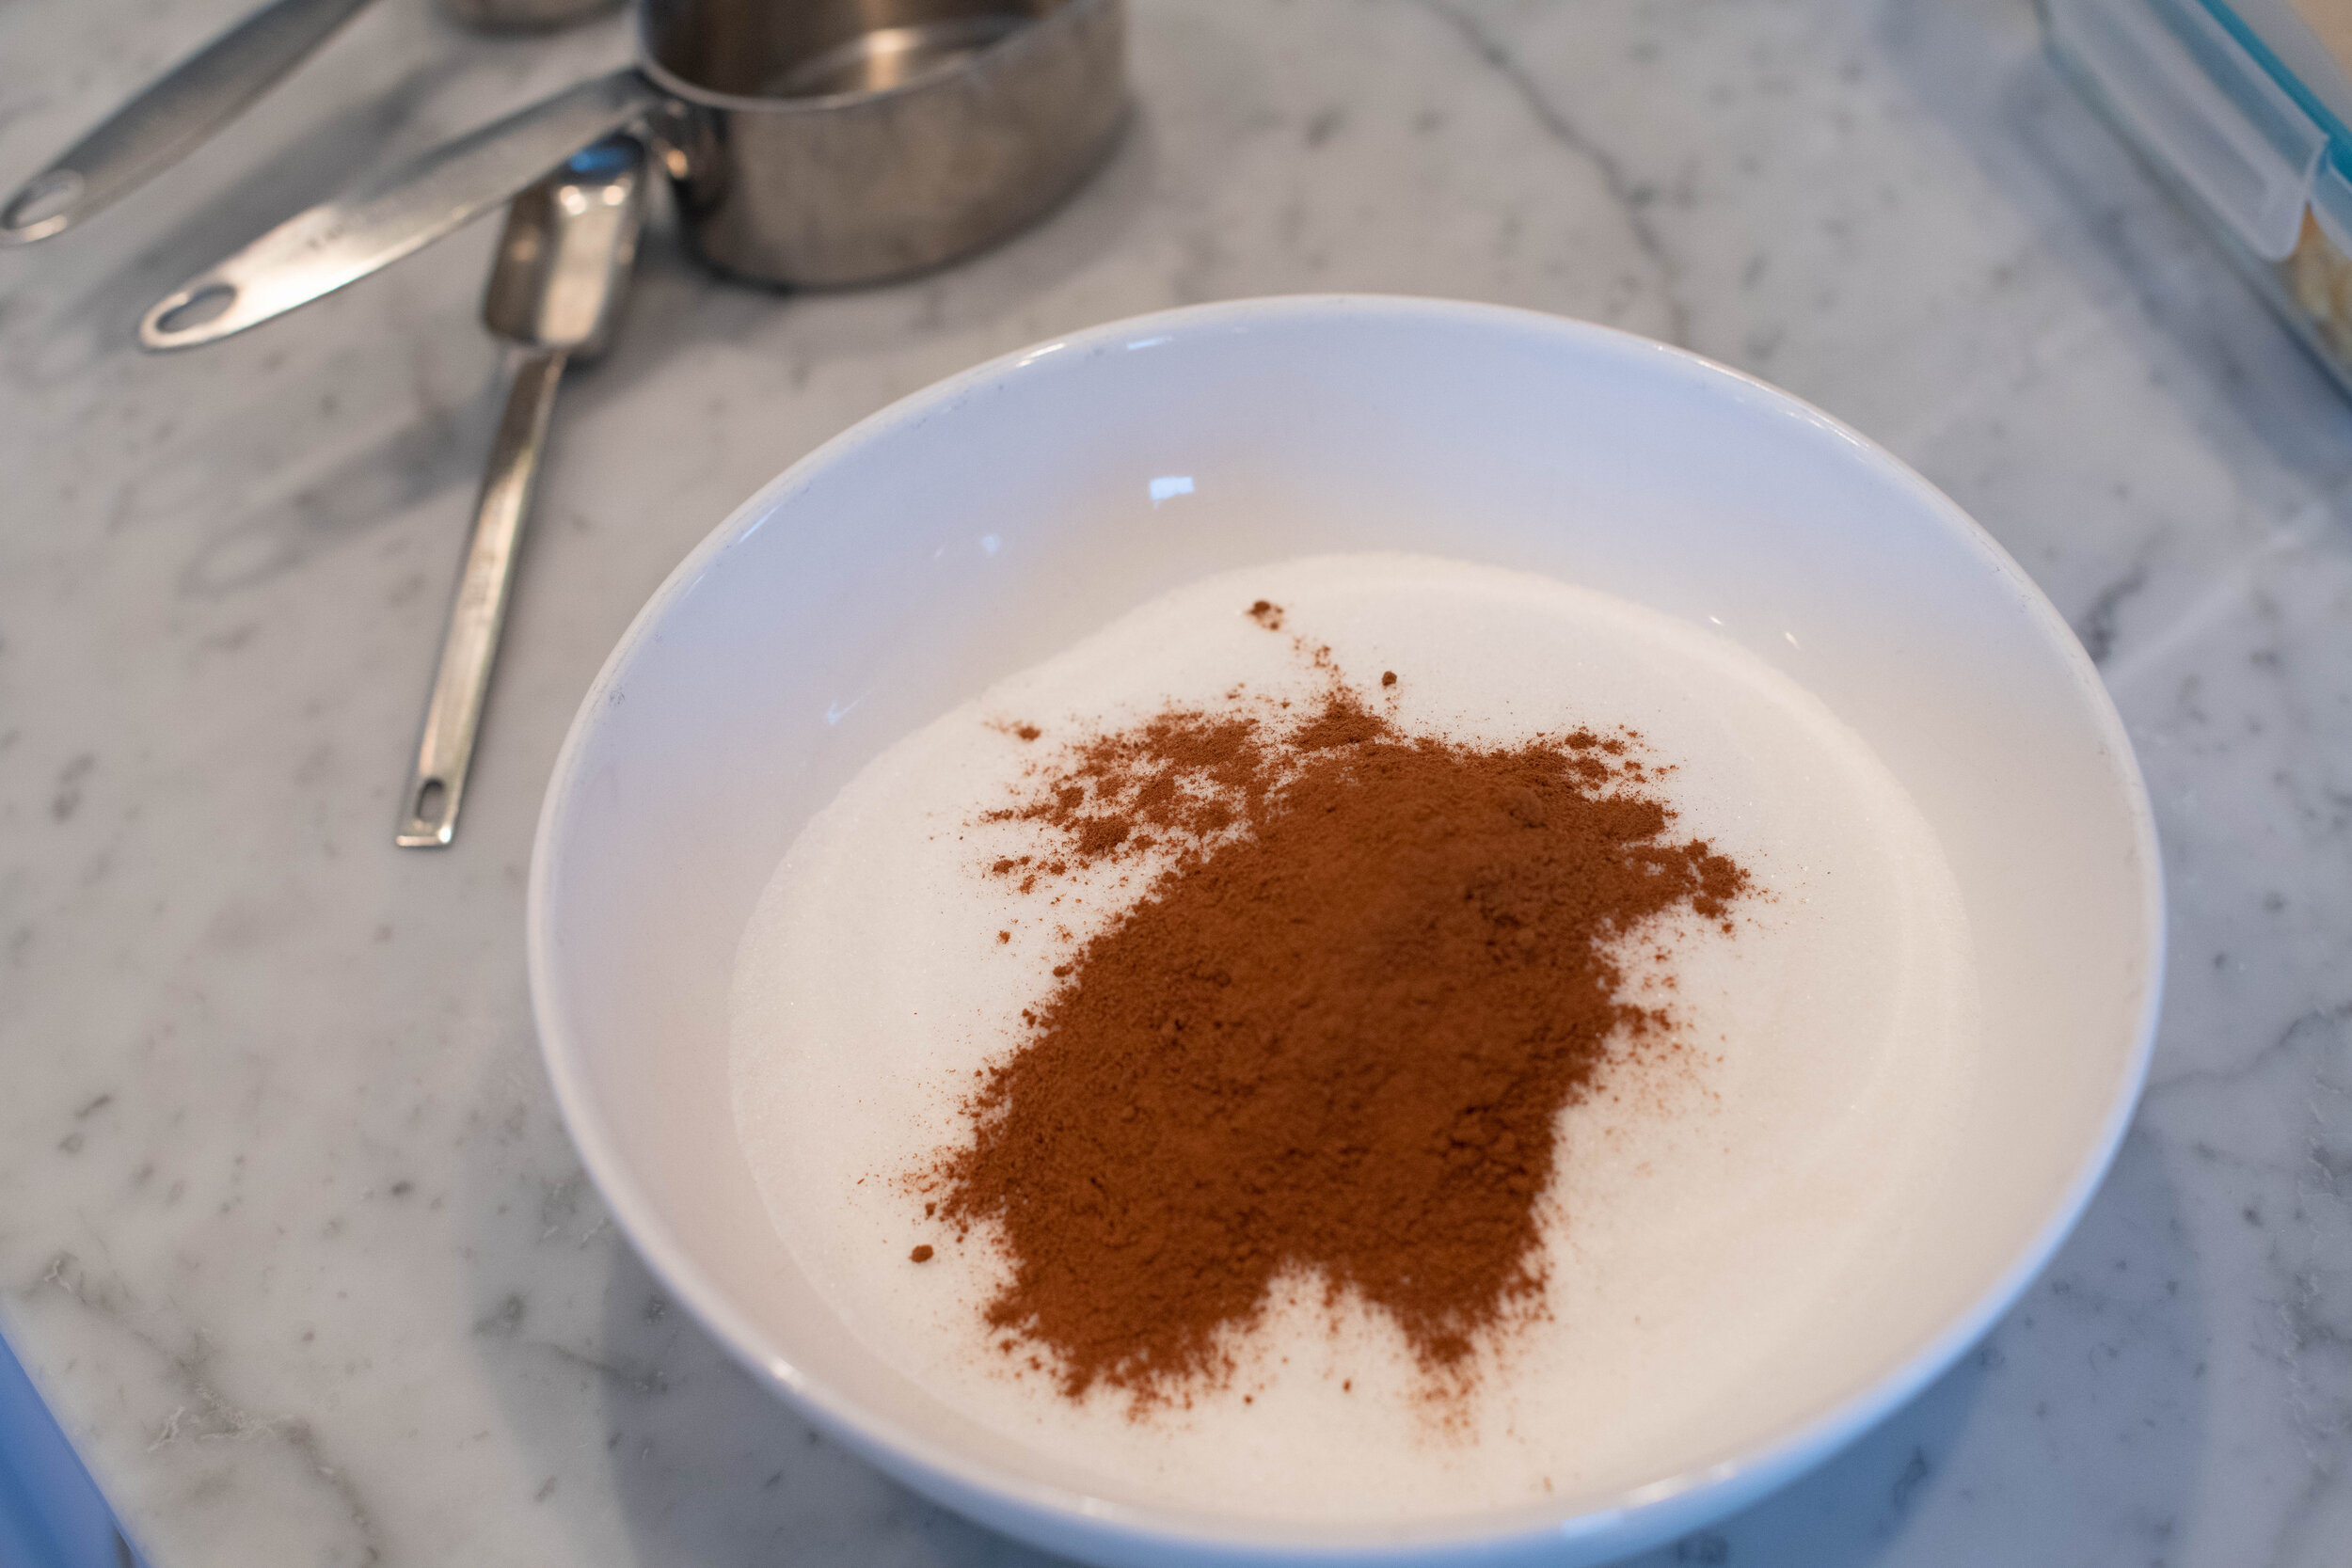
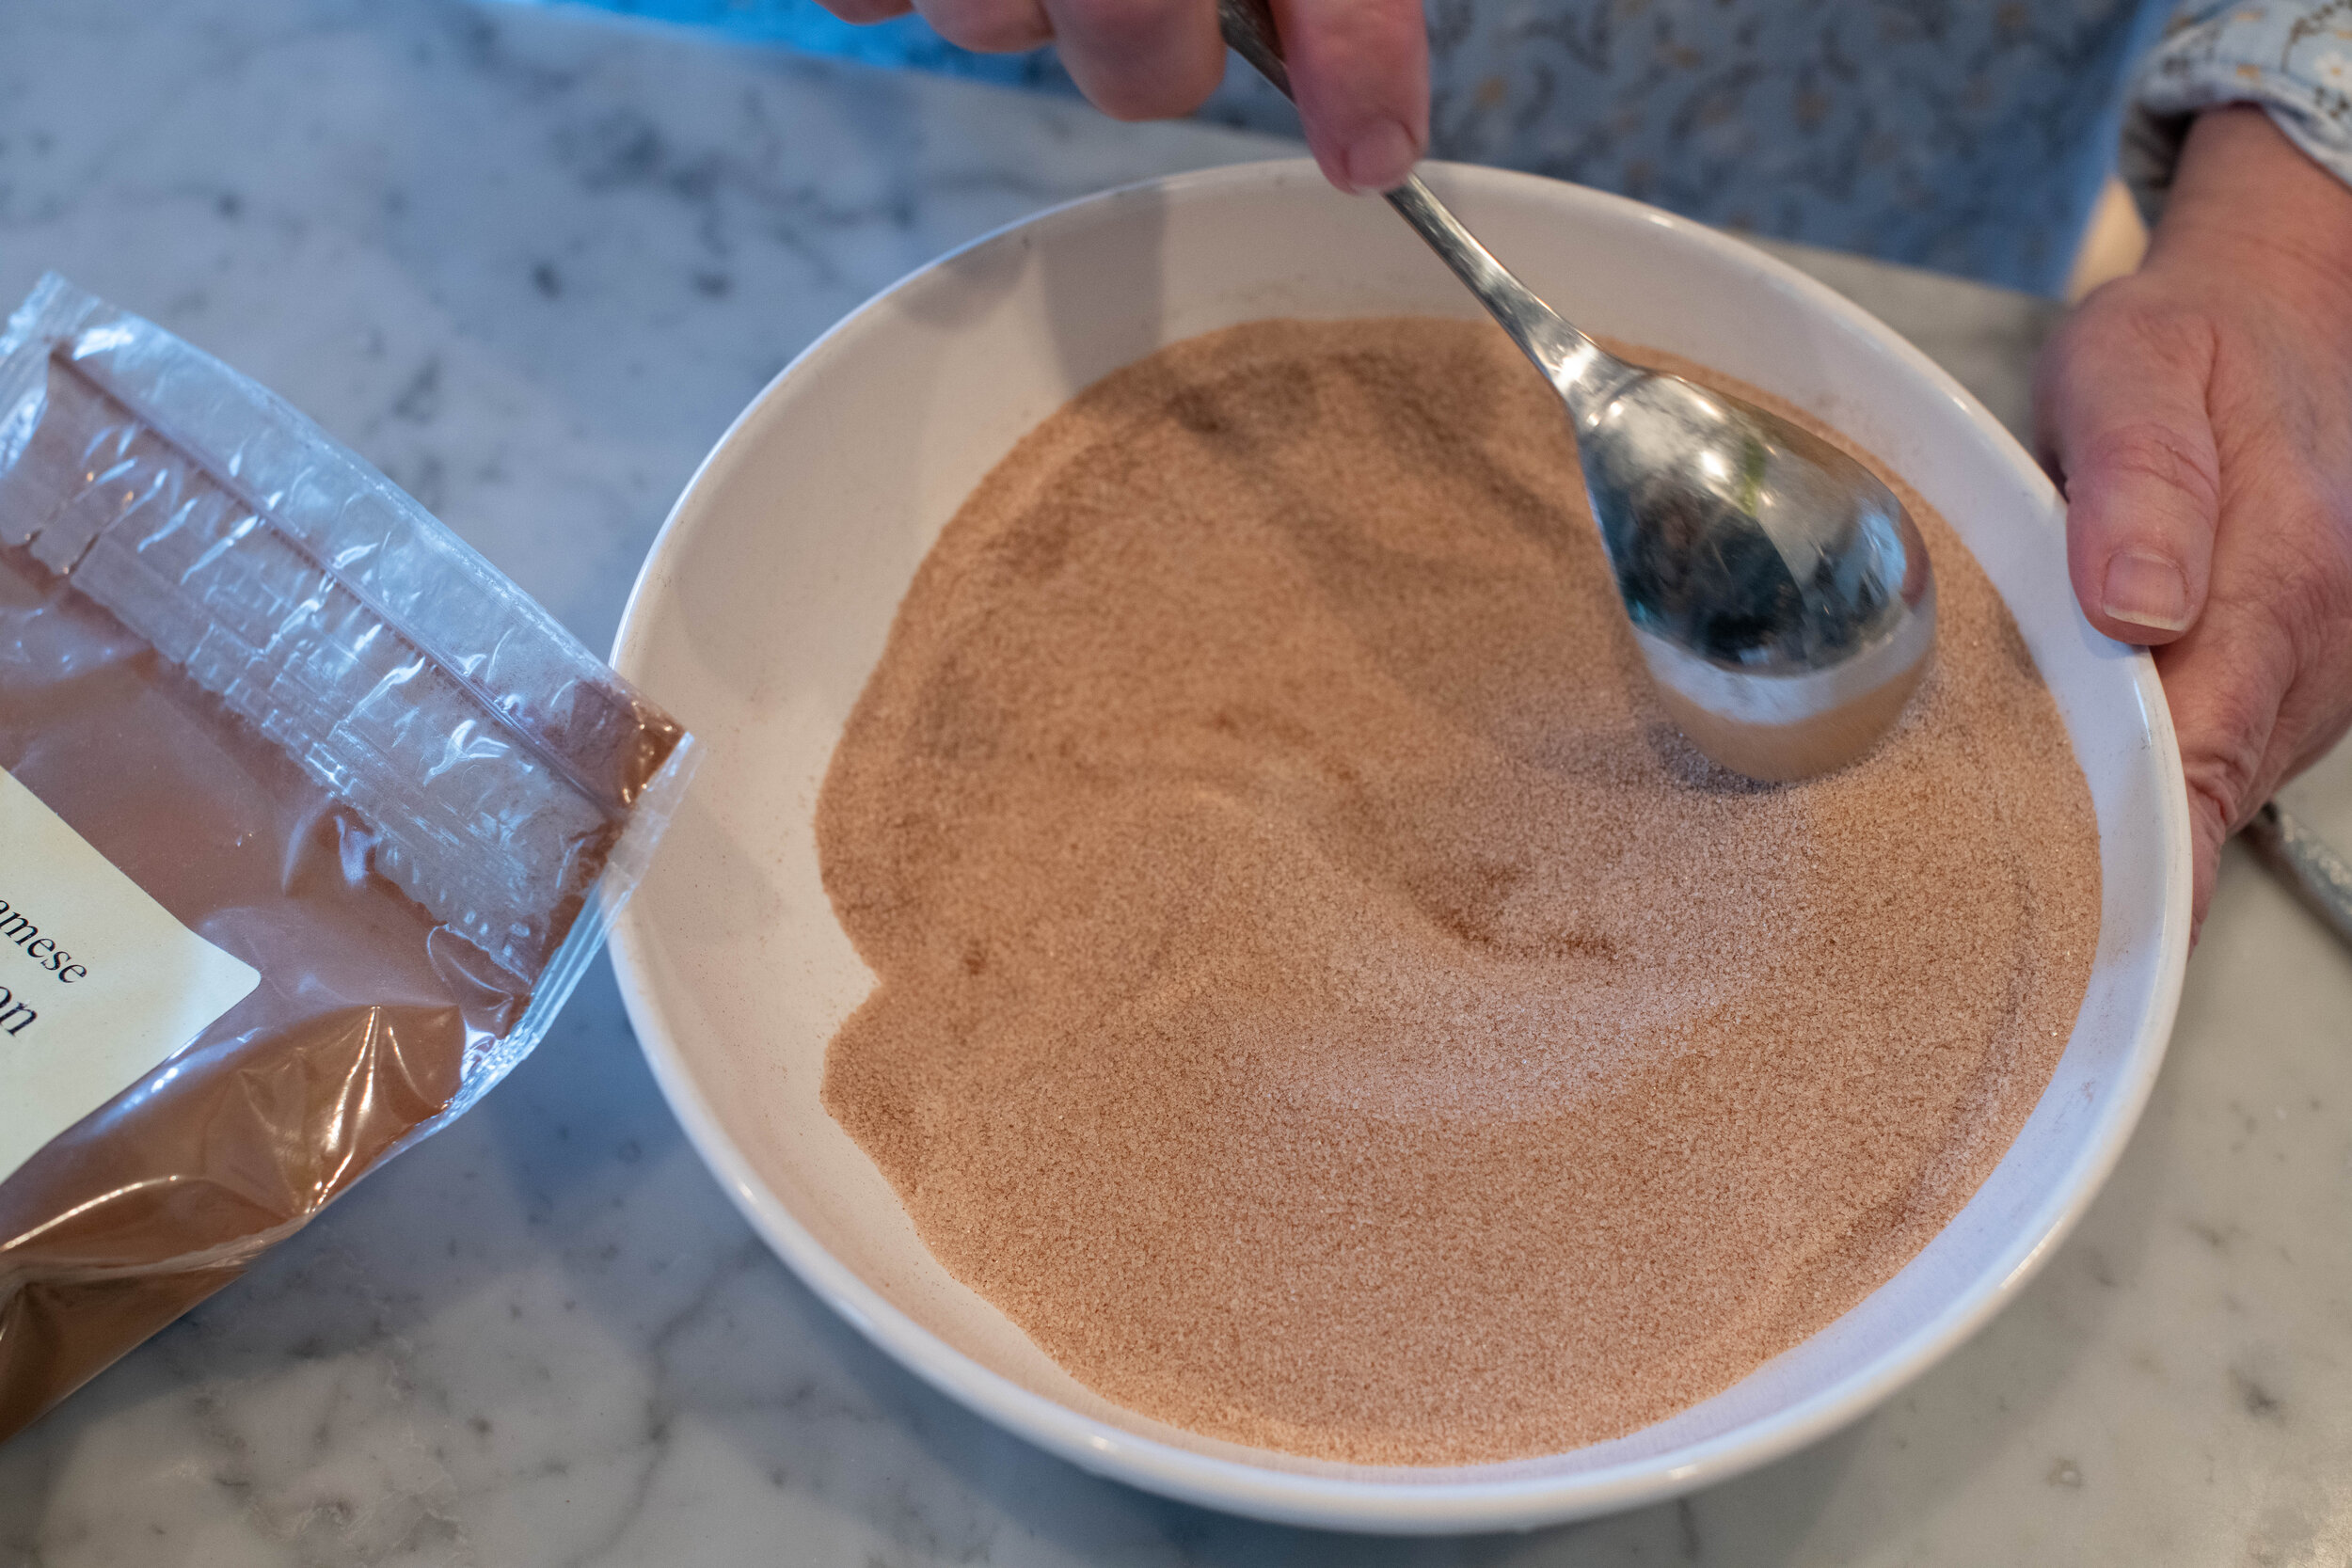
2 Cups Granulated Sugar
1/4-1/2 Cup Cinnamon to taste
For the frosting:
2-3 Cups Powder sugar
1-2 Tablespoons Milk or Water
1/2 - 1 Teaspoon Vanilla Extract
For the dough:
2 Packages Yeast
1 Cup Warm Milk (100-110 degrees)
1/3 Cup Brown Sugar
1/3 Cup Vegetable Oil
3 Teaspoons Salt
3 1/2 to 4 Cups Bread Flour
To begin:
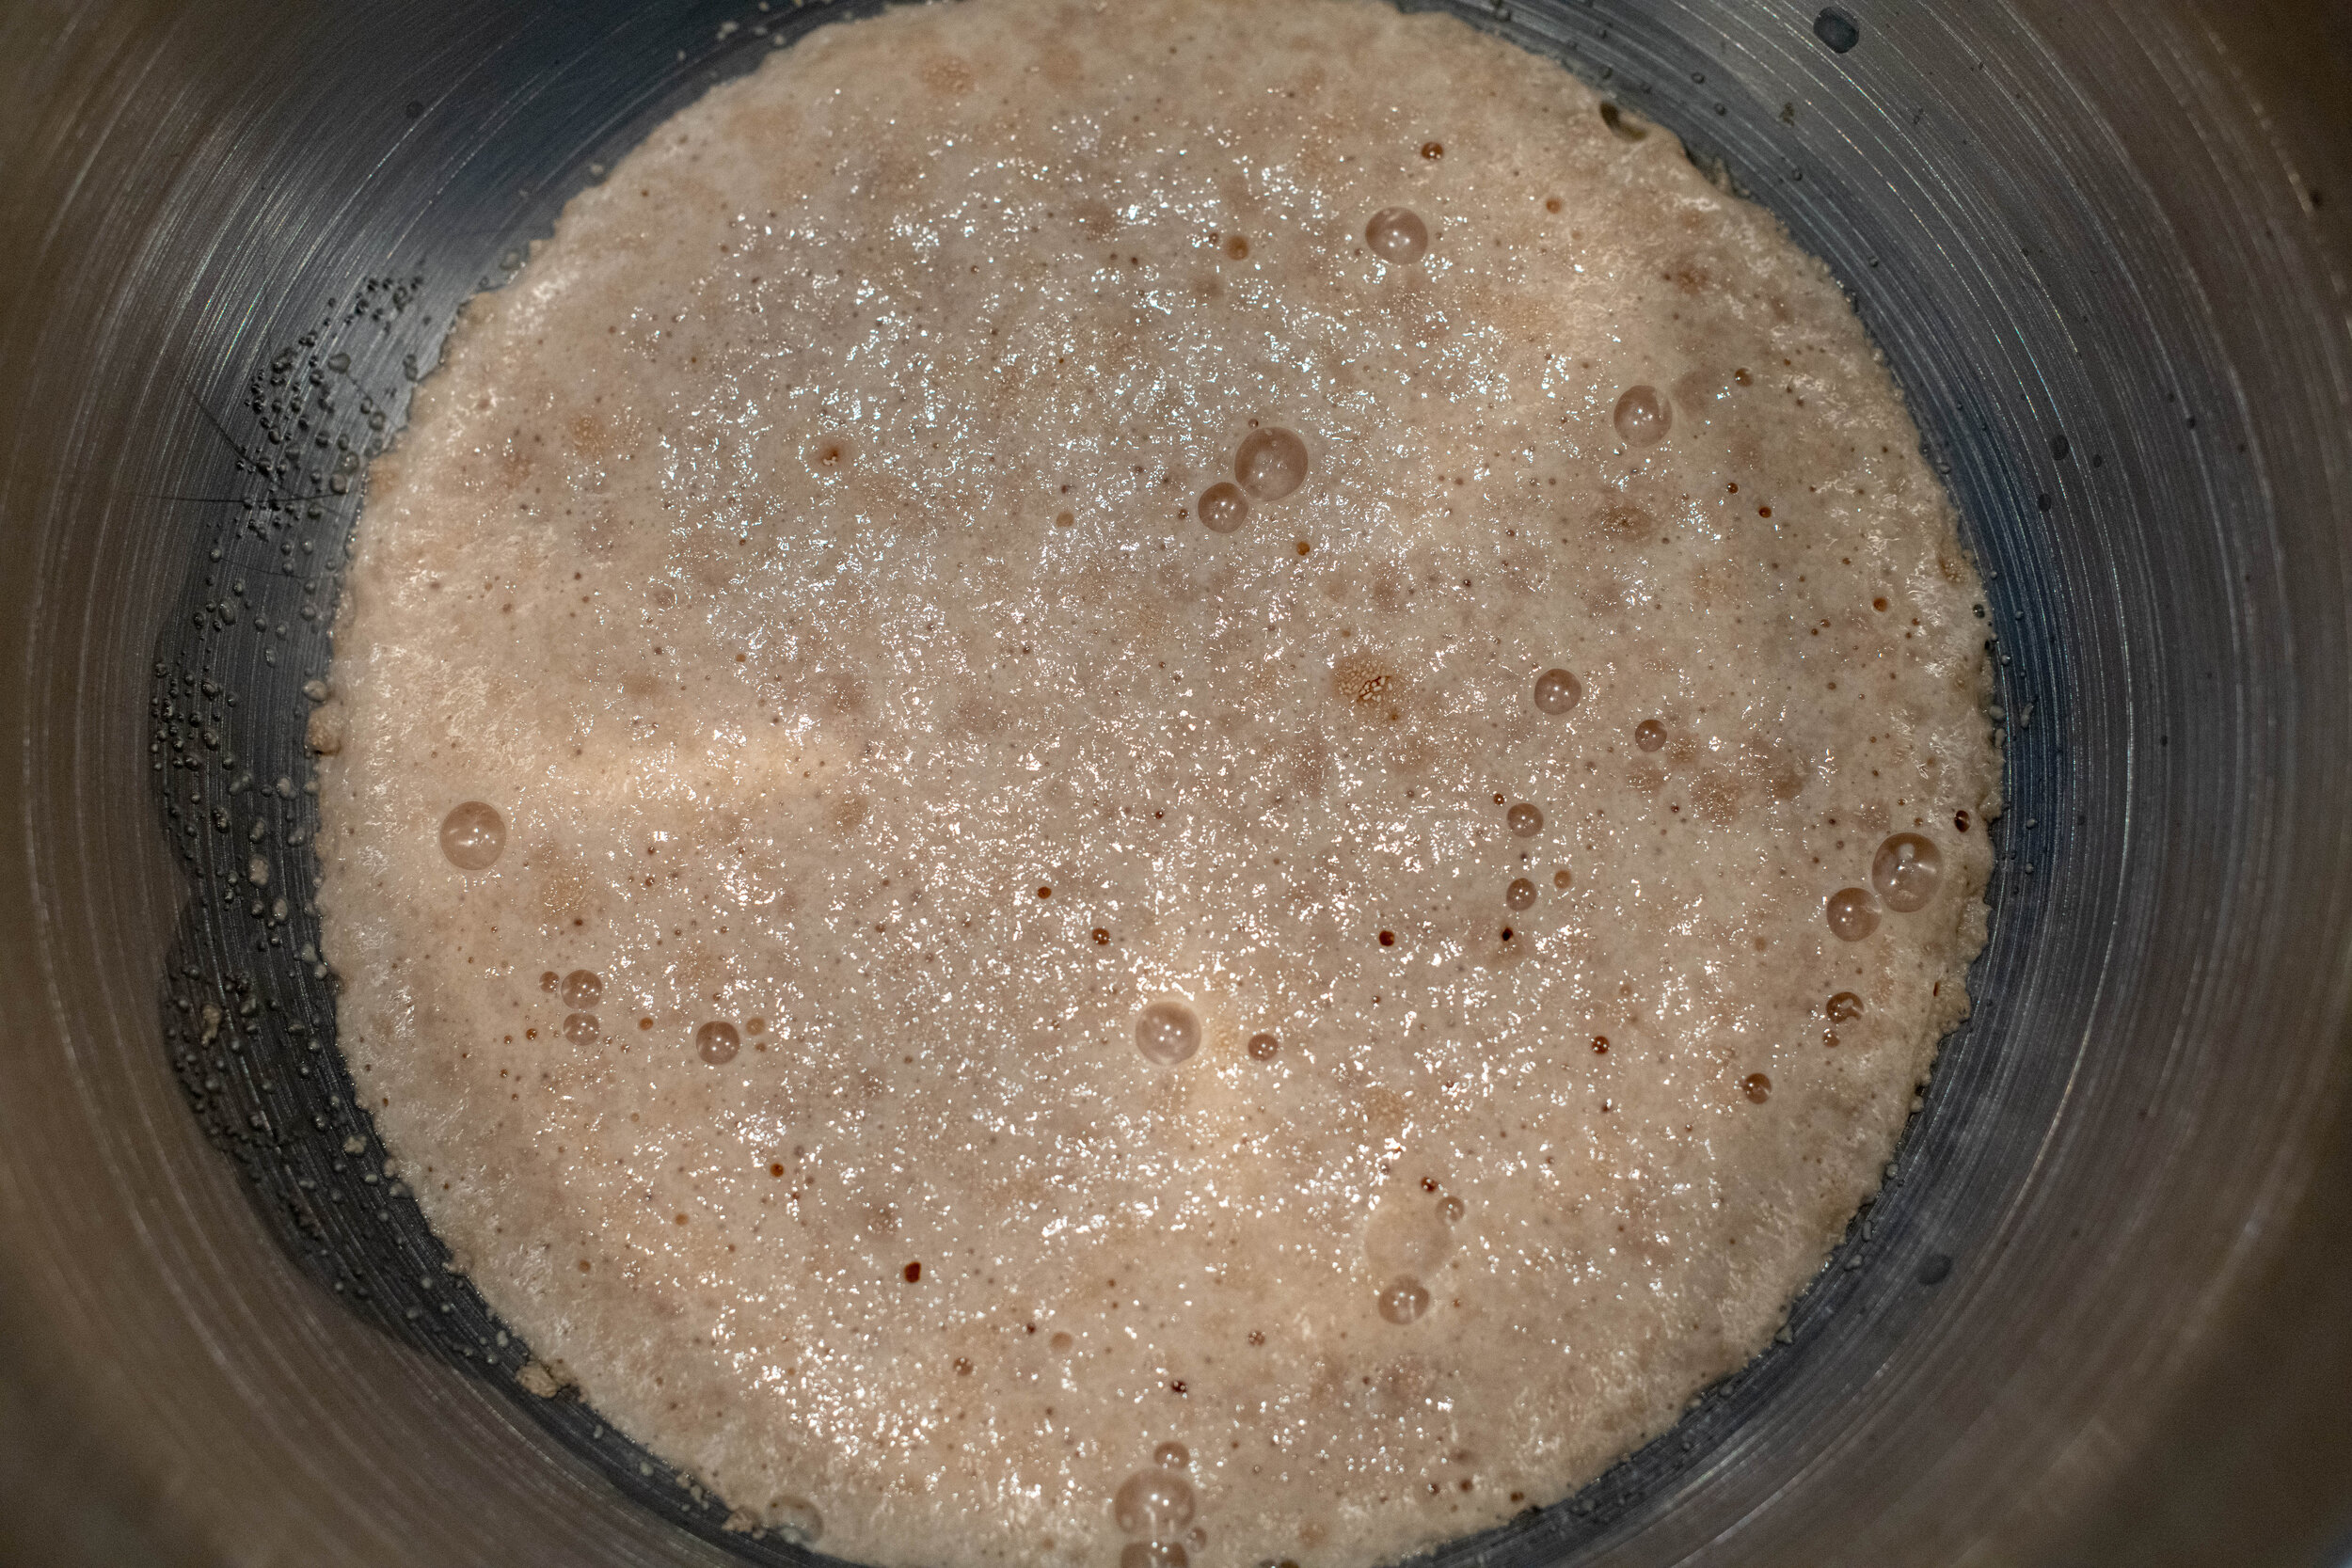
Put the yeast, the warm milk & brown sugar in the bowl of your mixer. Let stand for 10 minutes until it gets all bubbly.
Add in the salt and the oil. Mix.
3. Add in the flour. Add 3 cups at first and mix. Keep adding flour a little at a time until the dough forms a “ball” (vs. looking like cookie dough or quick bread batter). Keep adding more flour slowly until it no longer “sticks” to the sides of the bowl. Try not to add too much:
When you think you’re close, touch the dough – it should be “springy”. (If you don’t add enough flour, the dough will be too sticky and loose. If you add too much, the dough will feel hard like old playdough). You want it to be “just right”. This takes practice, but for the most part, LESS is more. *Stiff rolls are worse than too soft. Note: if you add too much flour and it is too hard, dump the dough and start over. Every baker has made this mistake! It’s ok – a good lesson and a cheap one at that!.
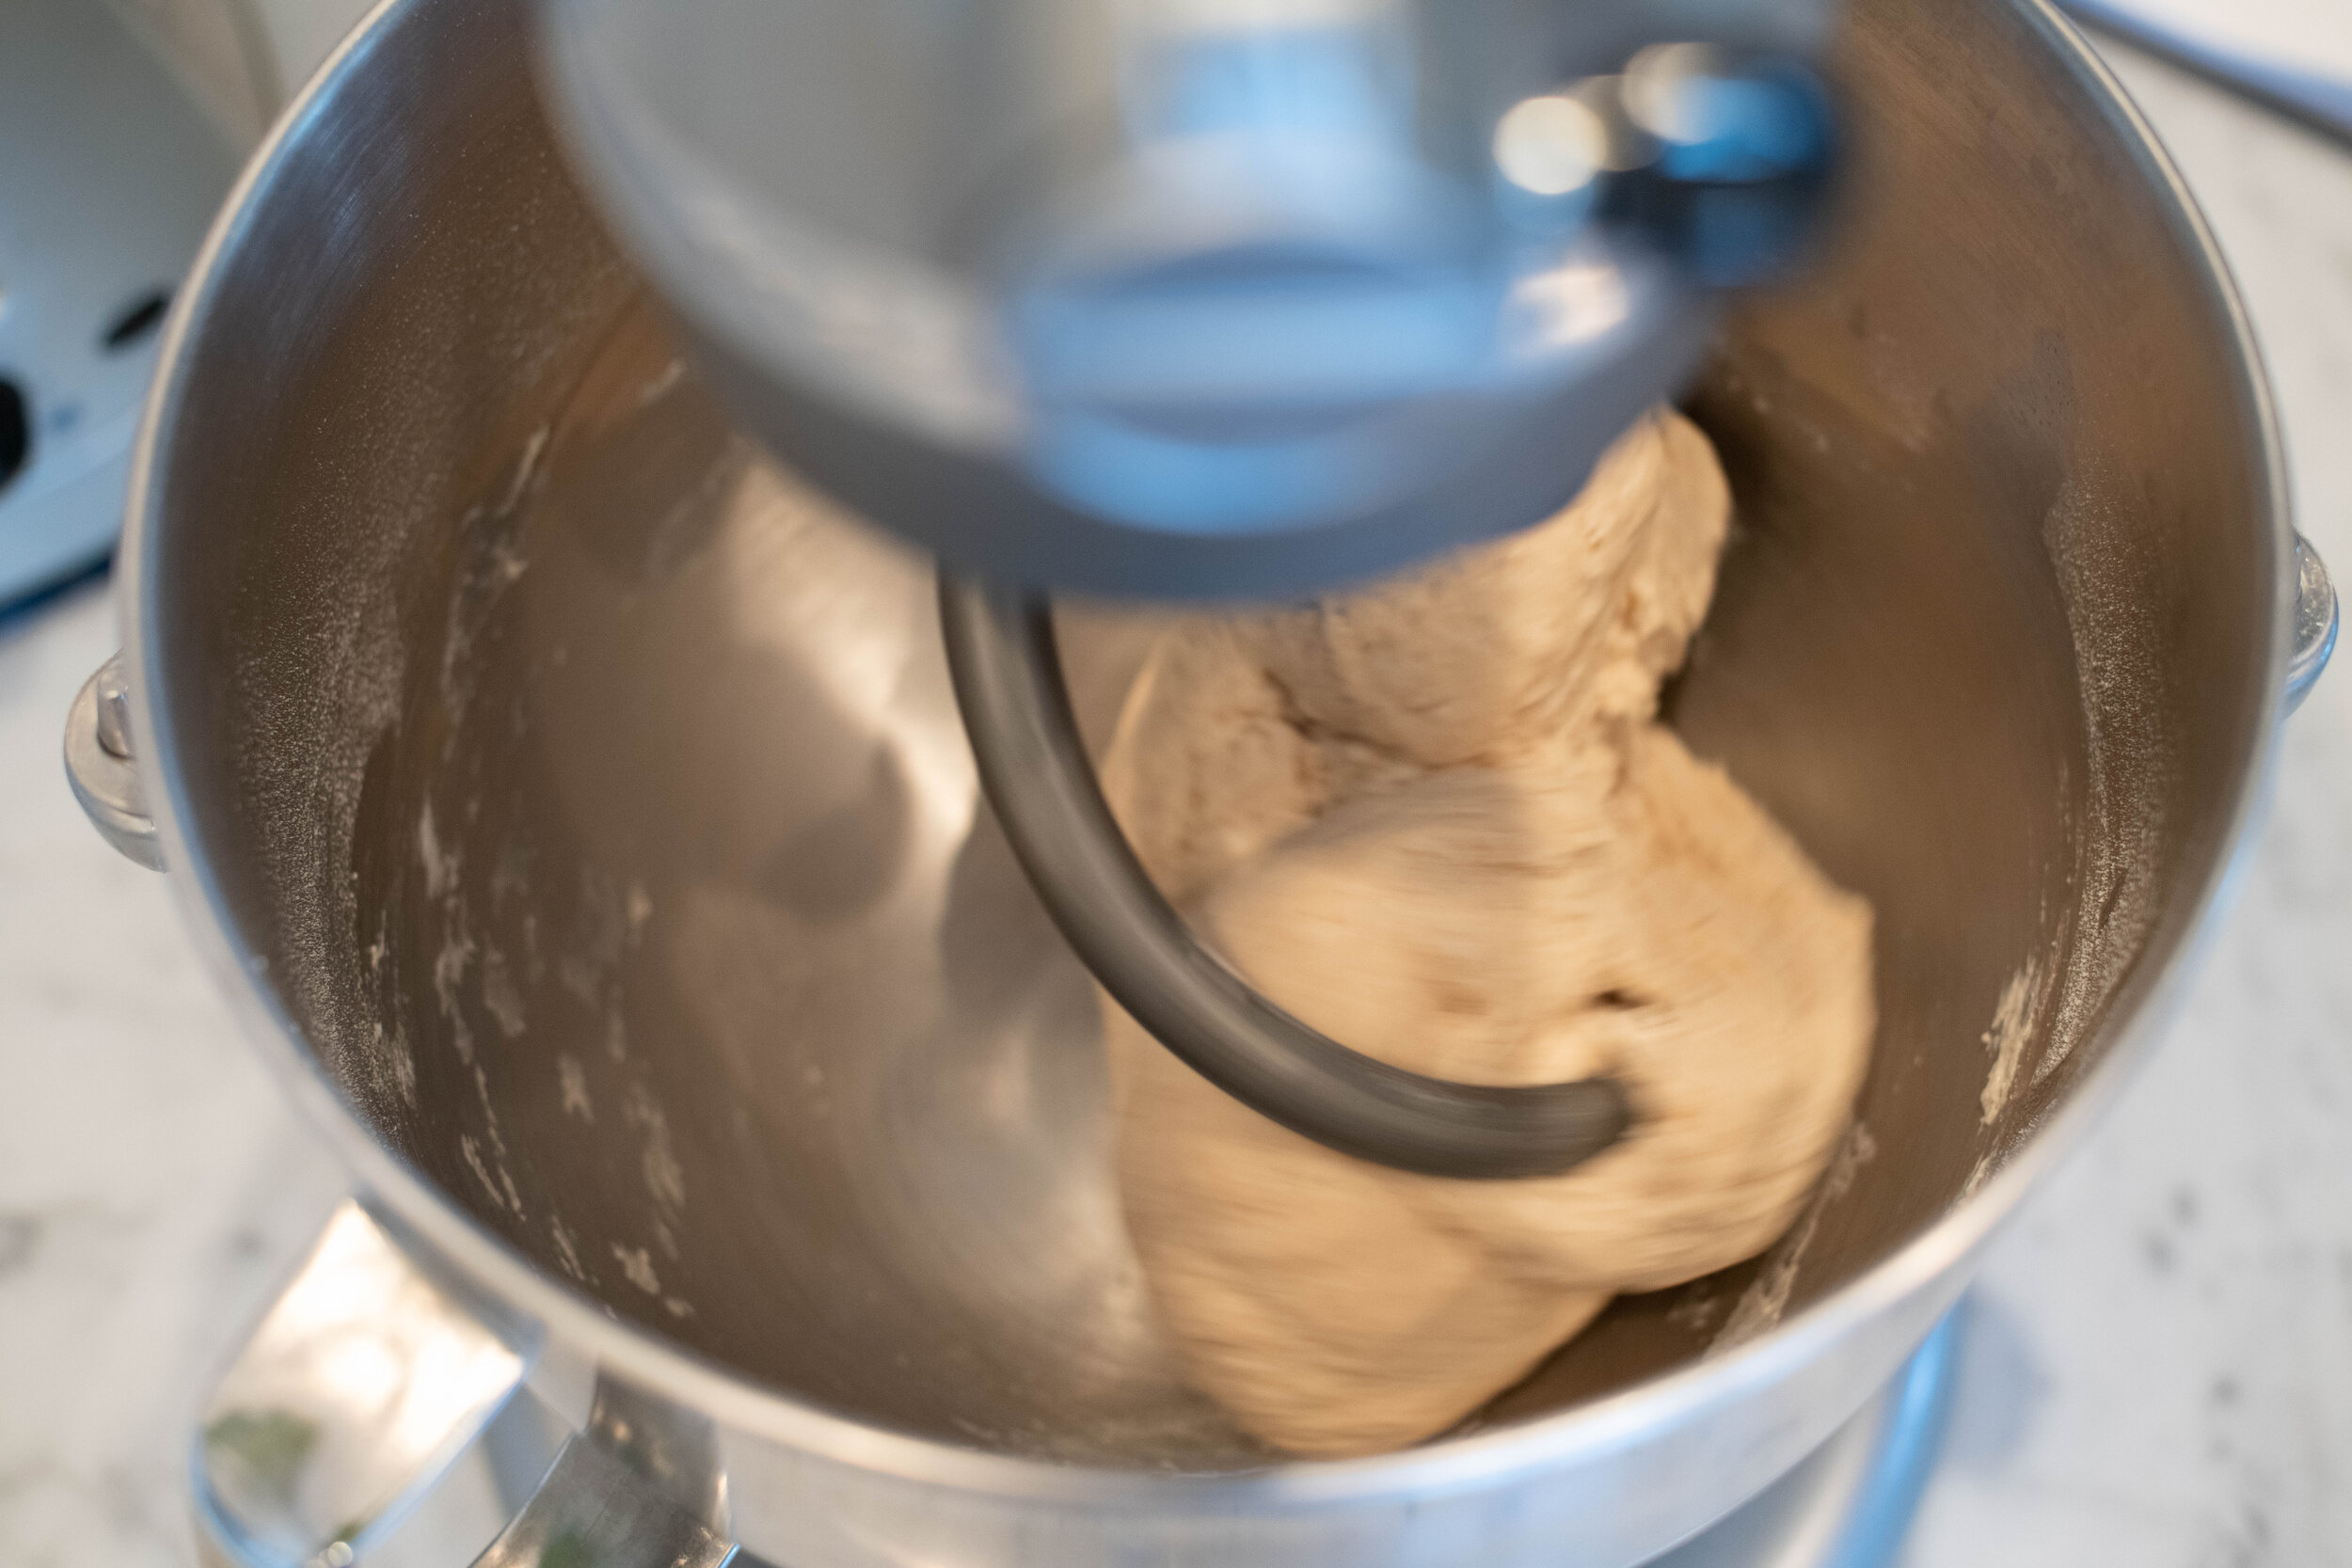
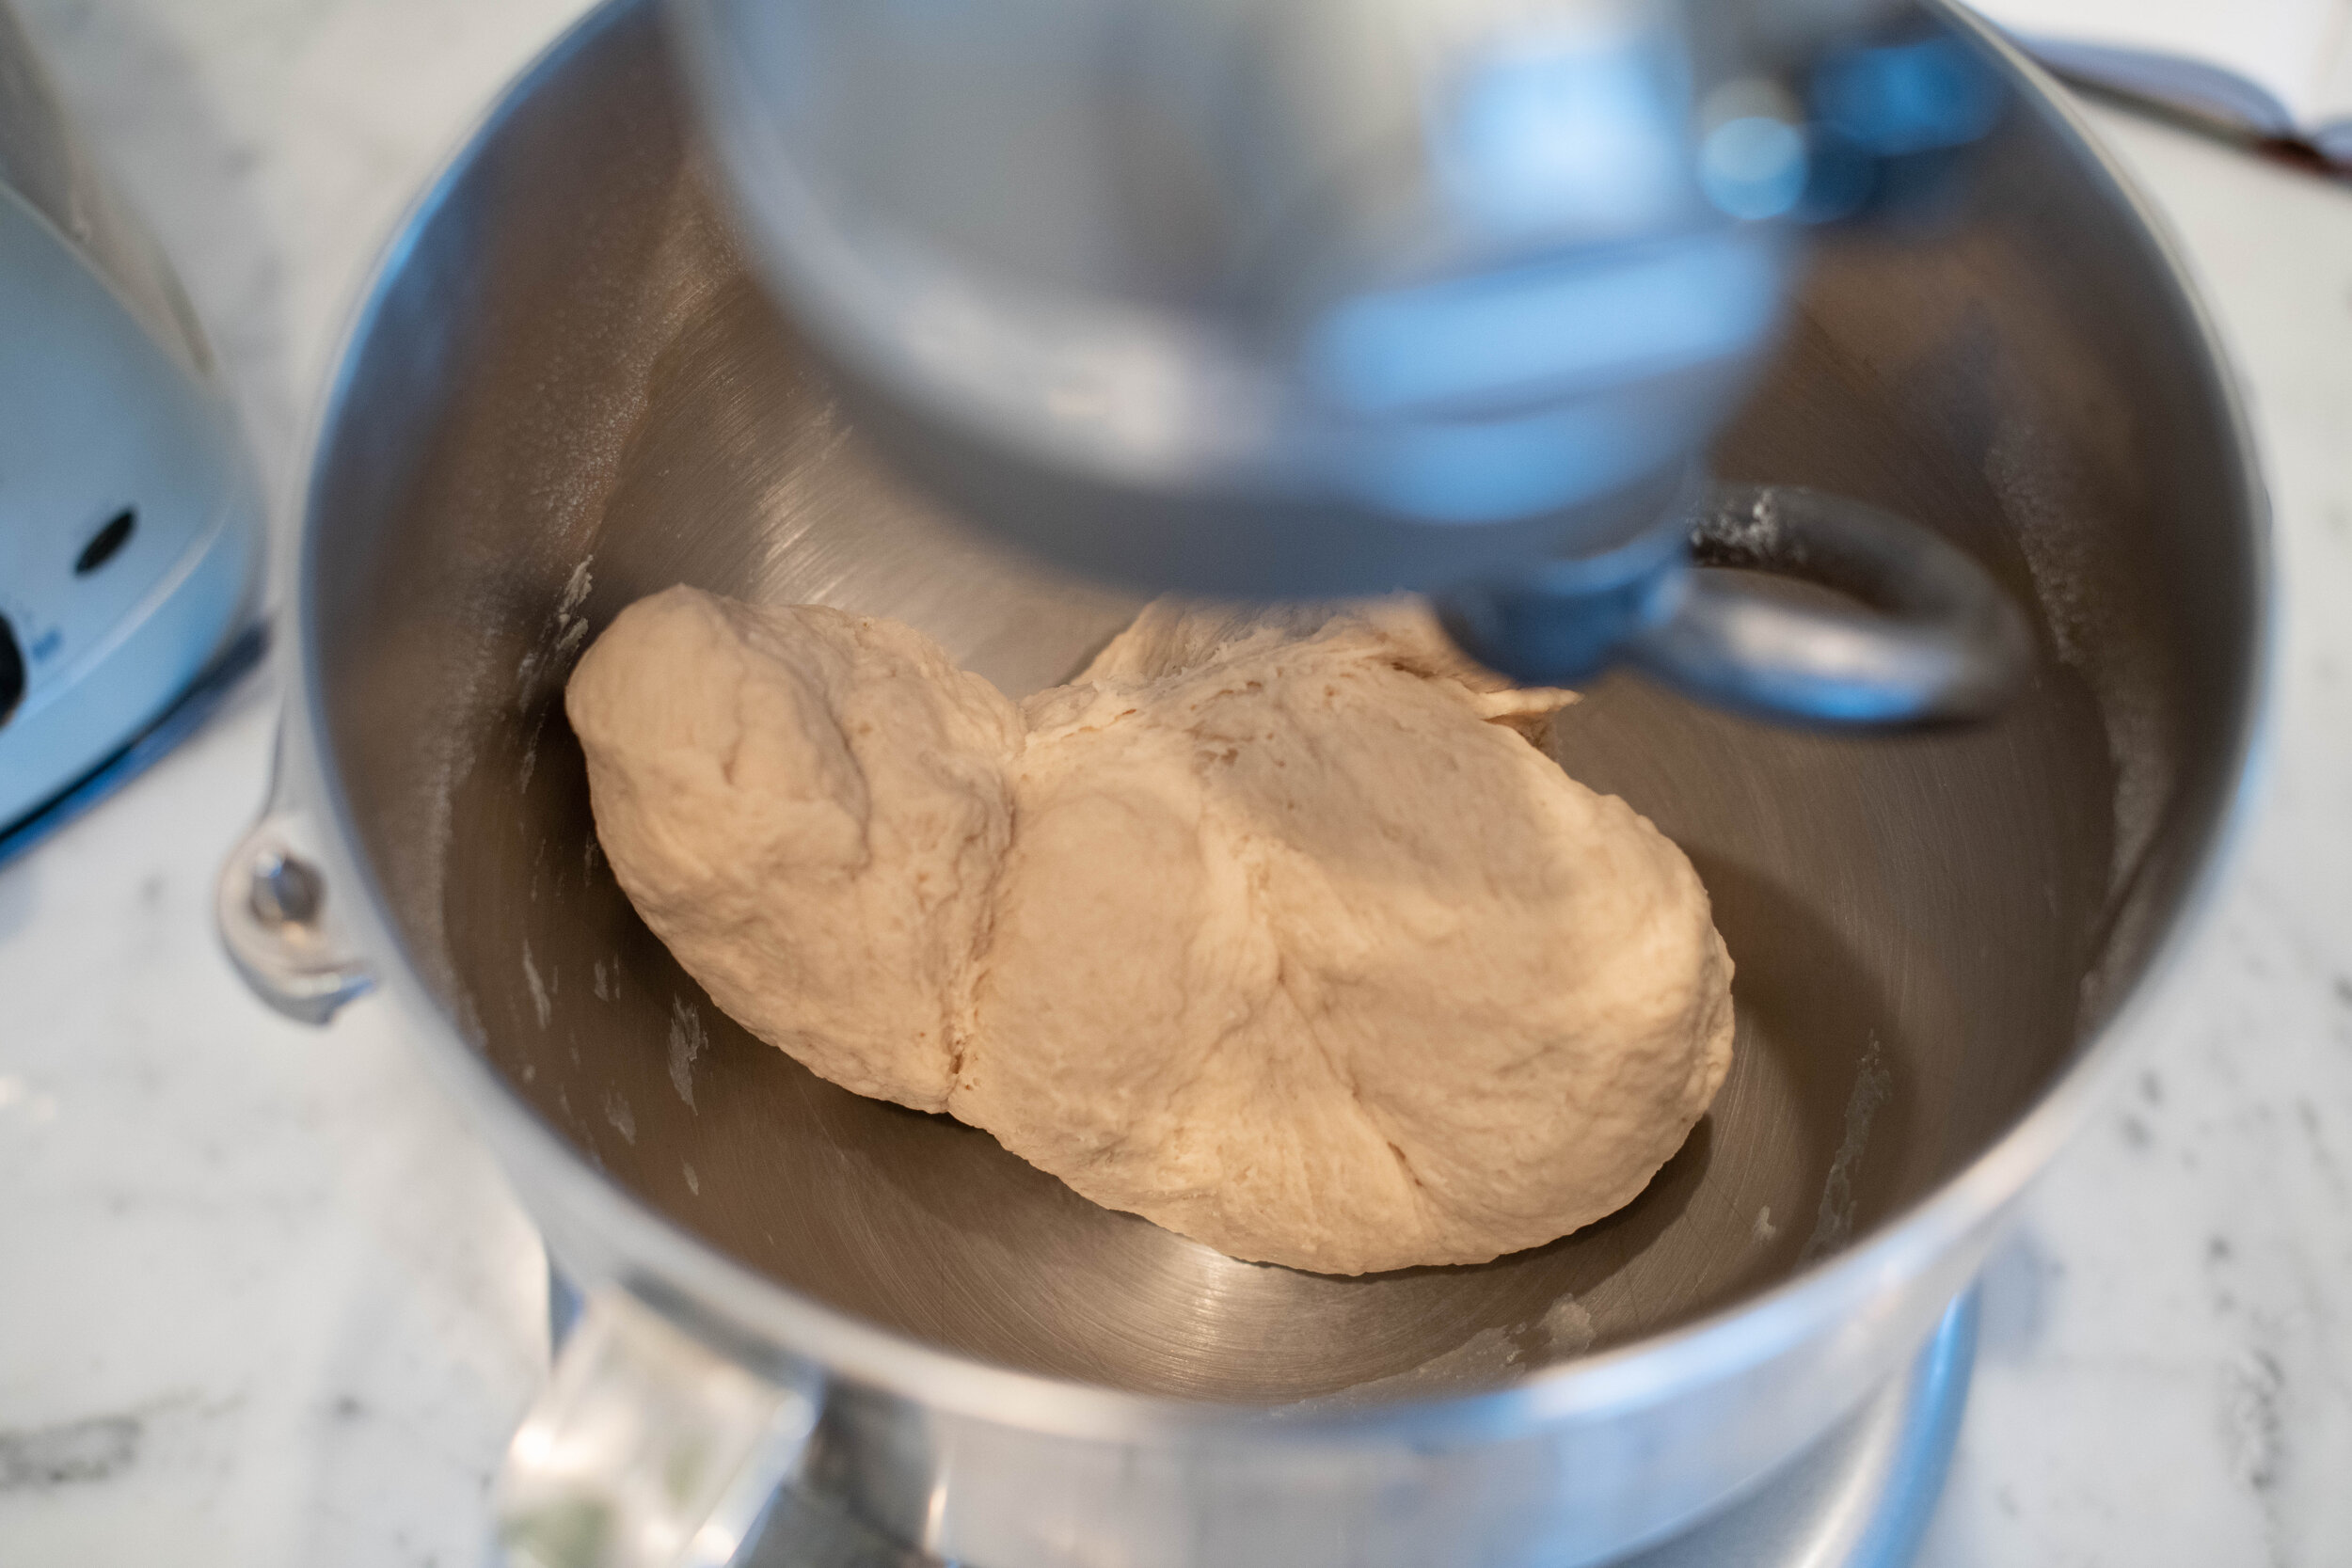
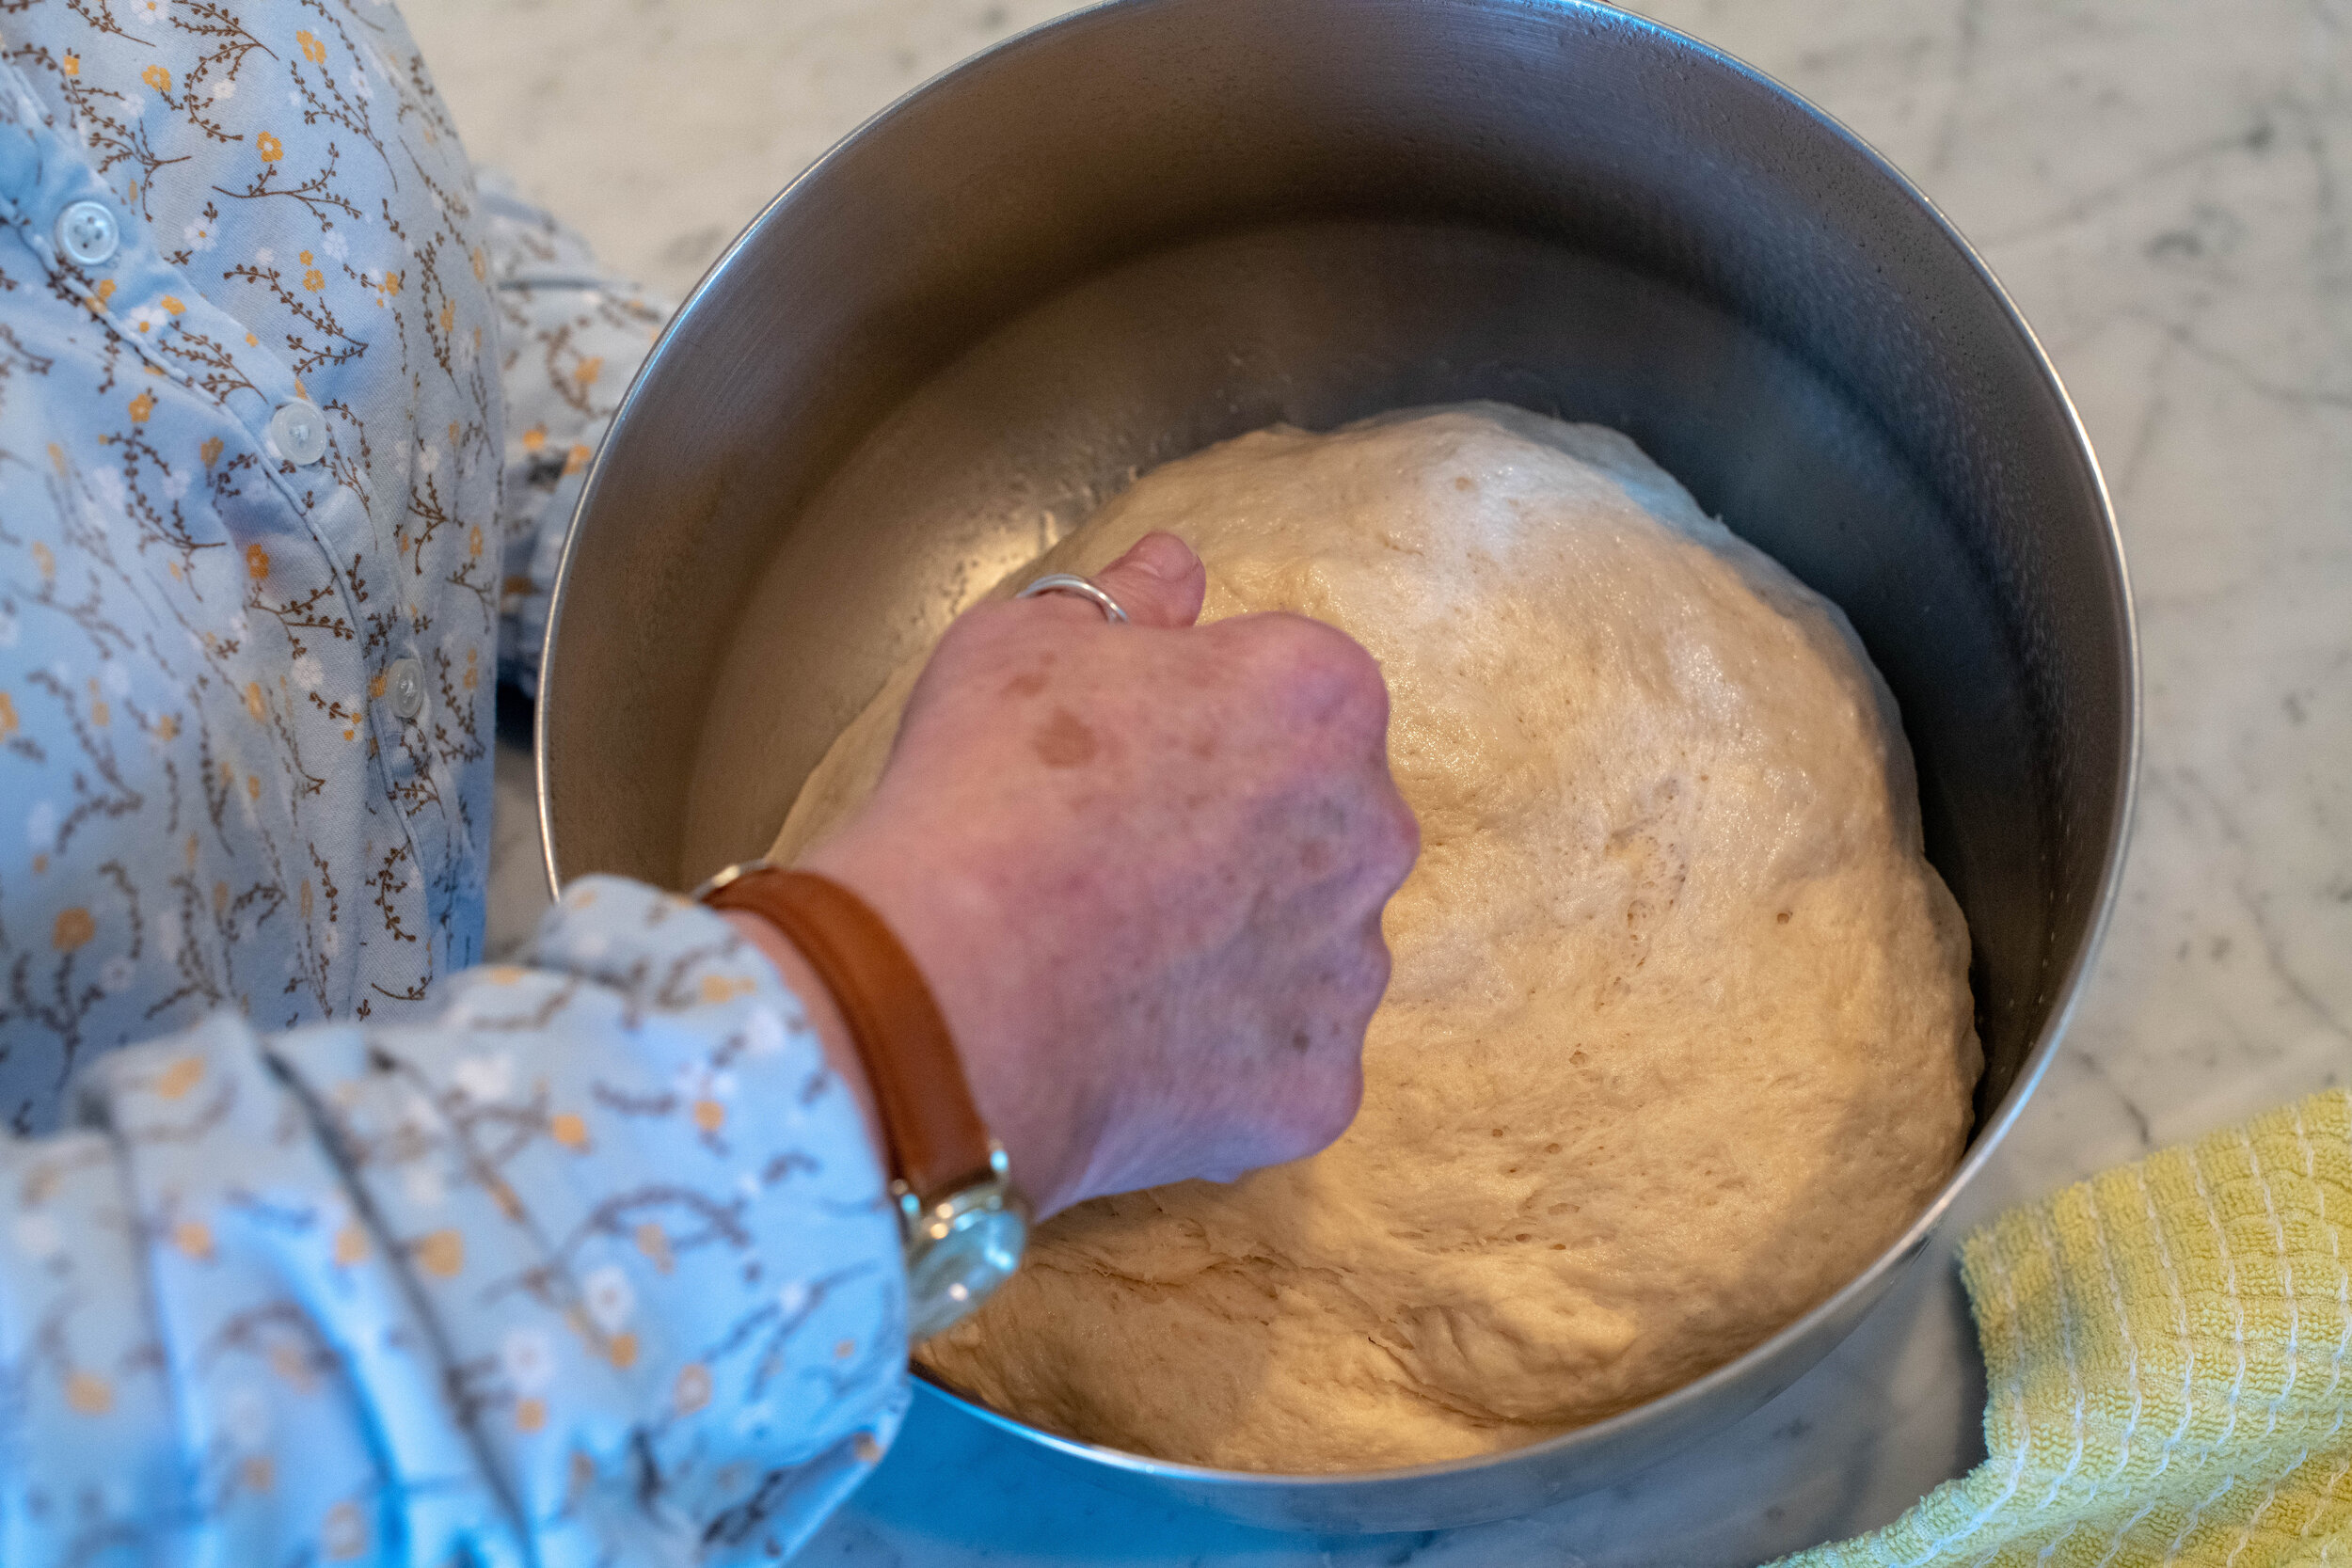
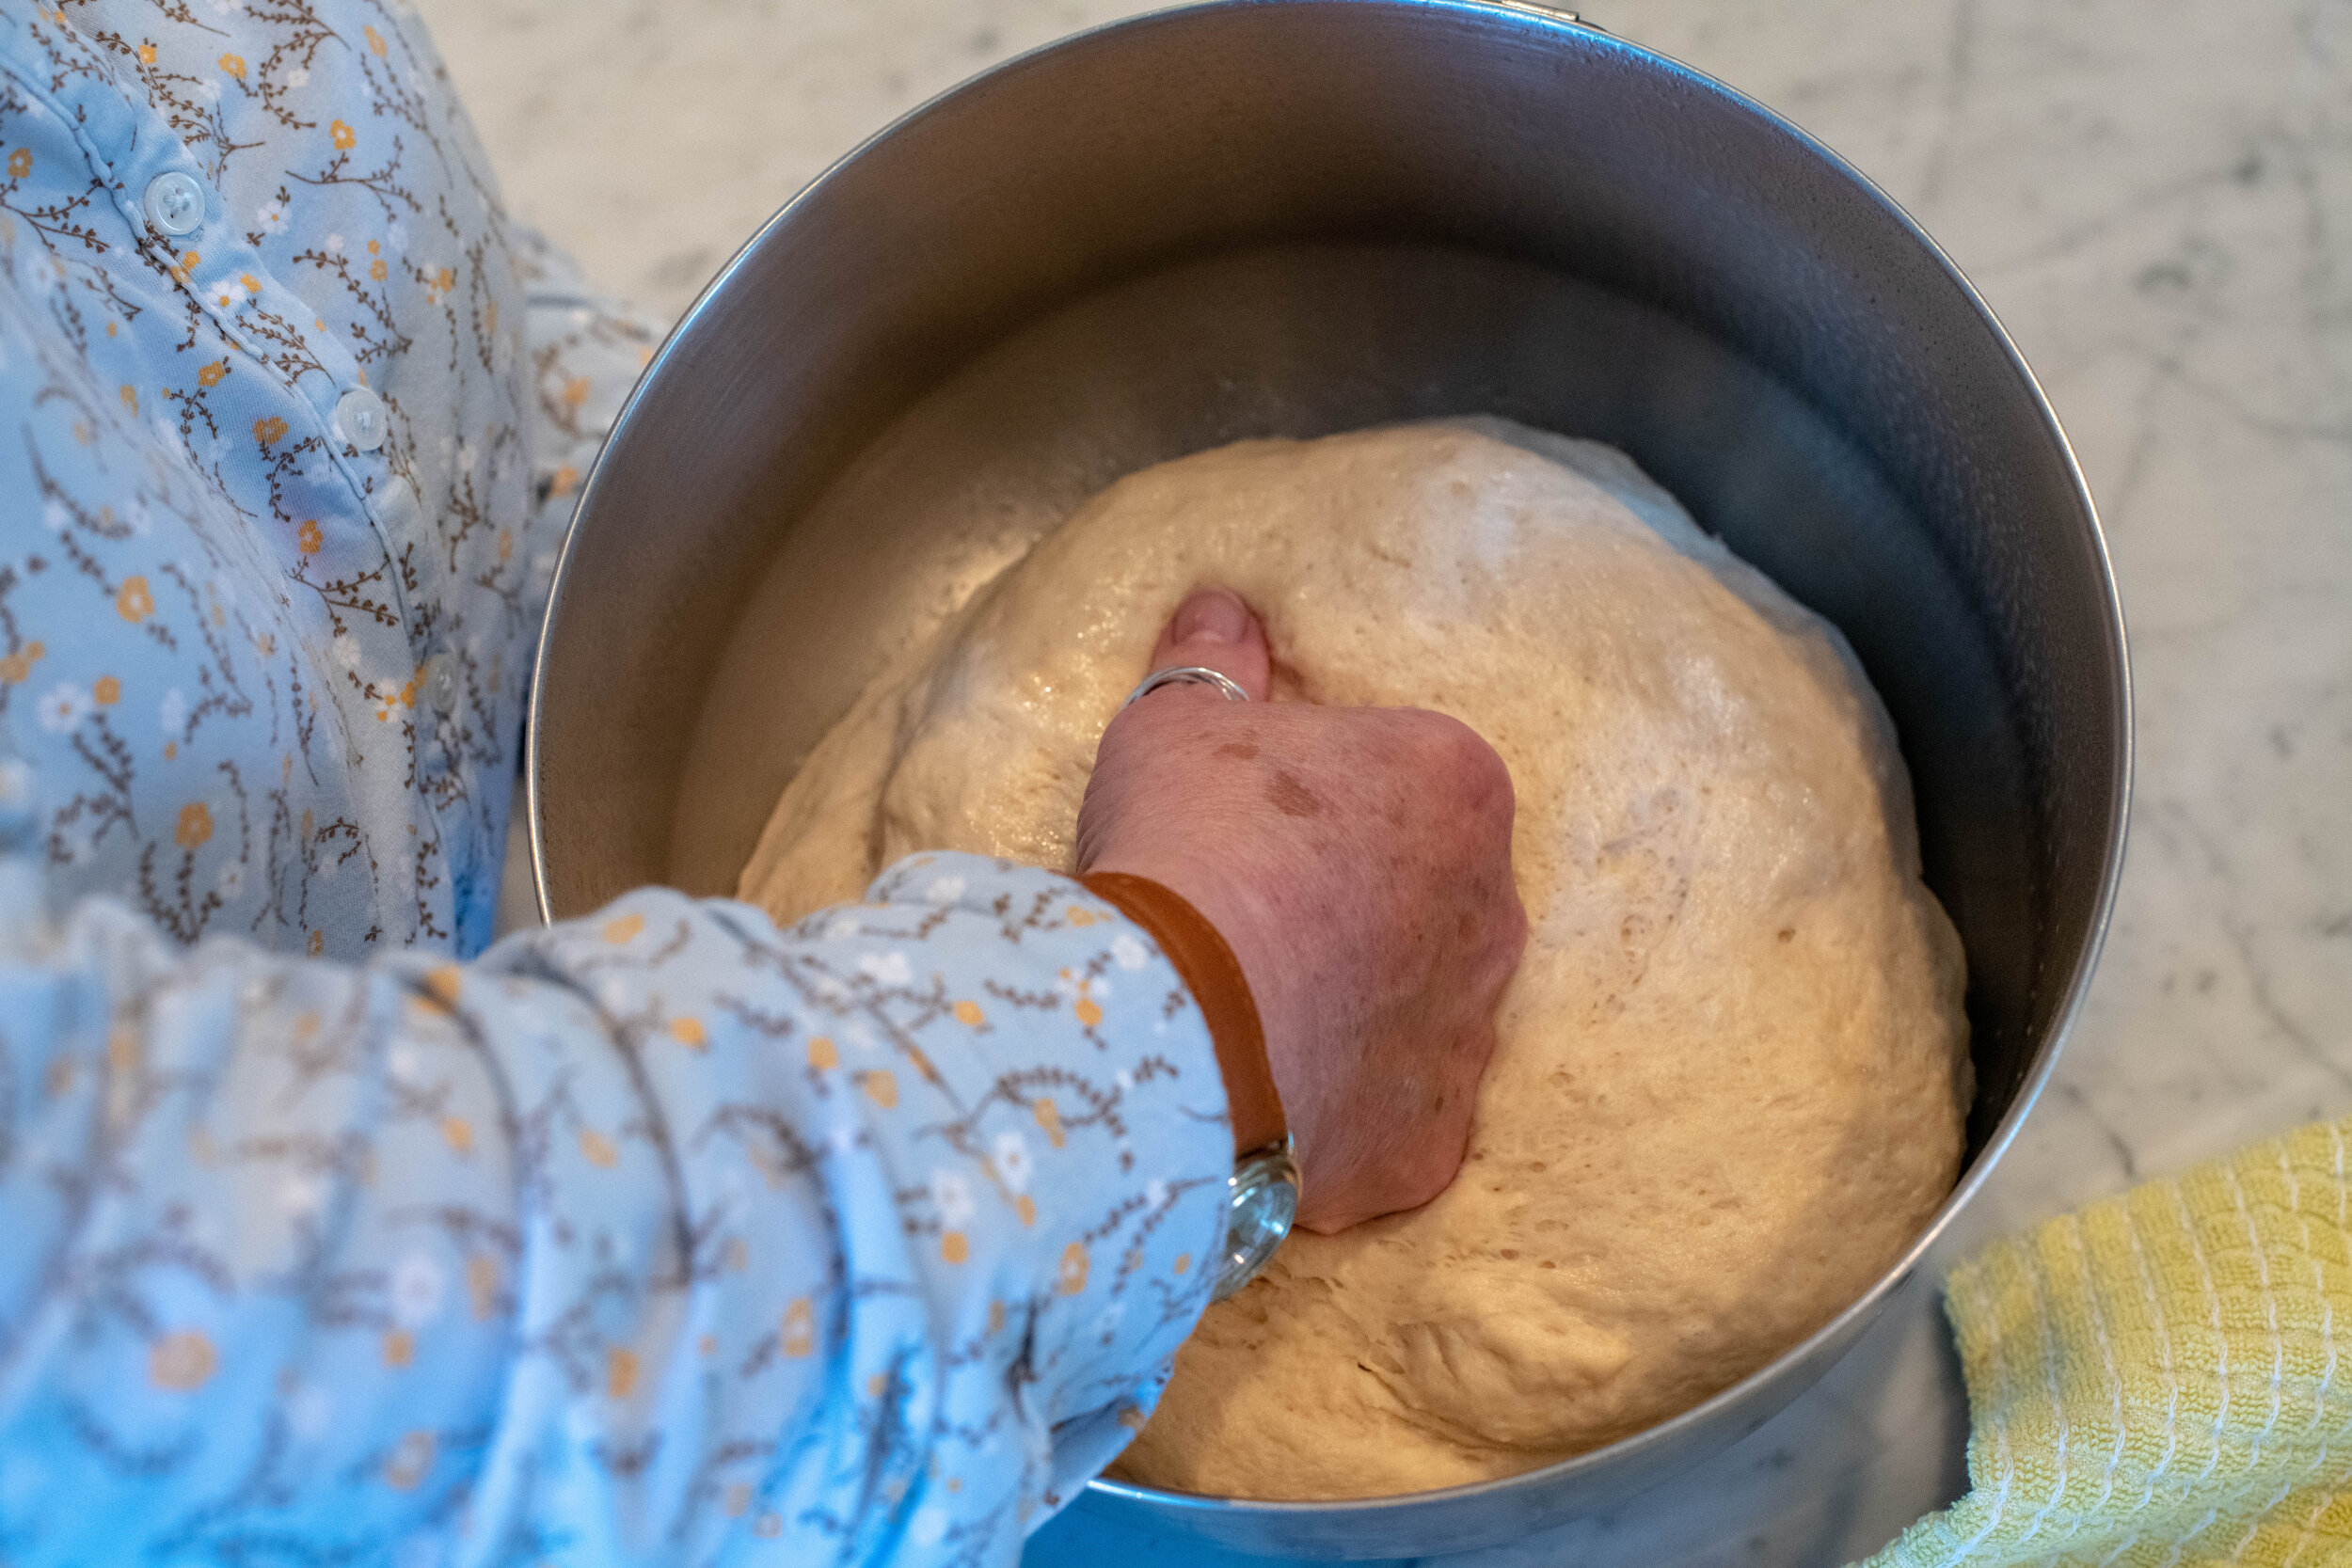
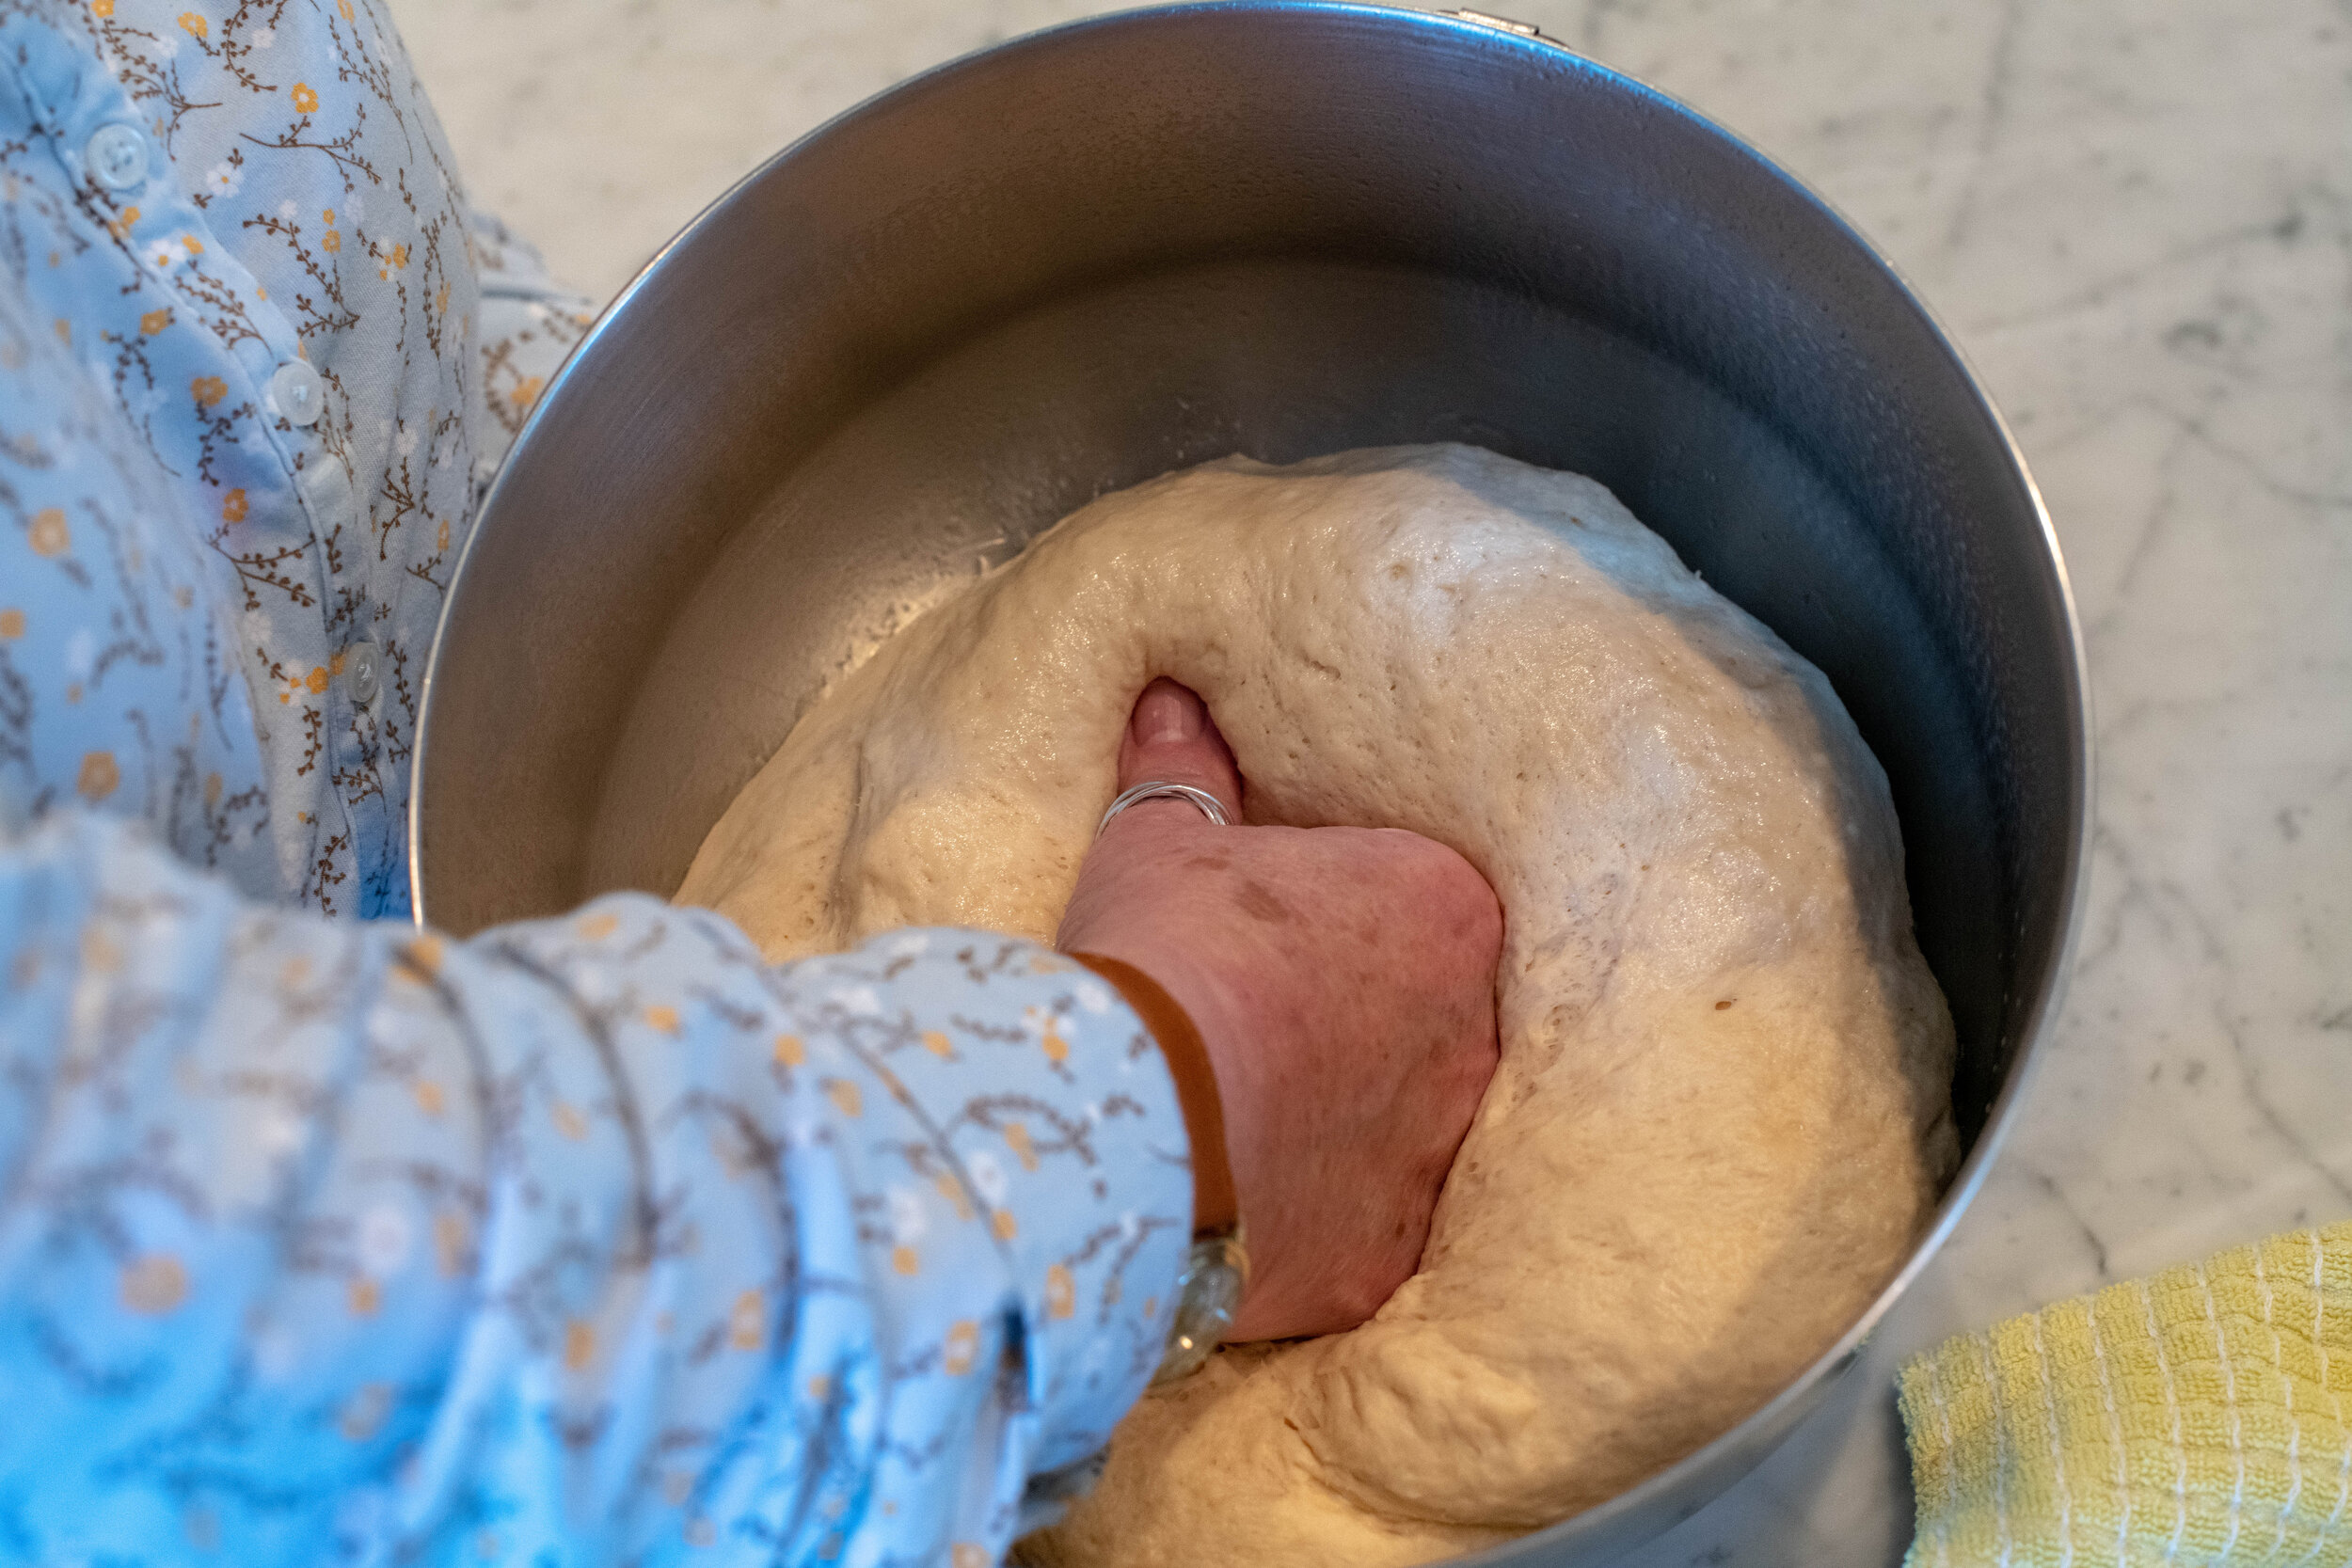
4. Once you have that soft ball of dough formed, empty it from the mixer and put it in large bowl that has been sprayed or buttered lightly. Lightly butter or spray the top of the dough and place plastic wrap on top. Put in a warm place to rise for 2 hours, or until it has “doubled” in size.
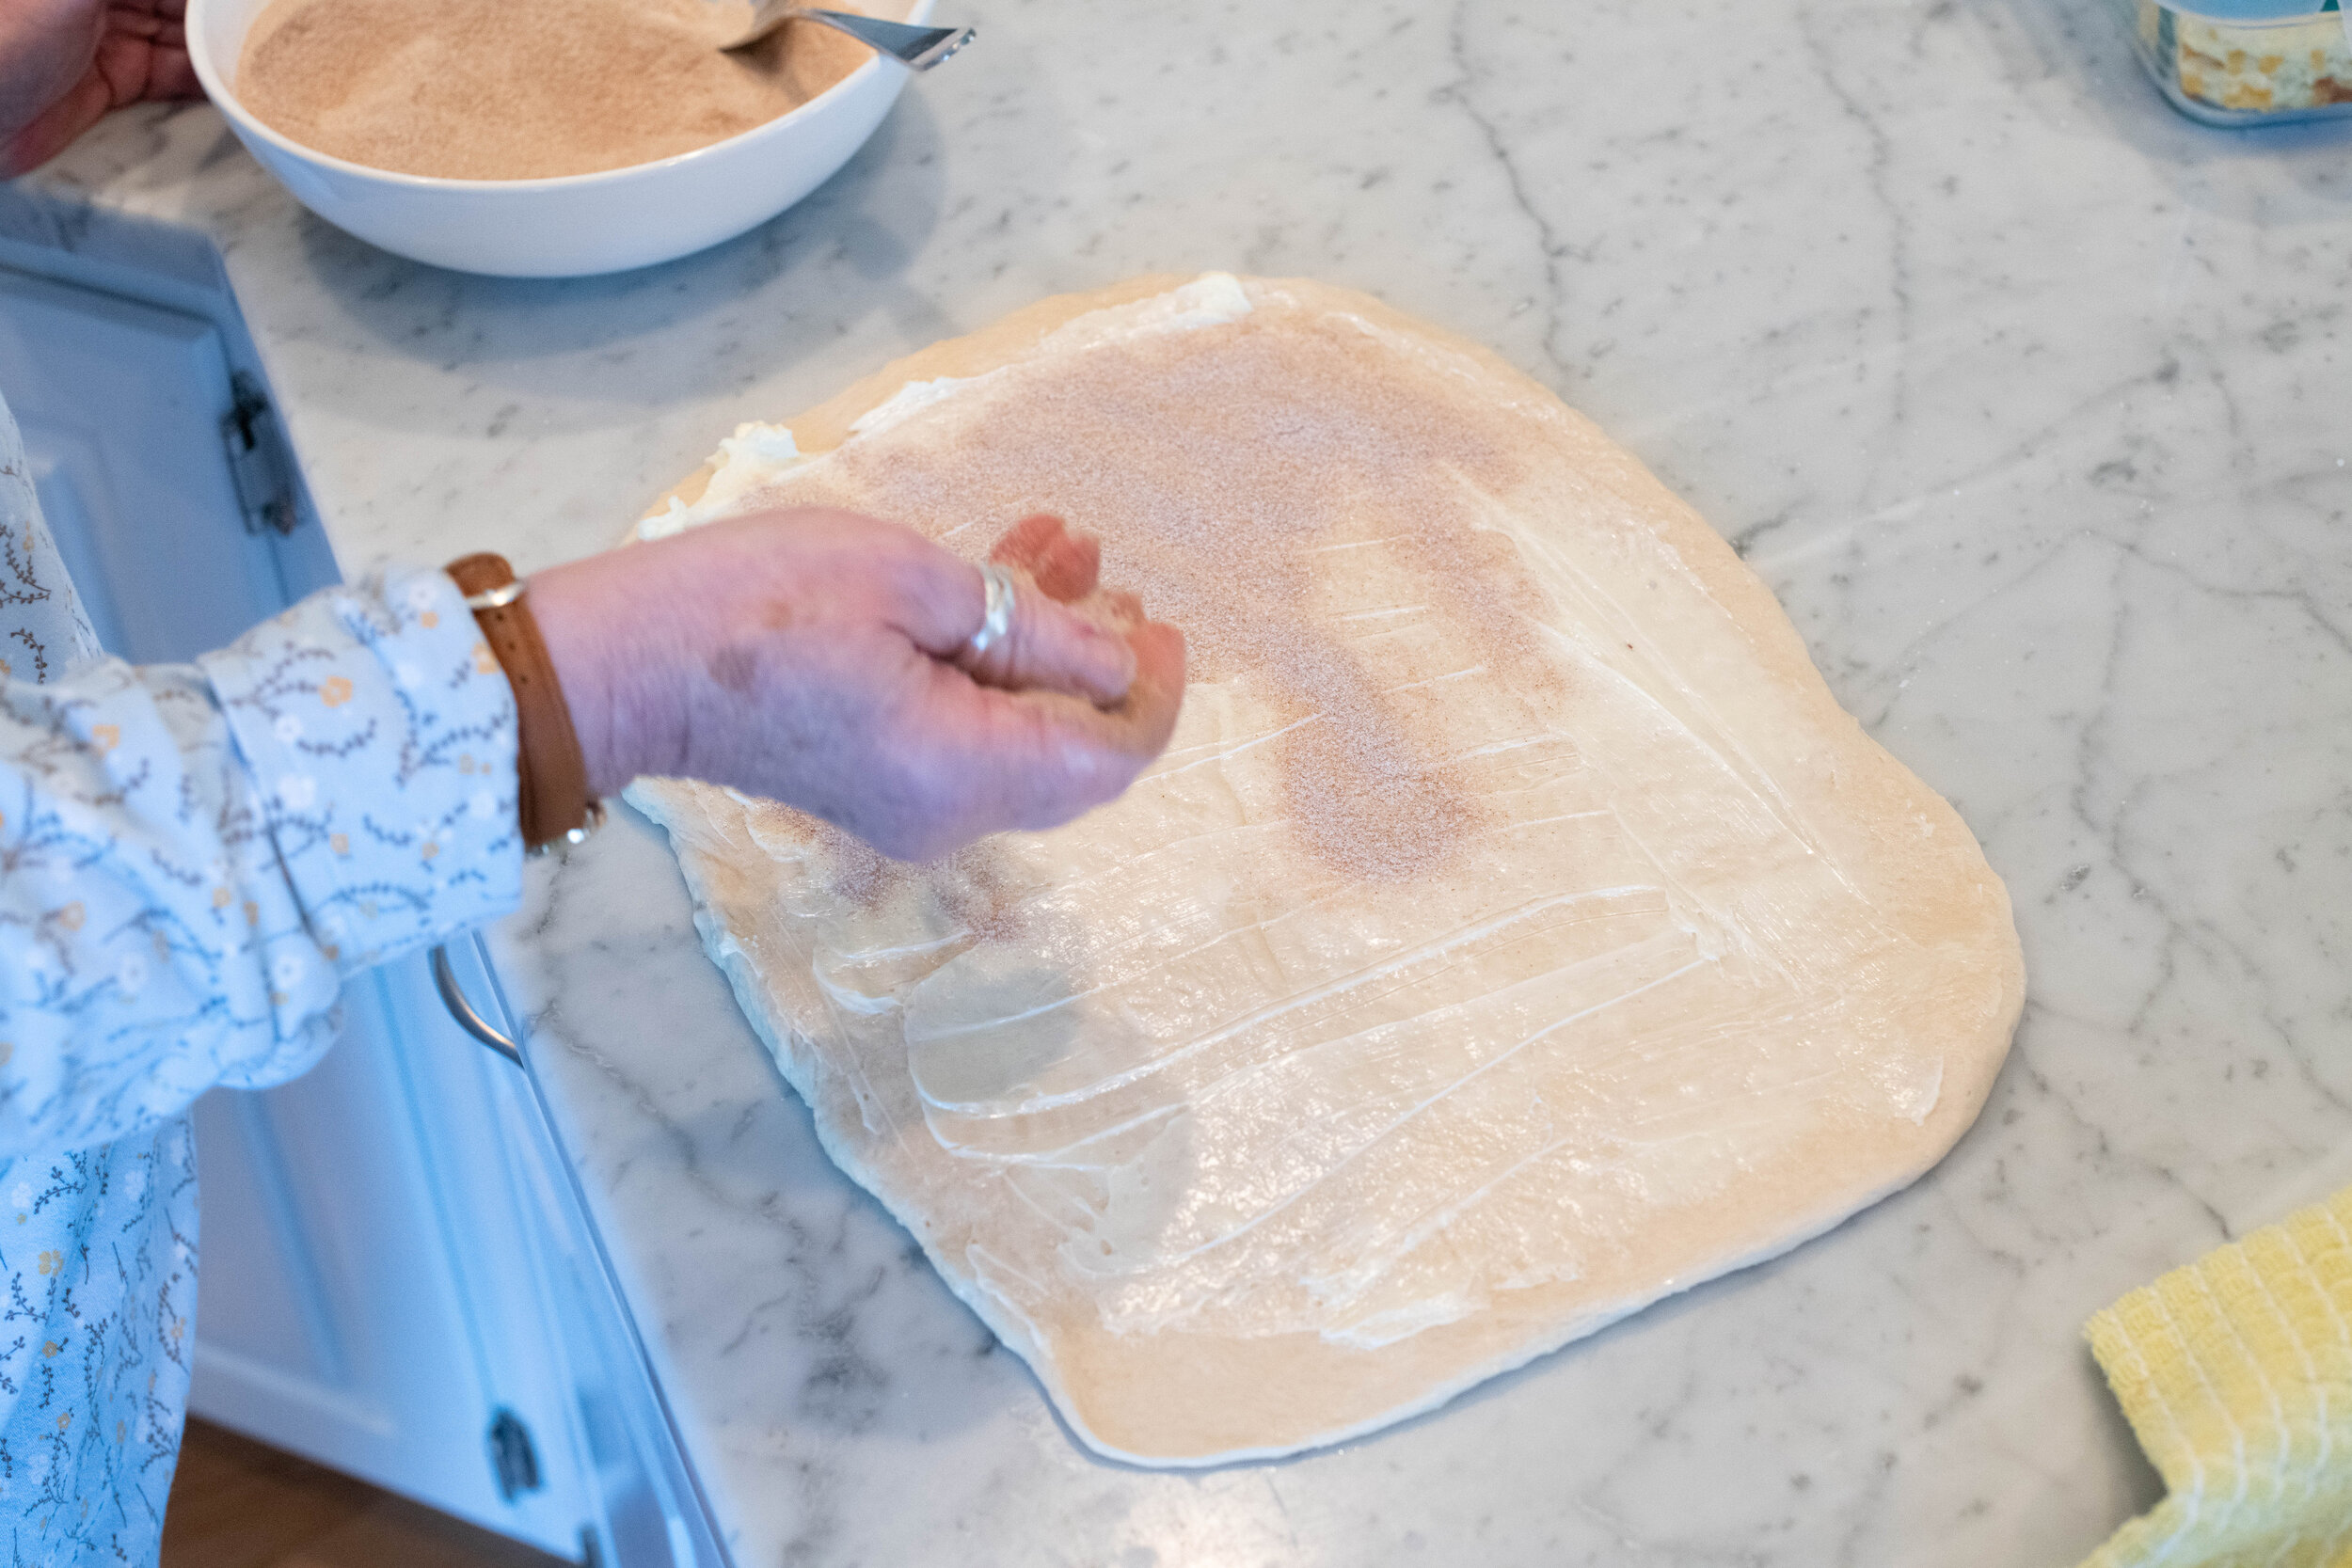
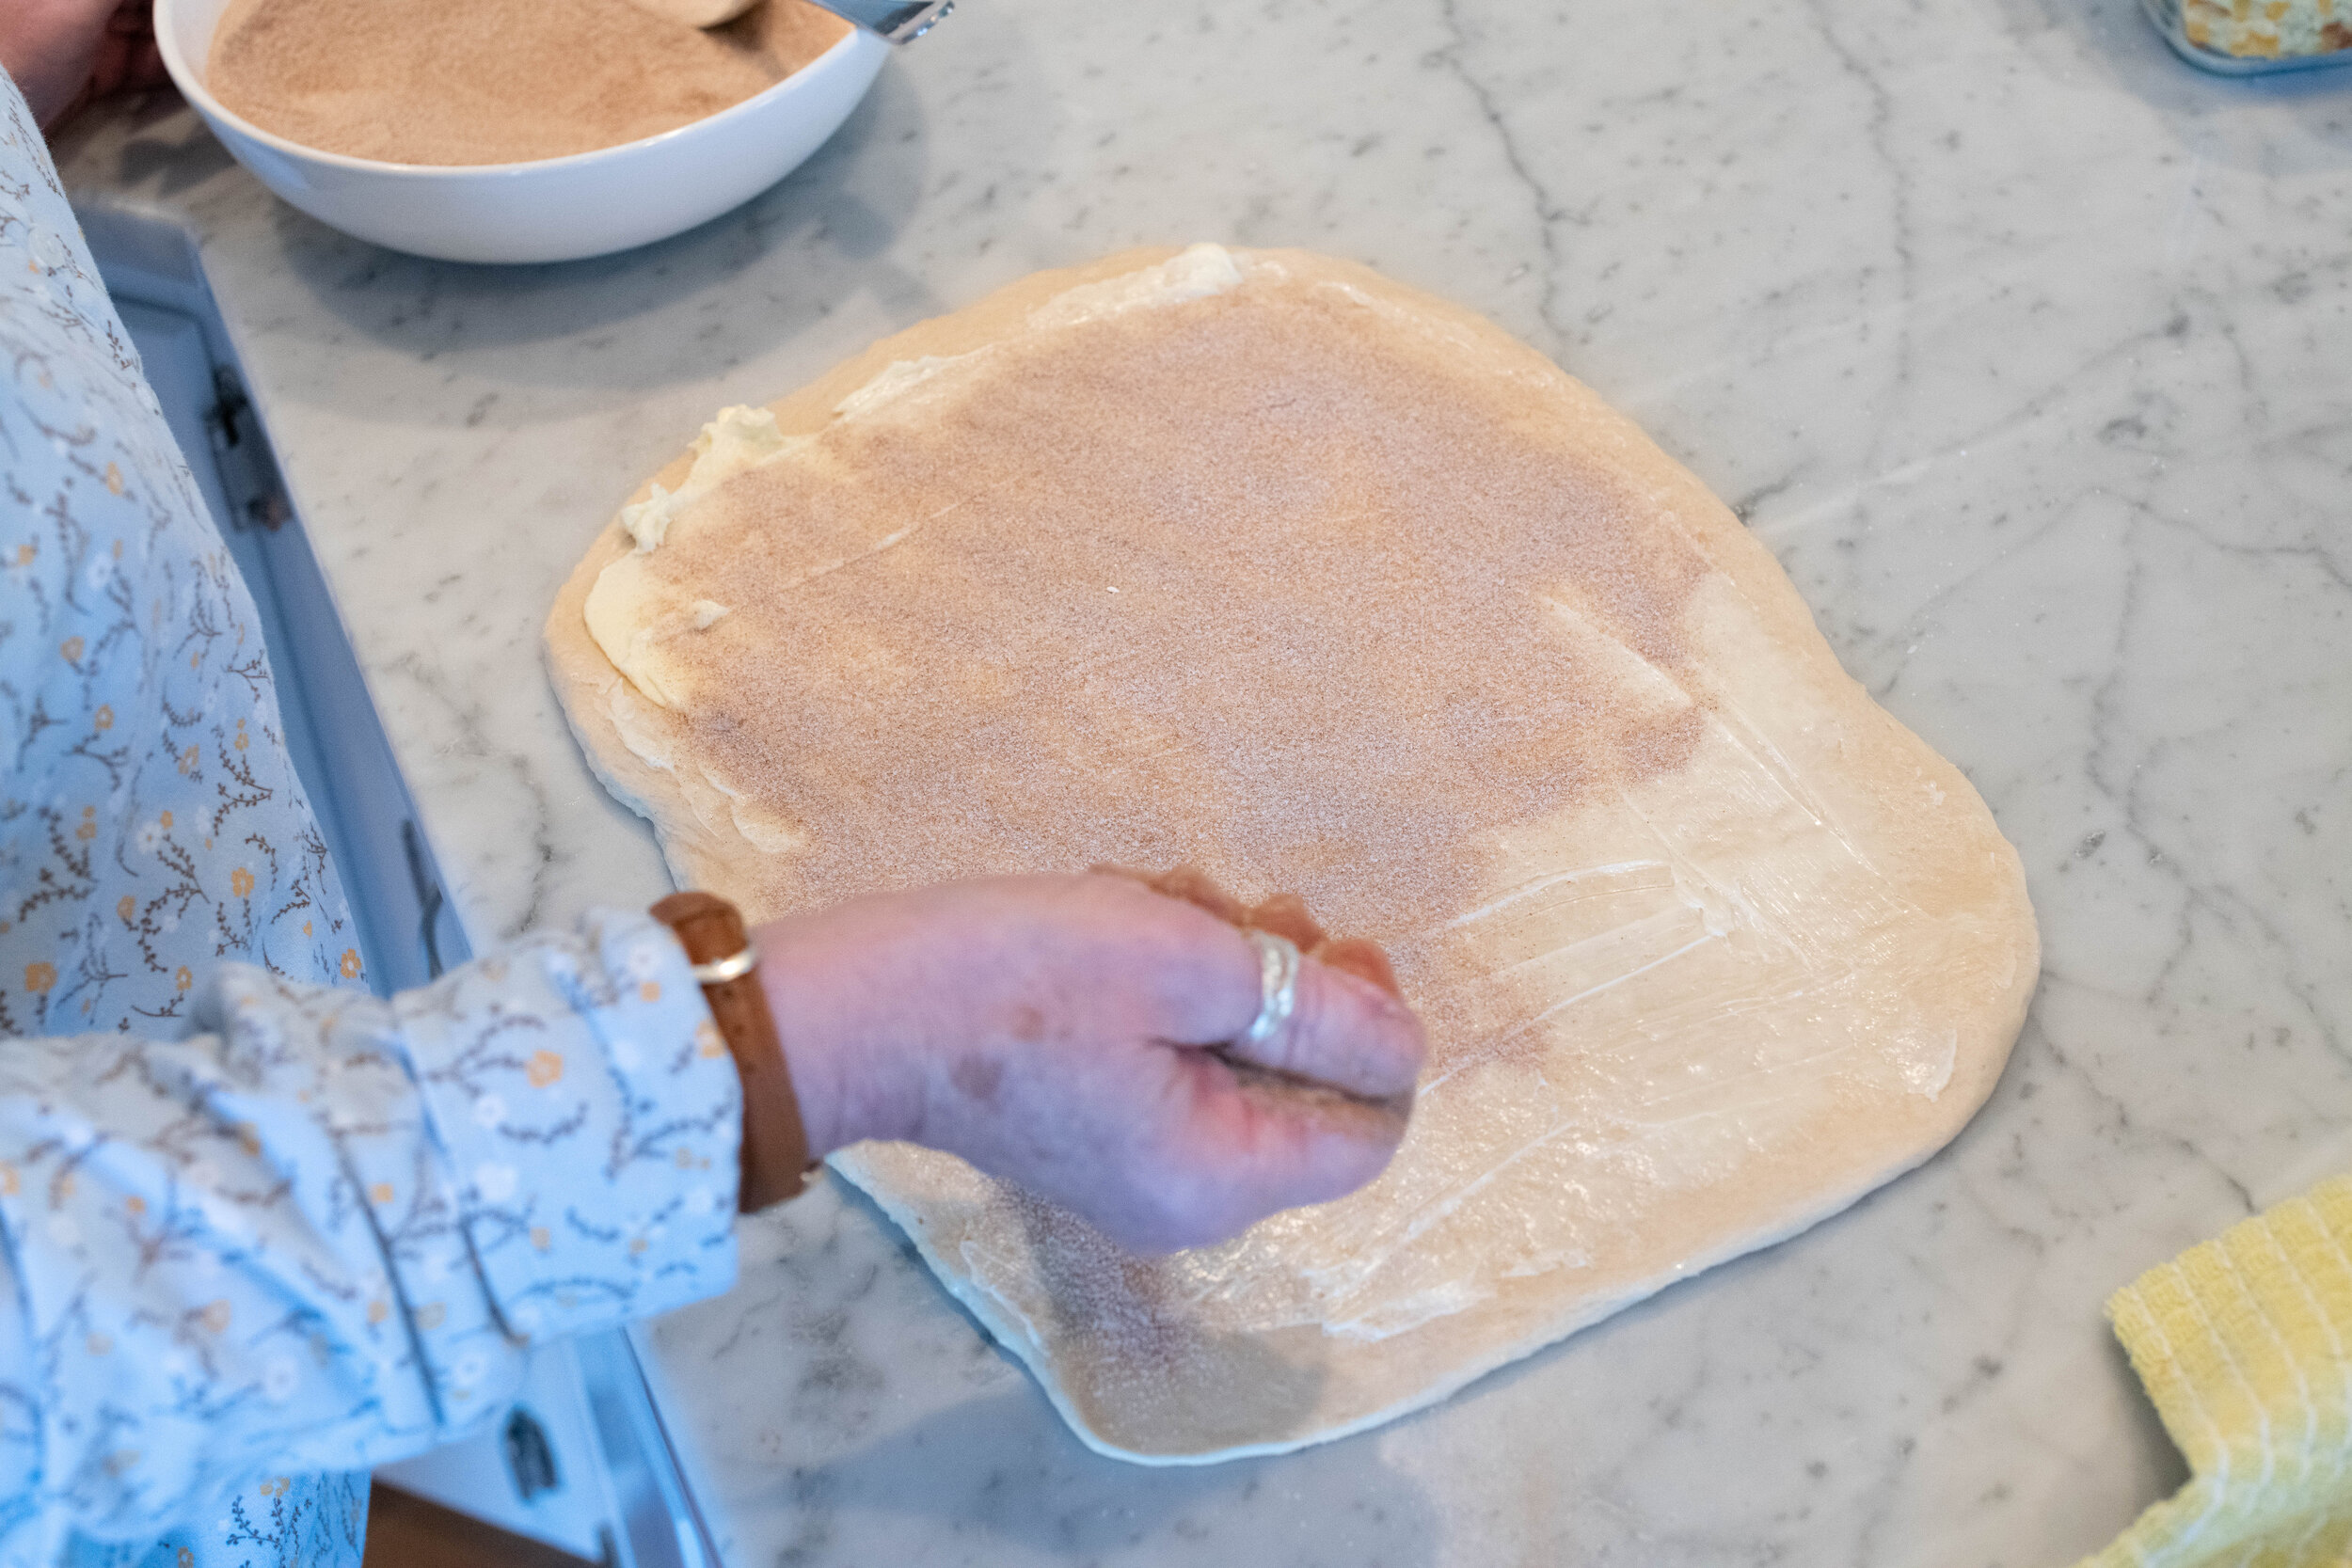
5. Take this time to mix your cinnamon and sugar in a bowl for later, and make sure the butter you will spread on your dough is nice and soft.
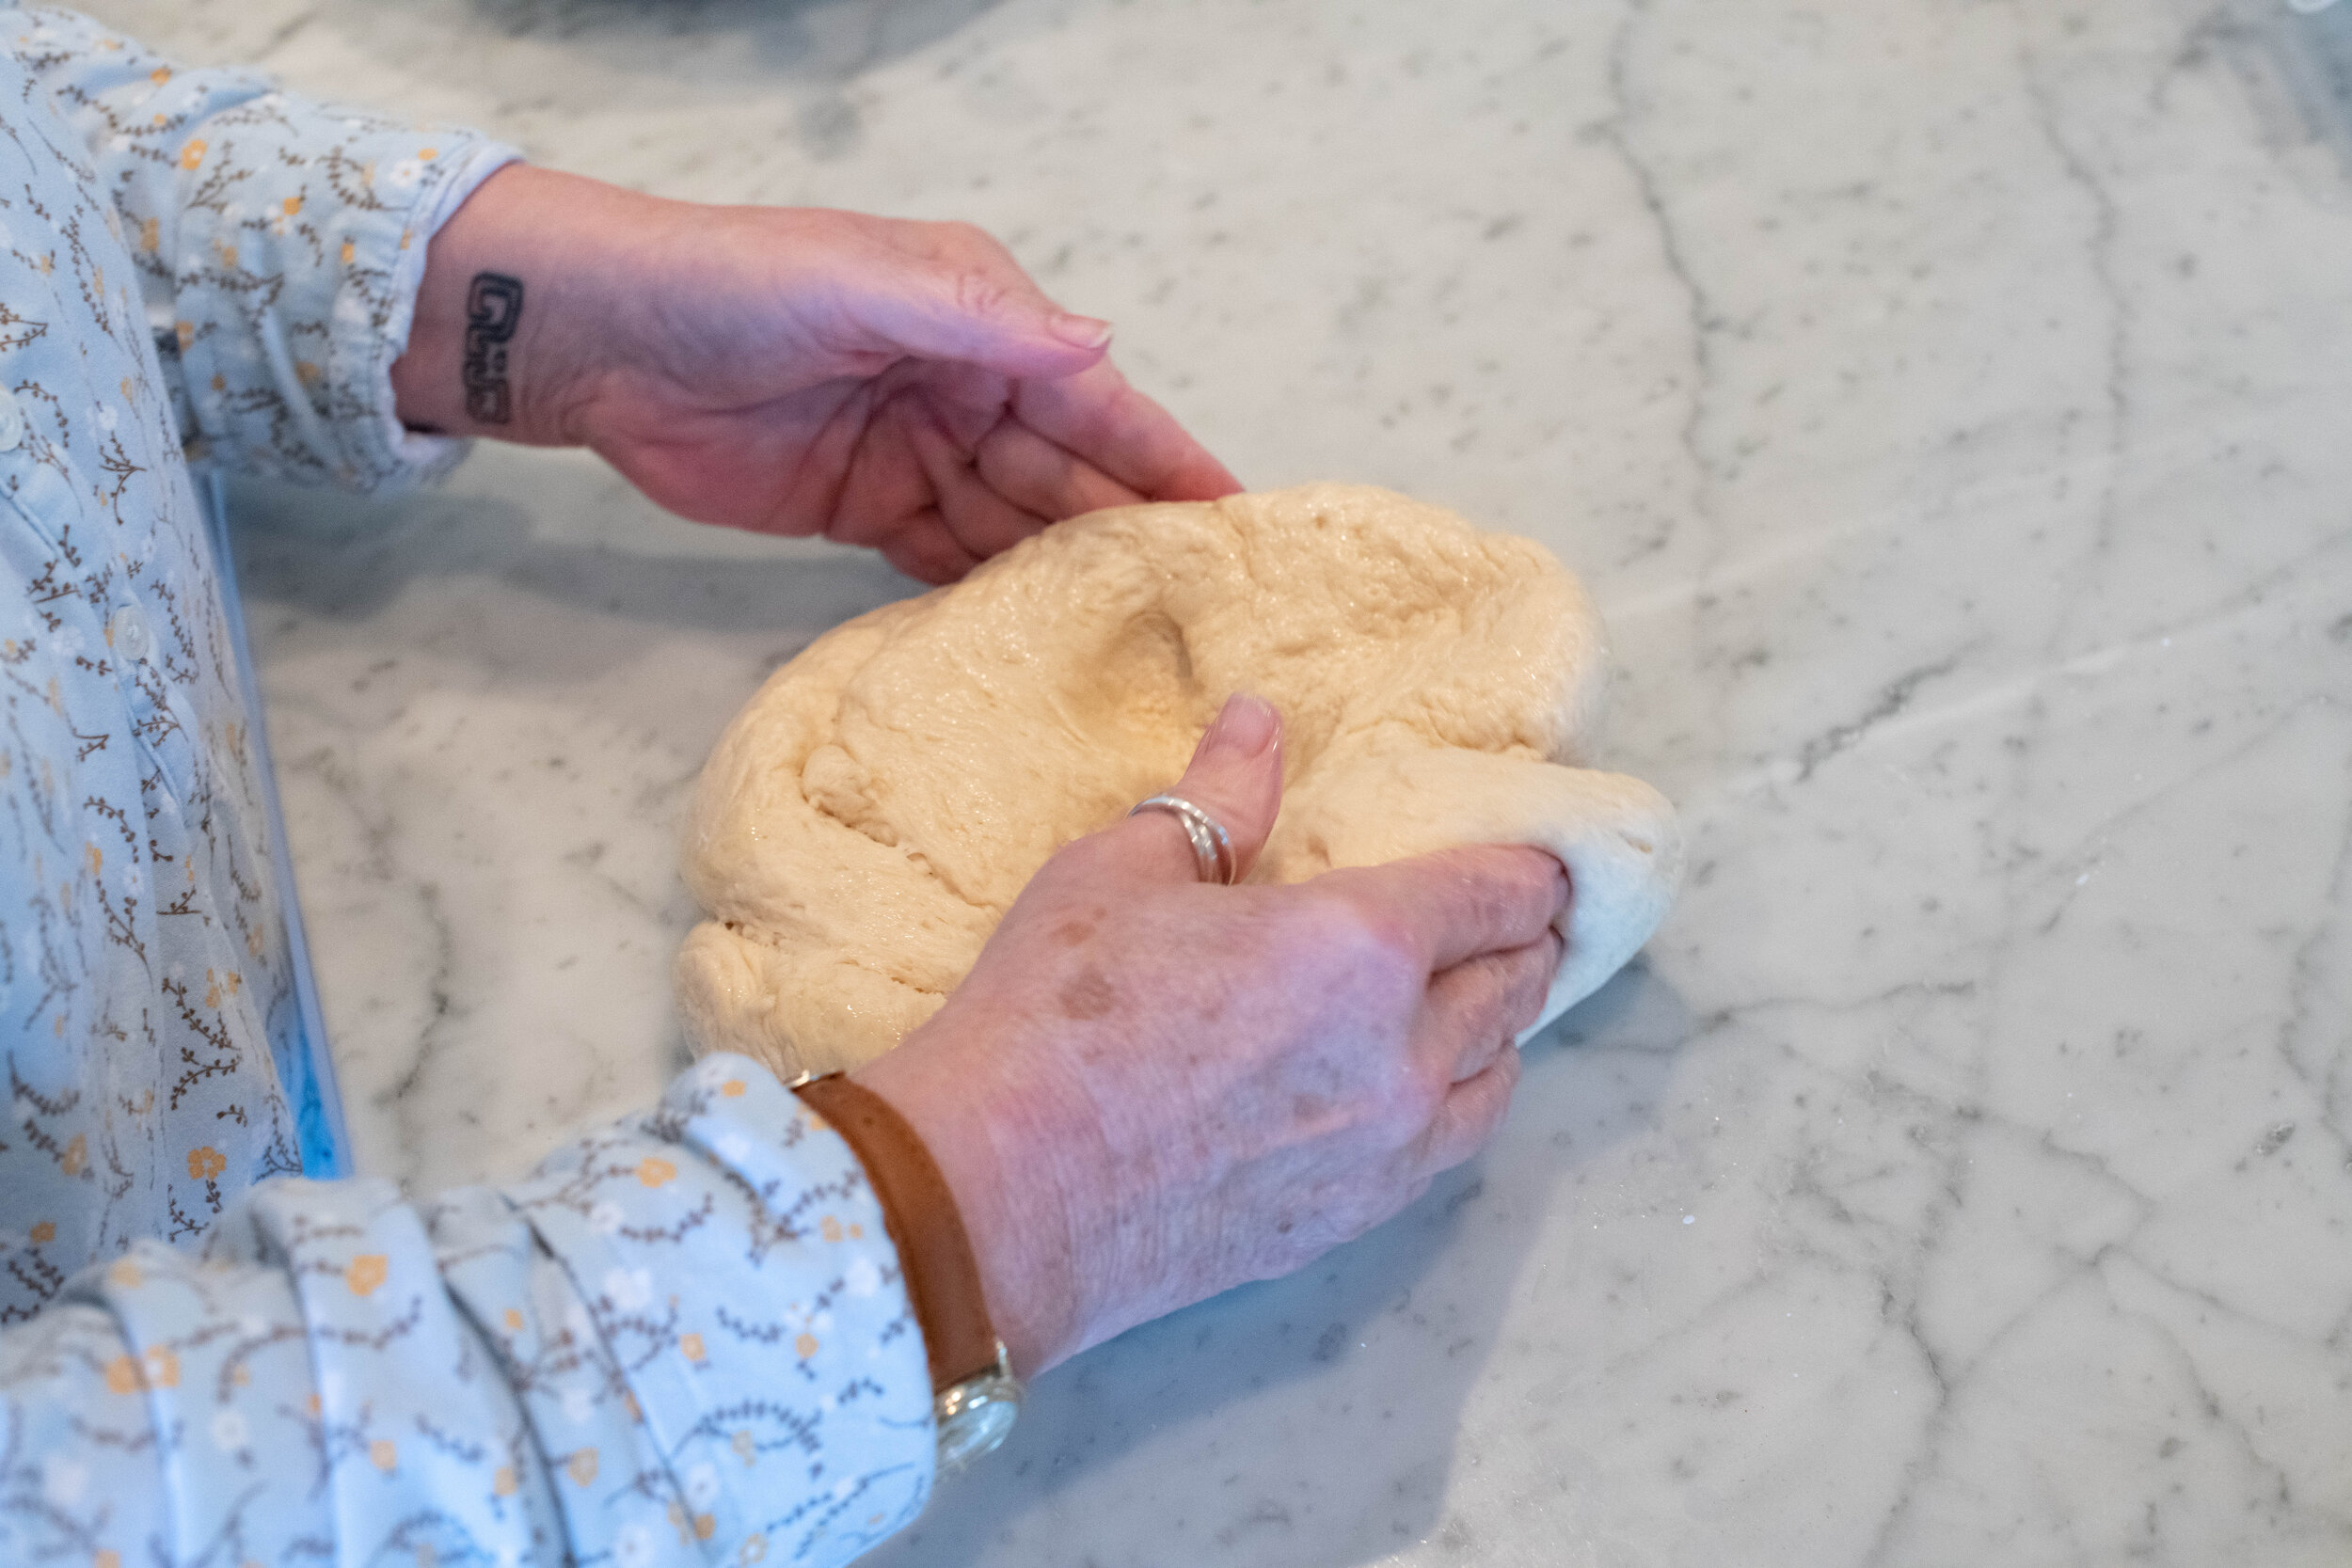
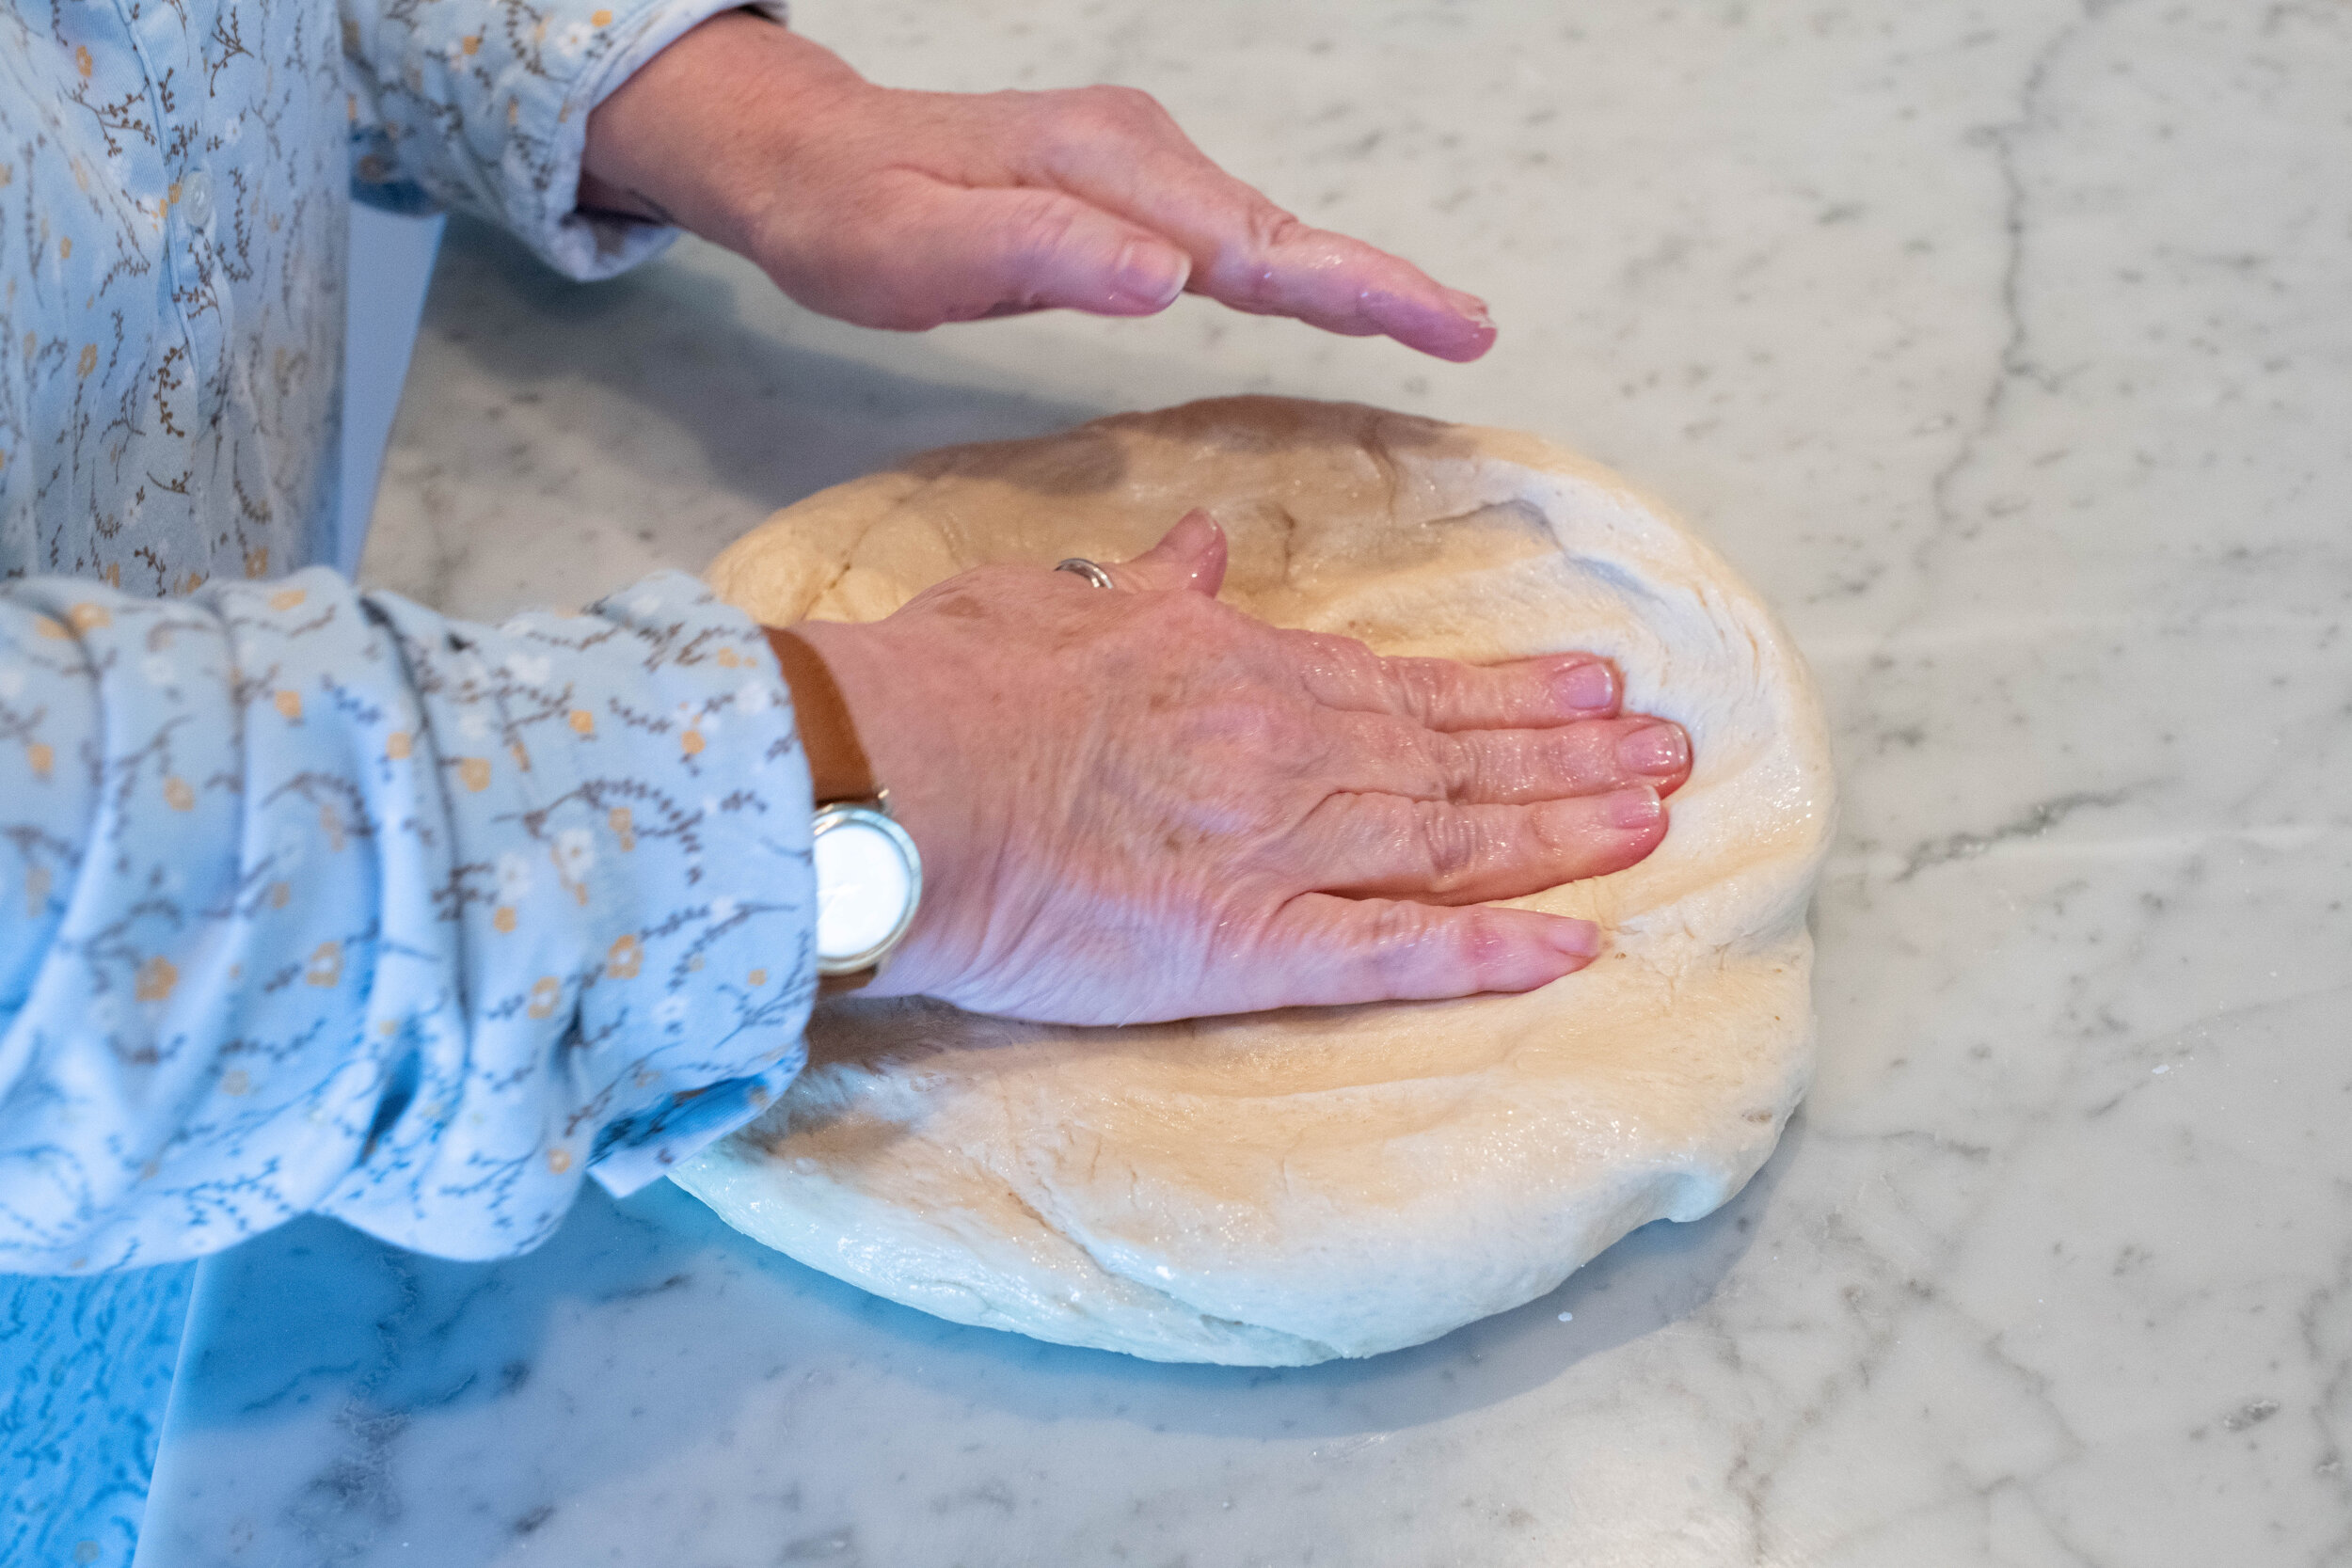
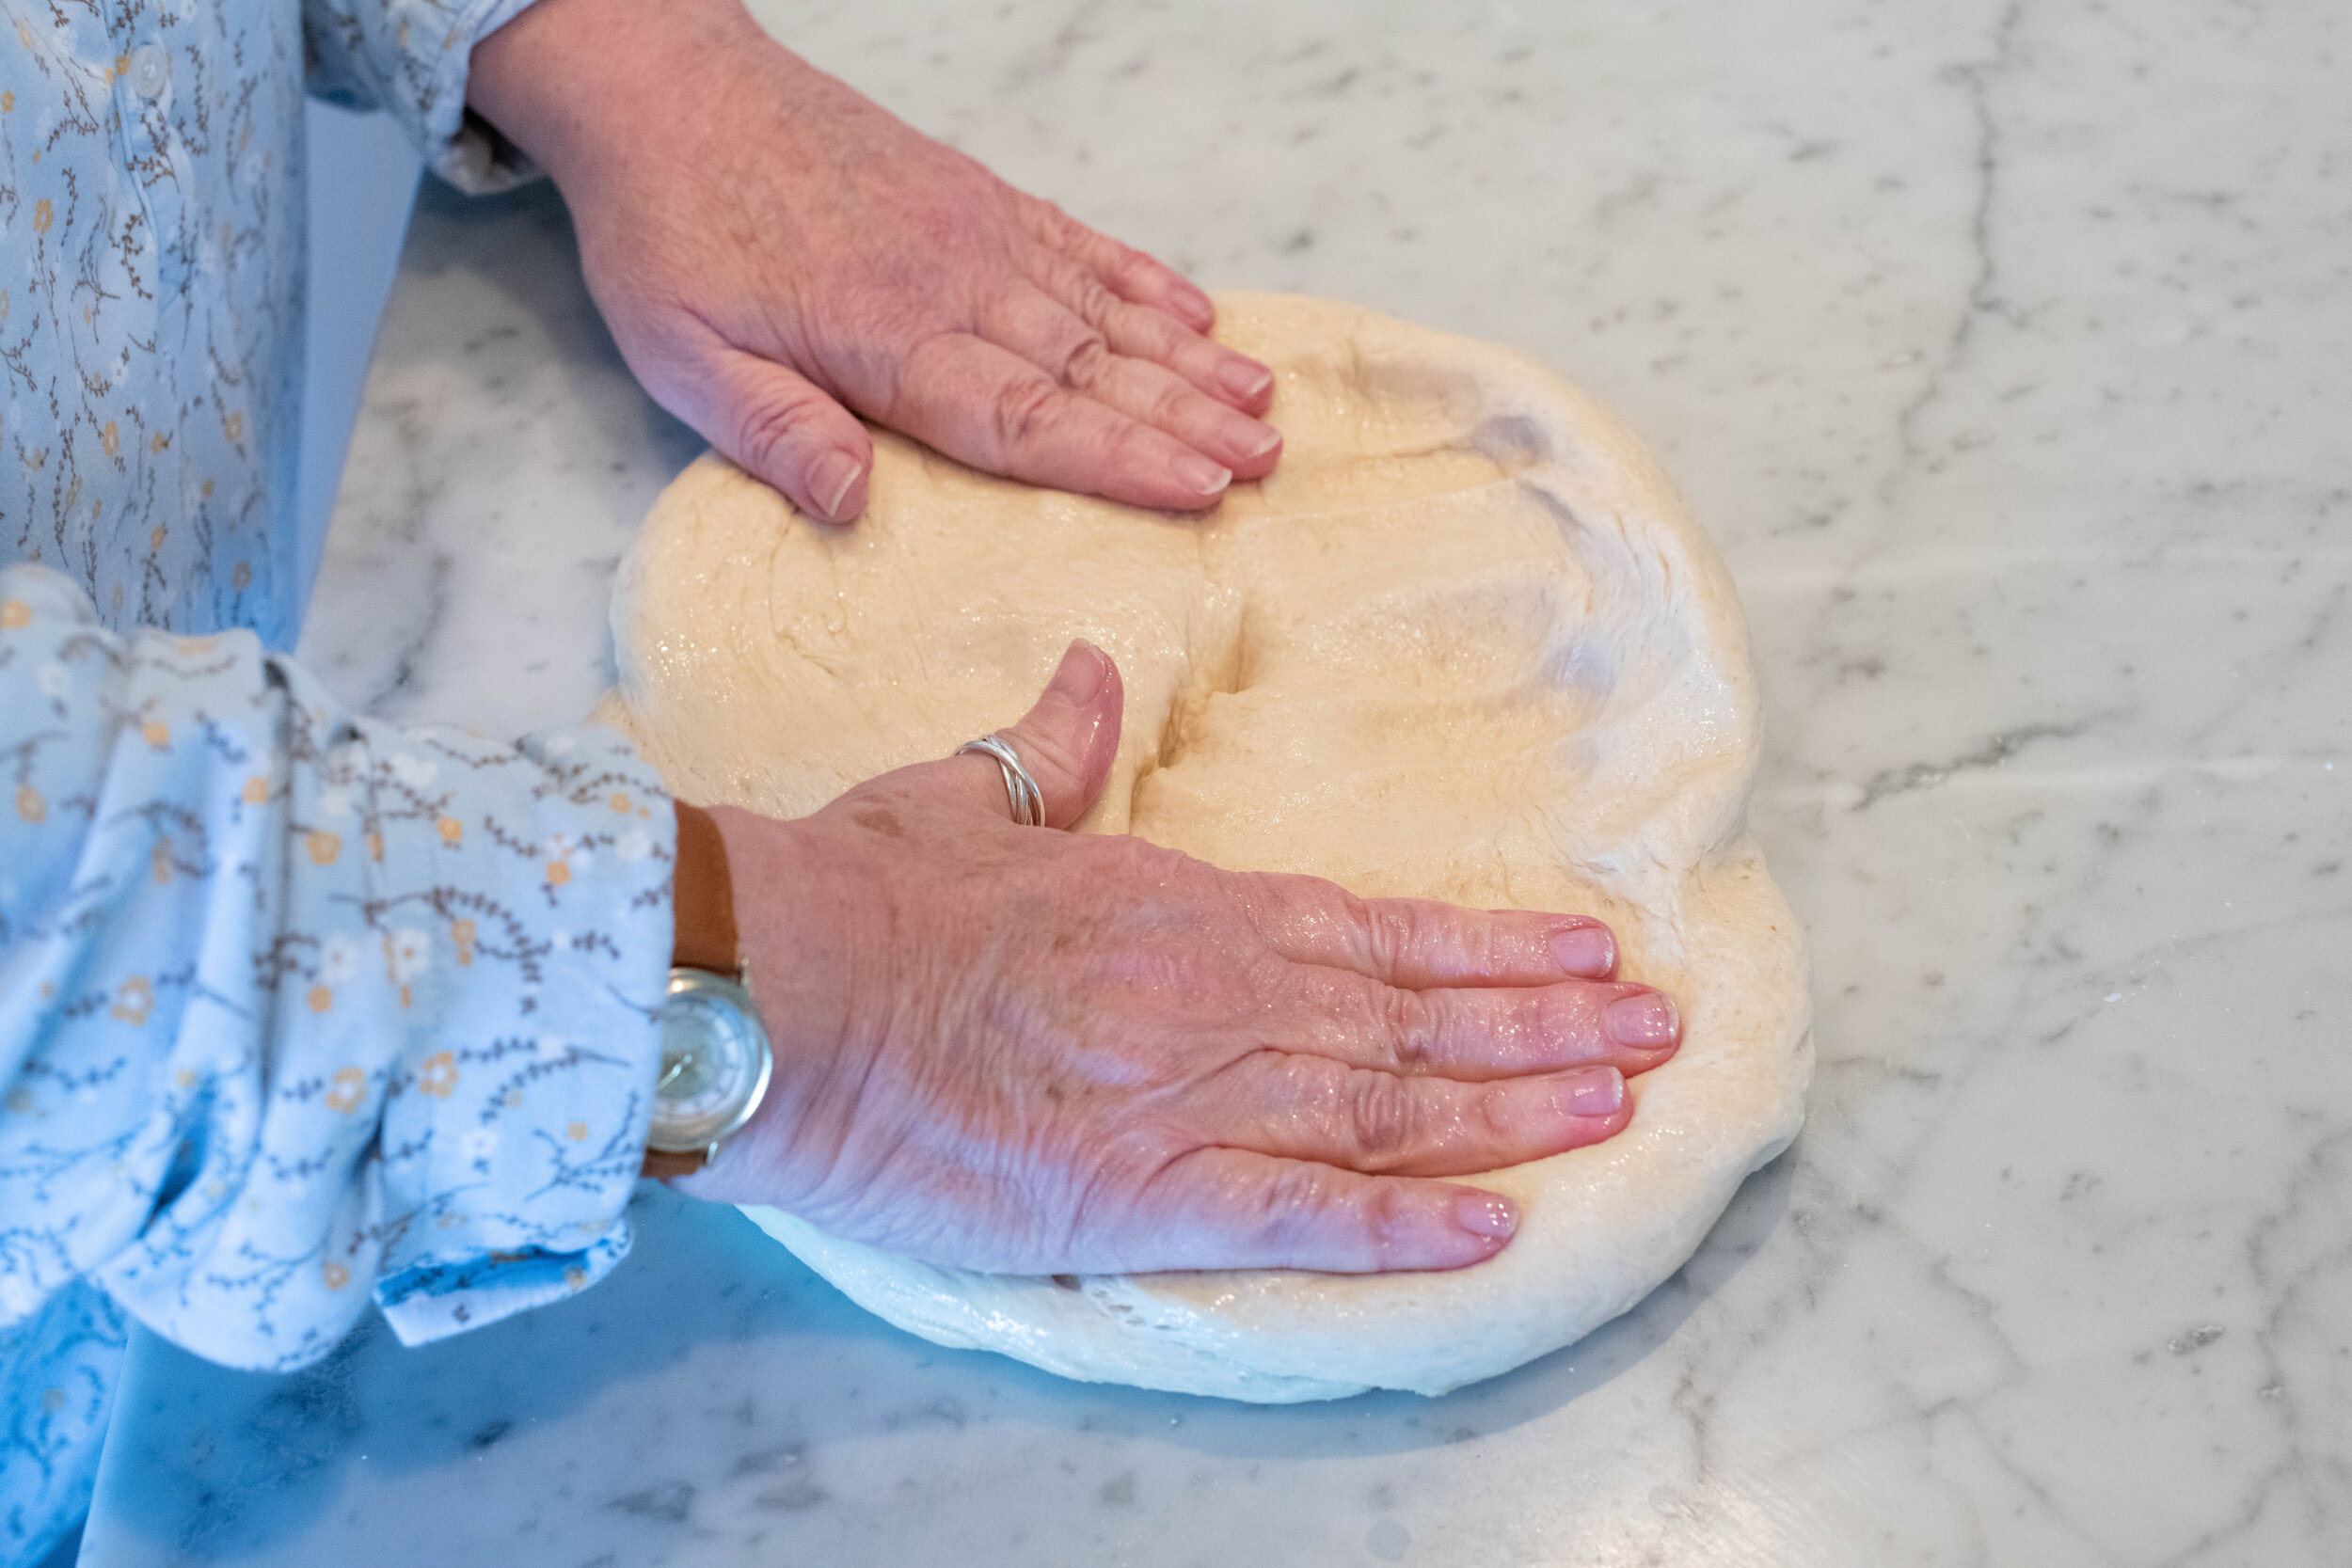
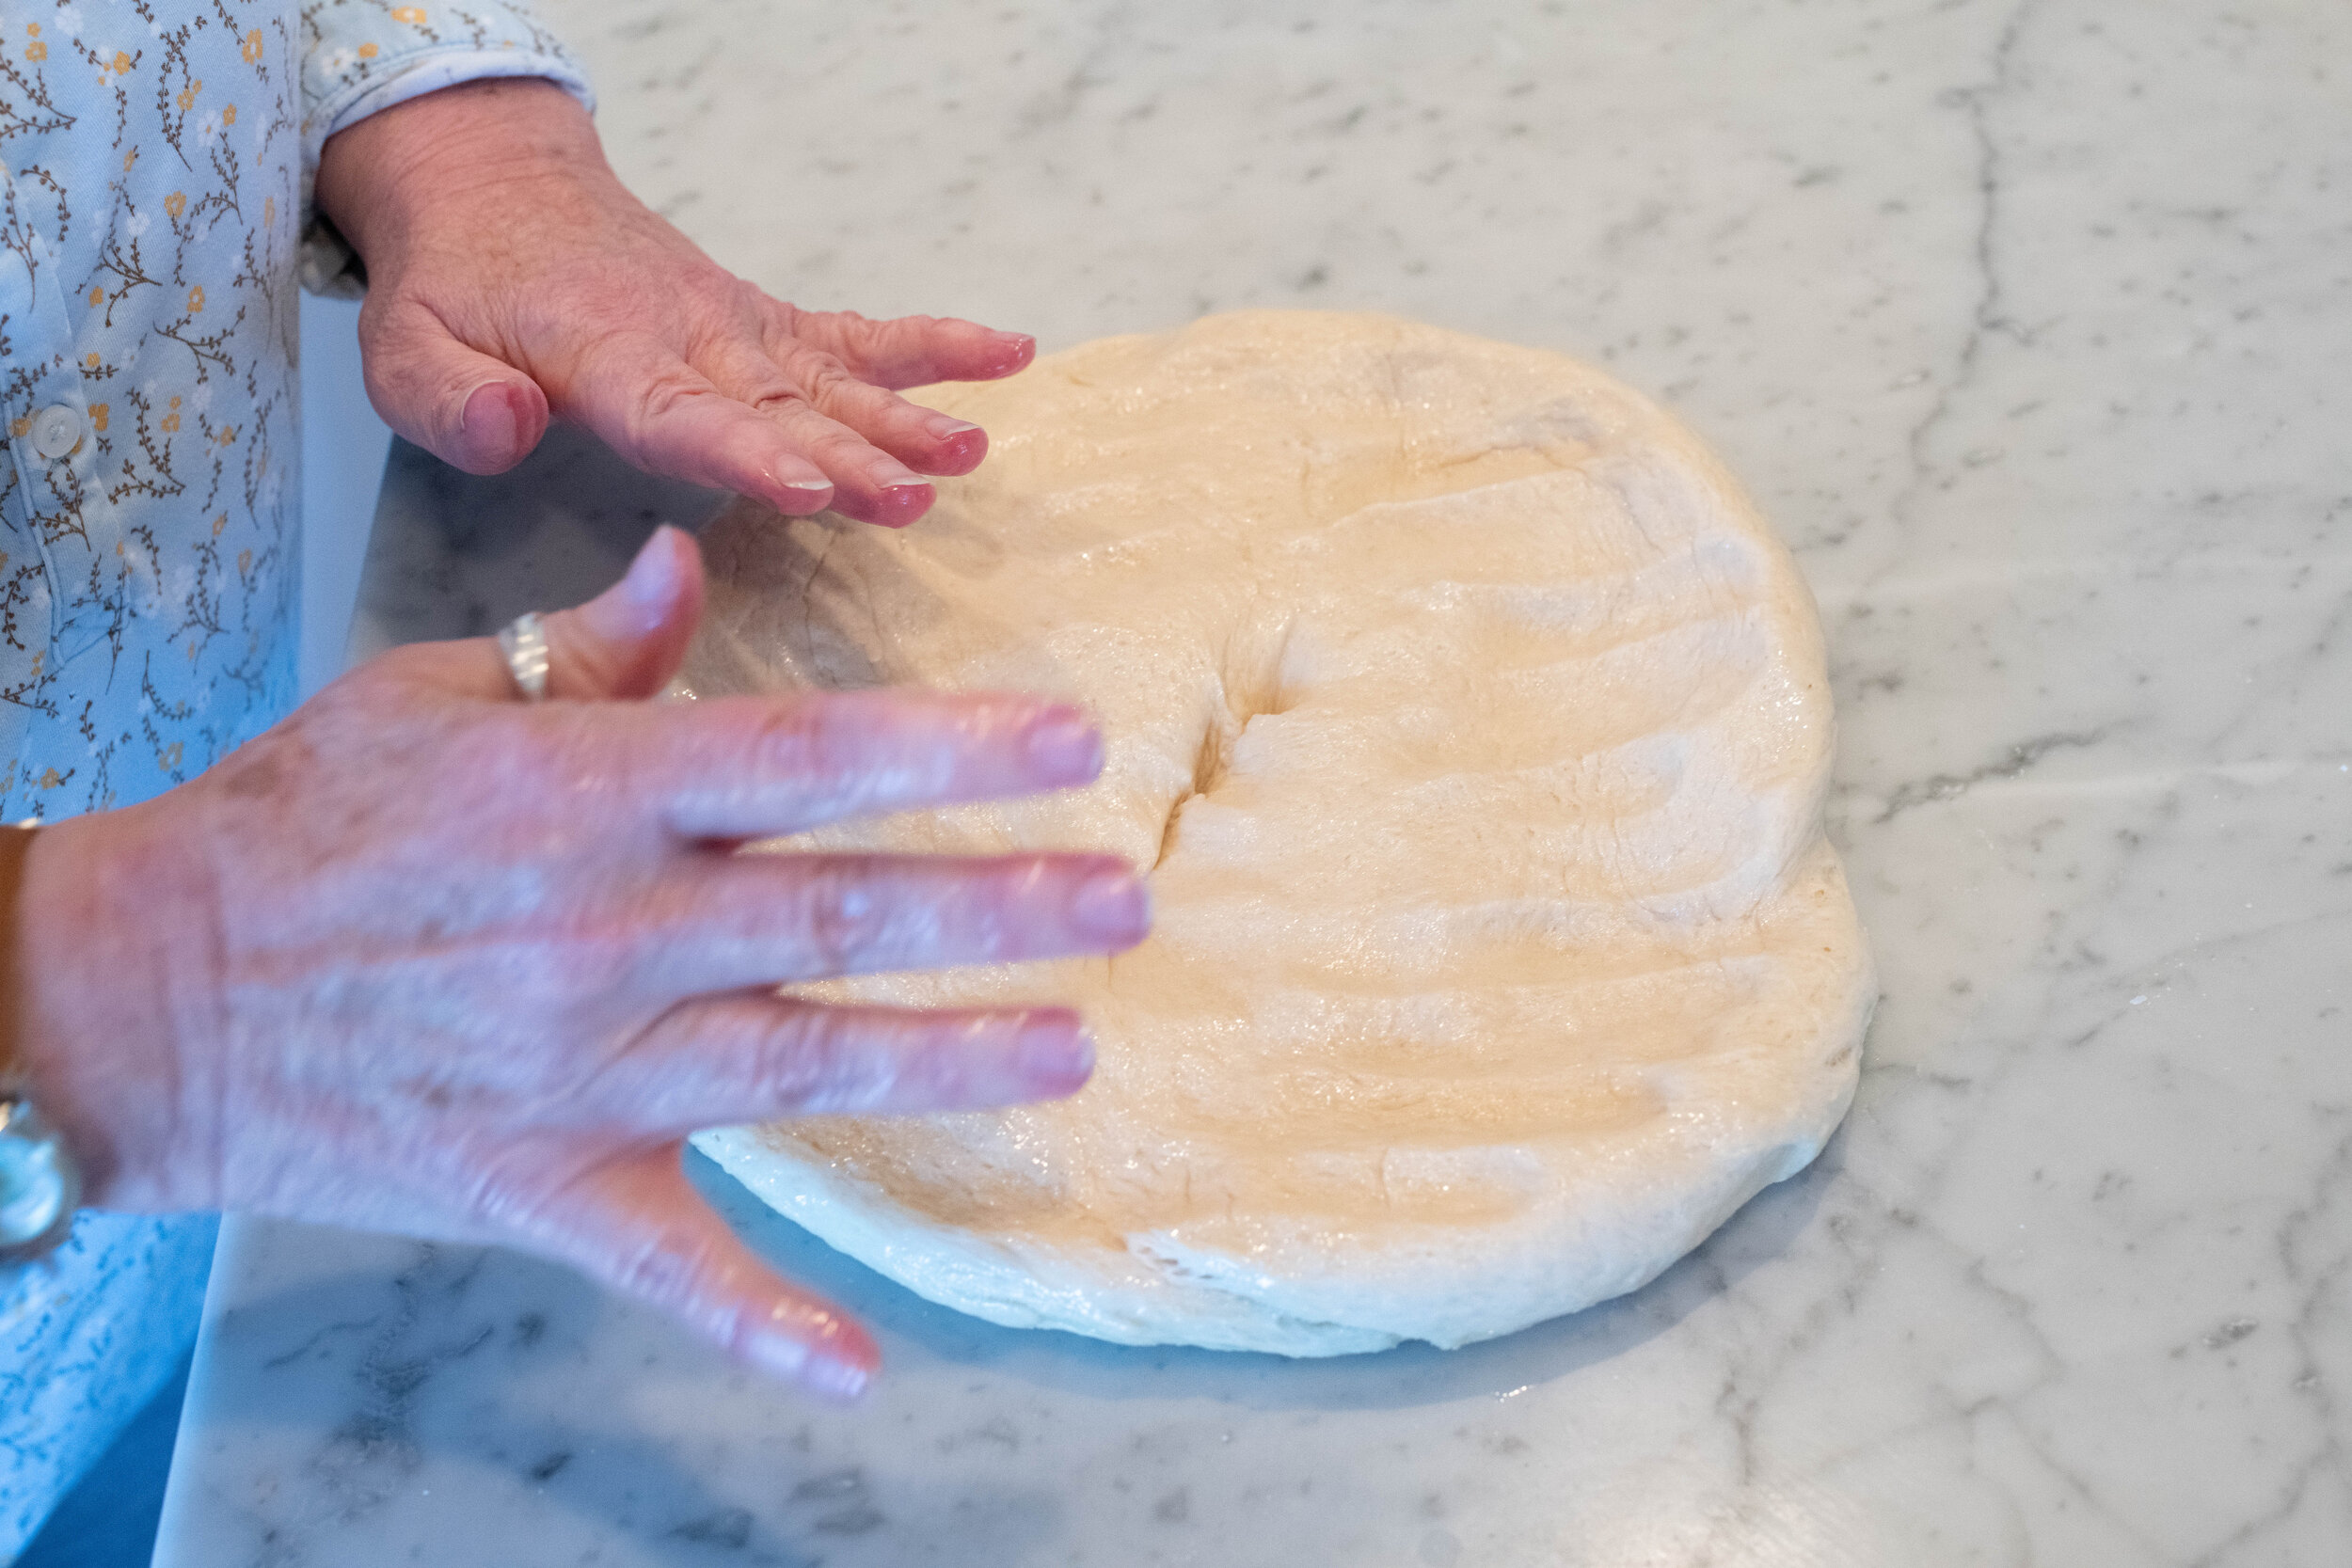
6. Once the dough has risen, remove the plastic wrap and “punch” down the dough.
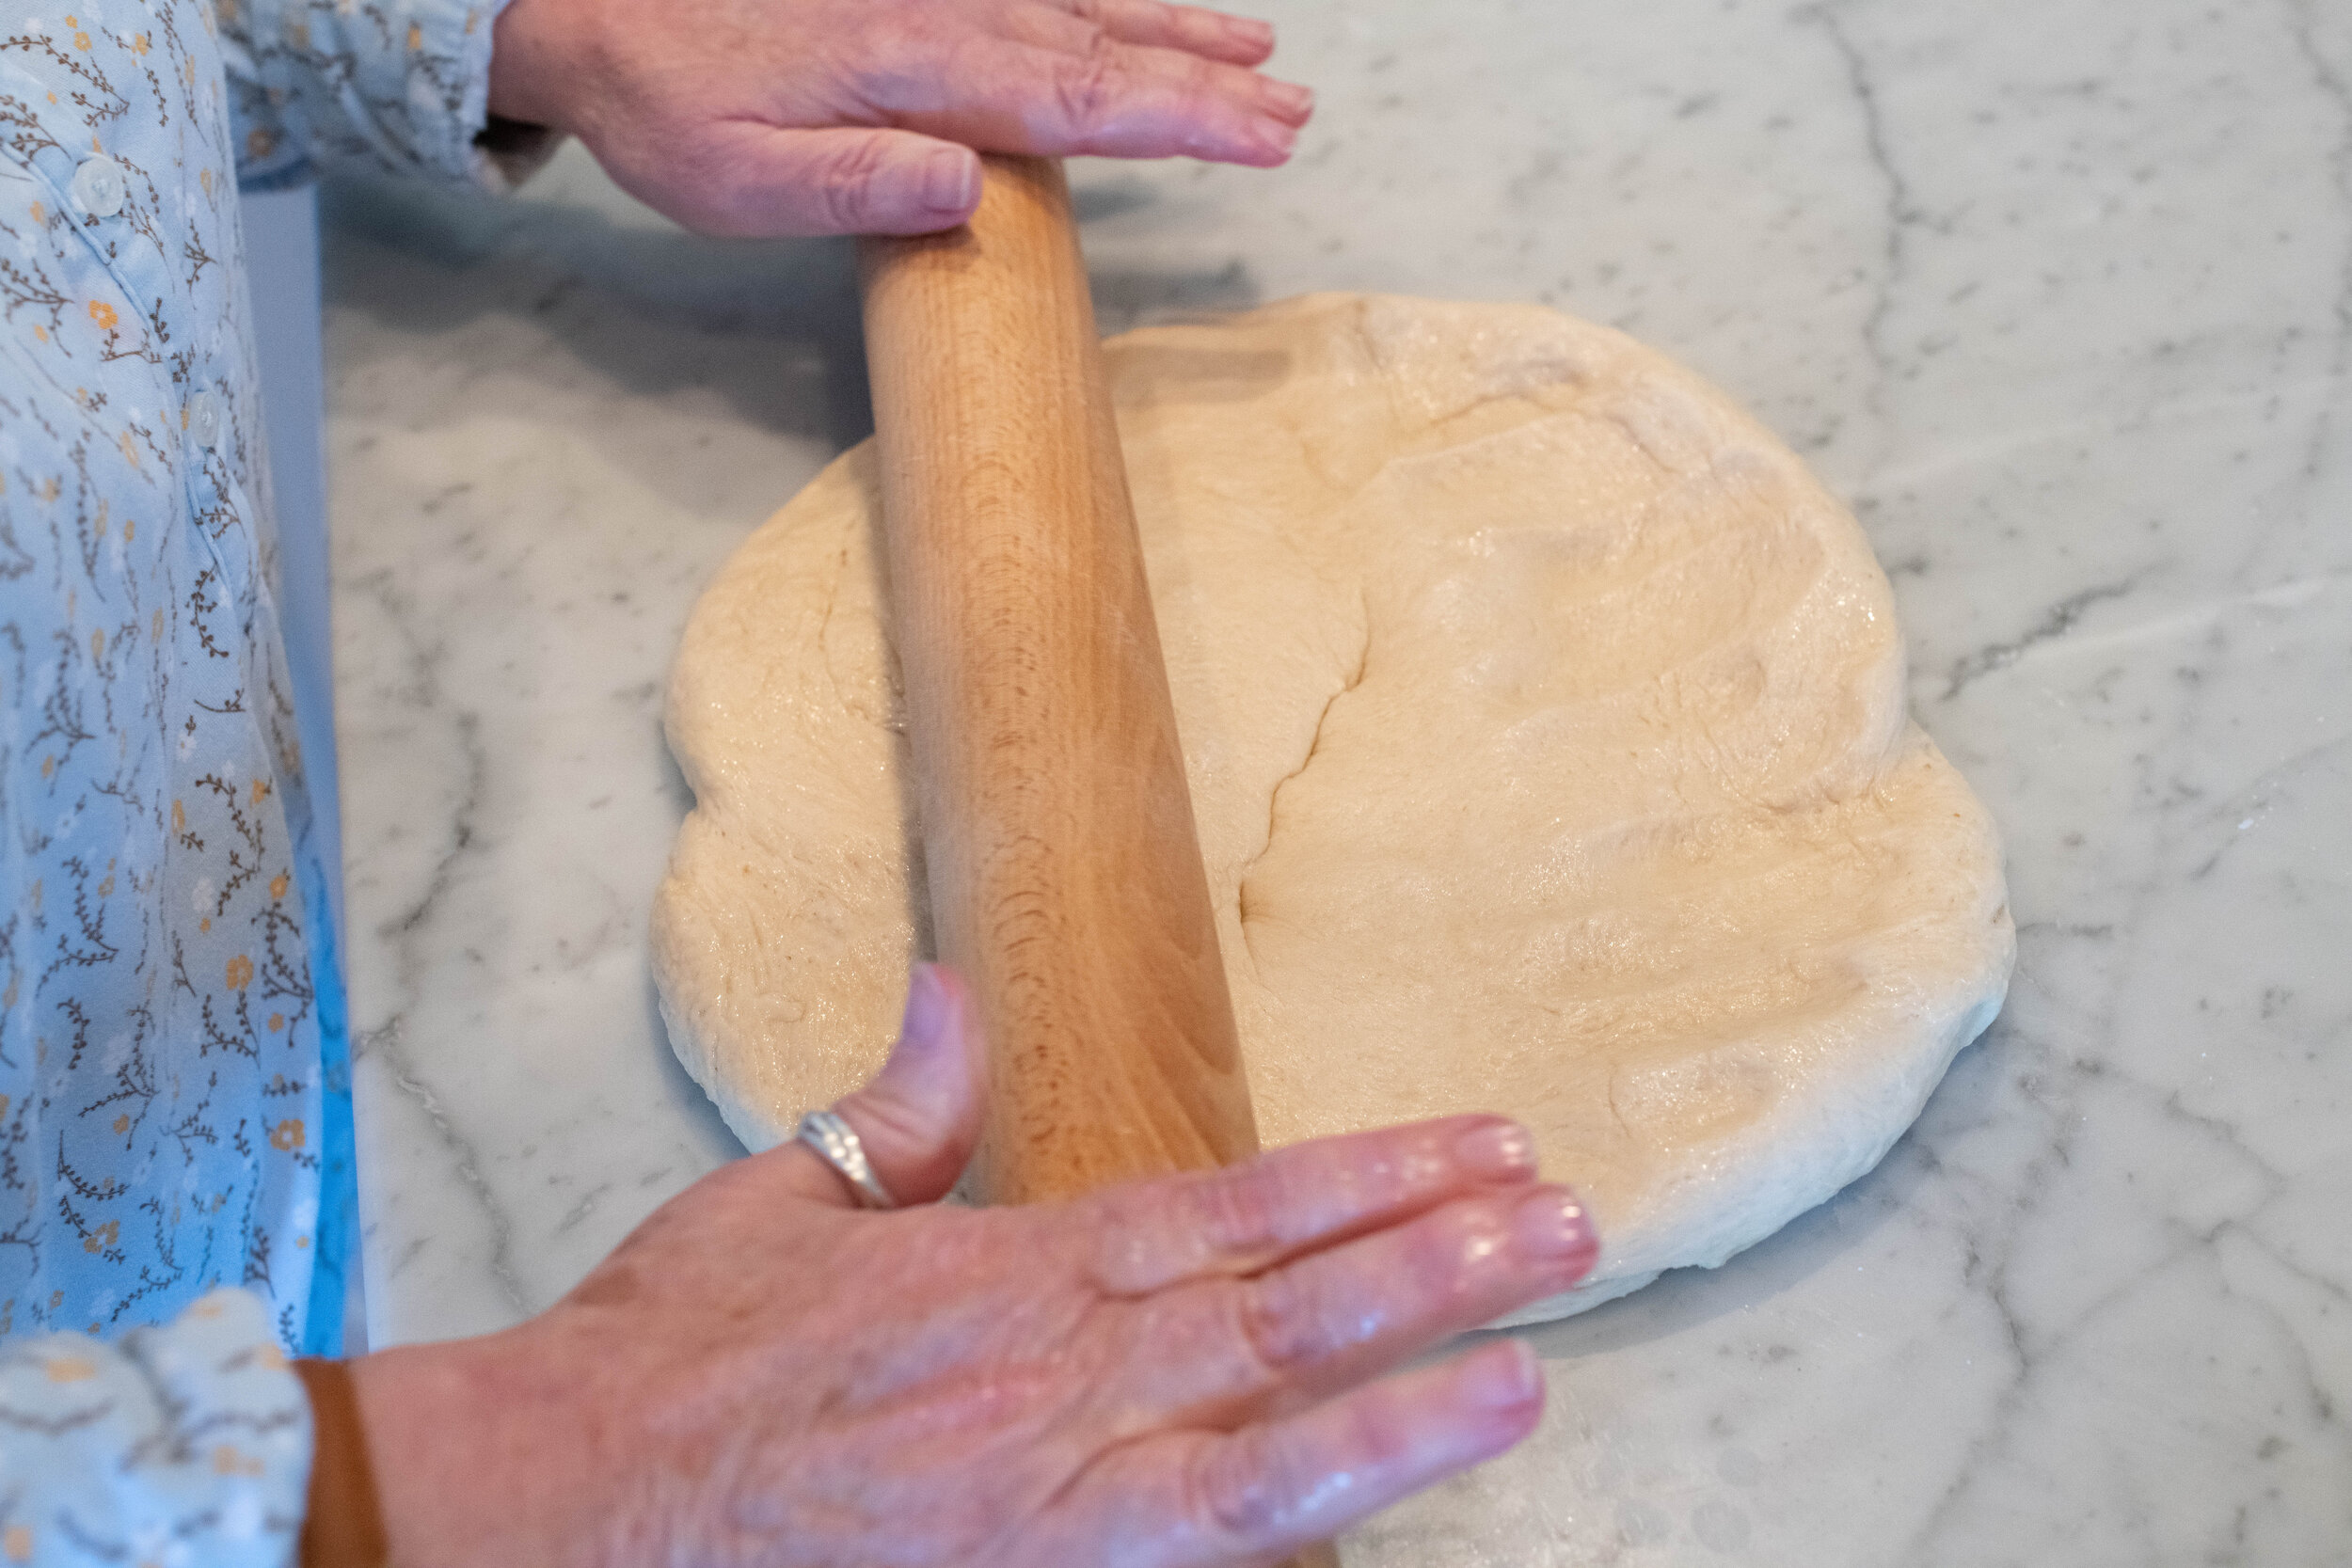
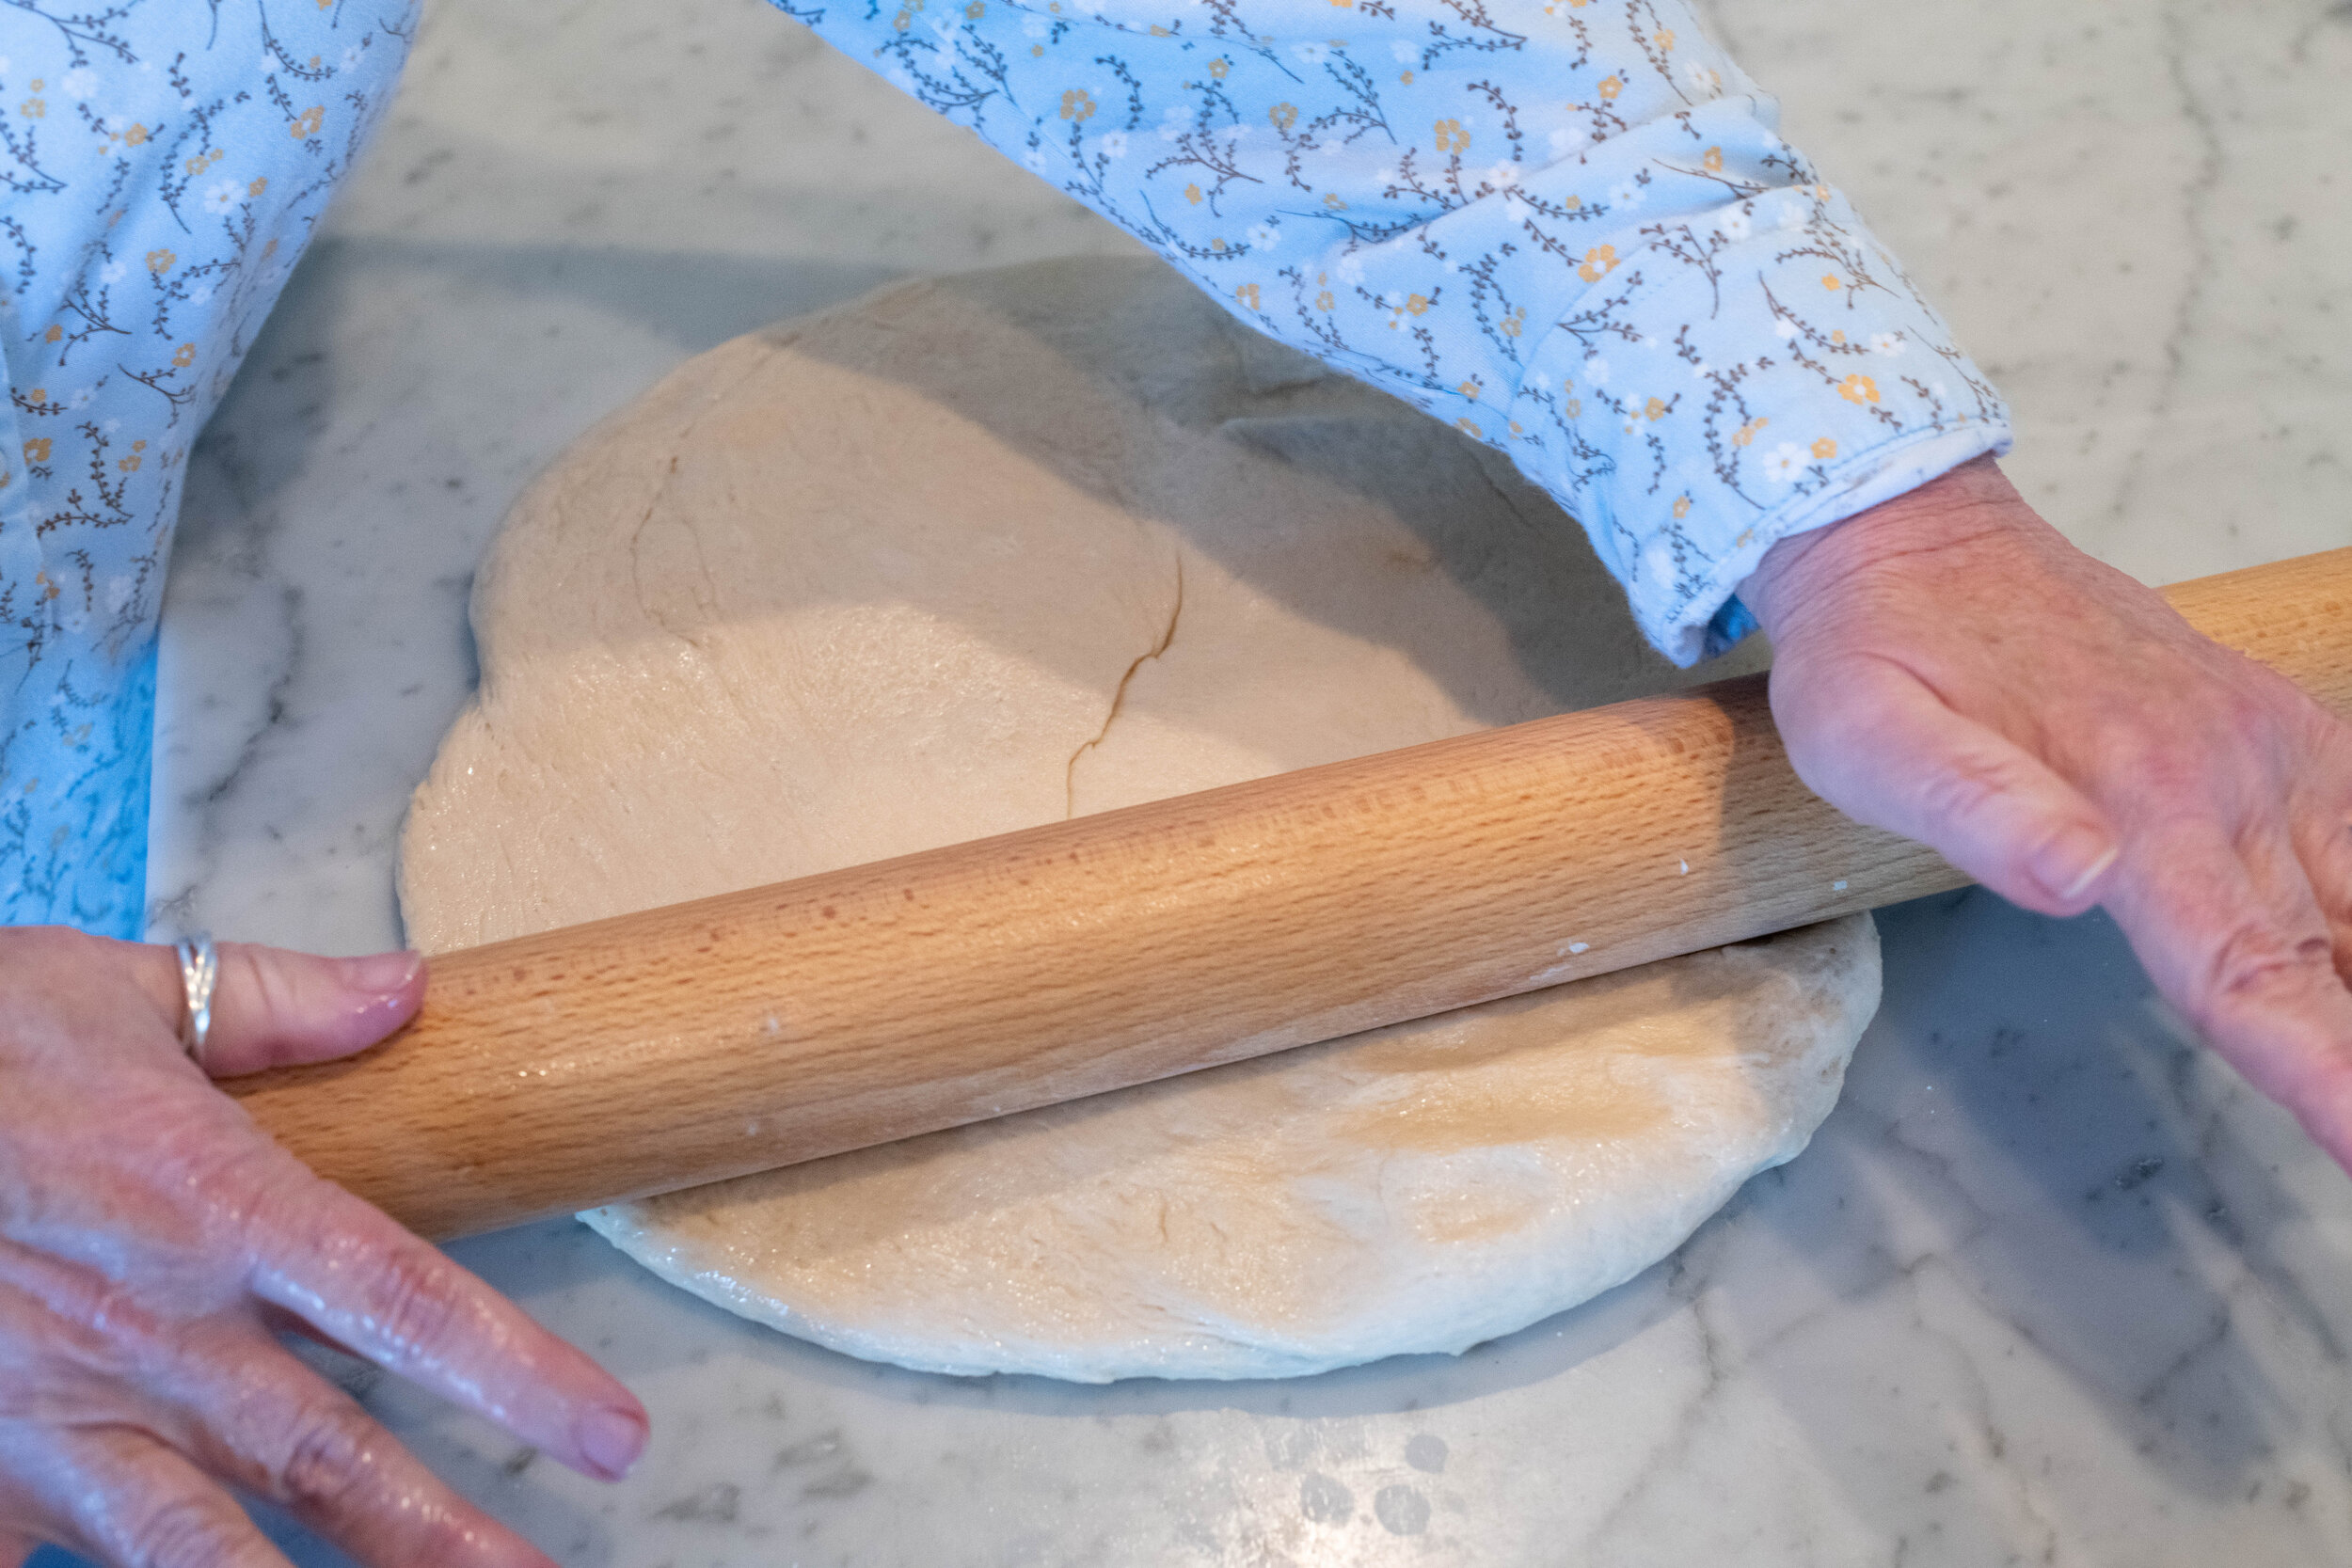
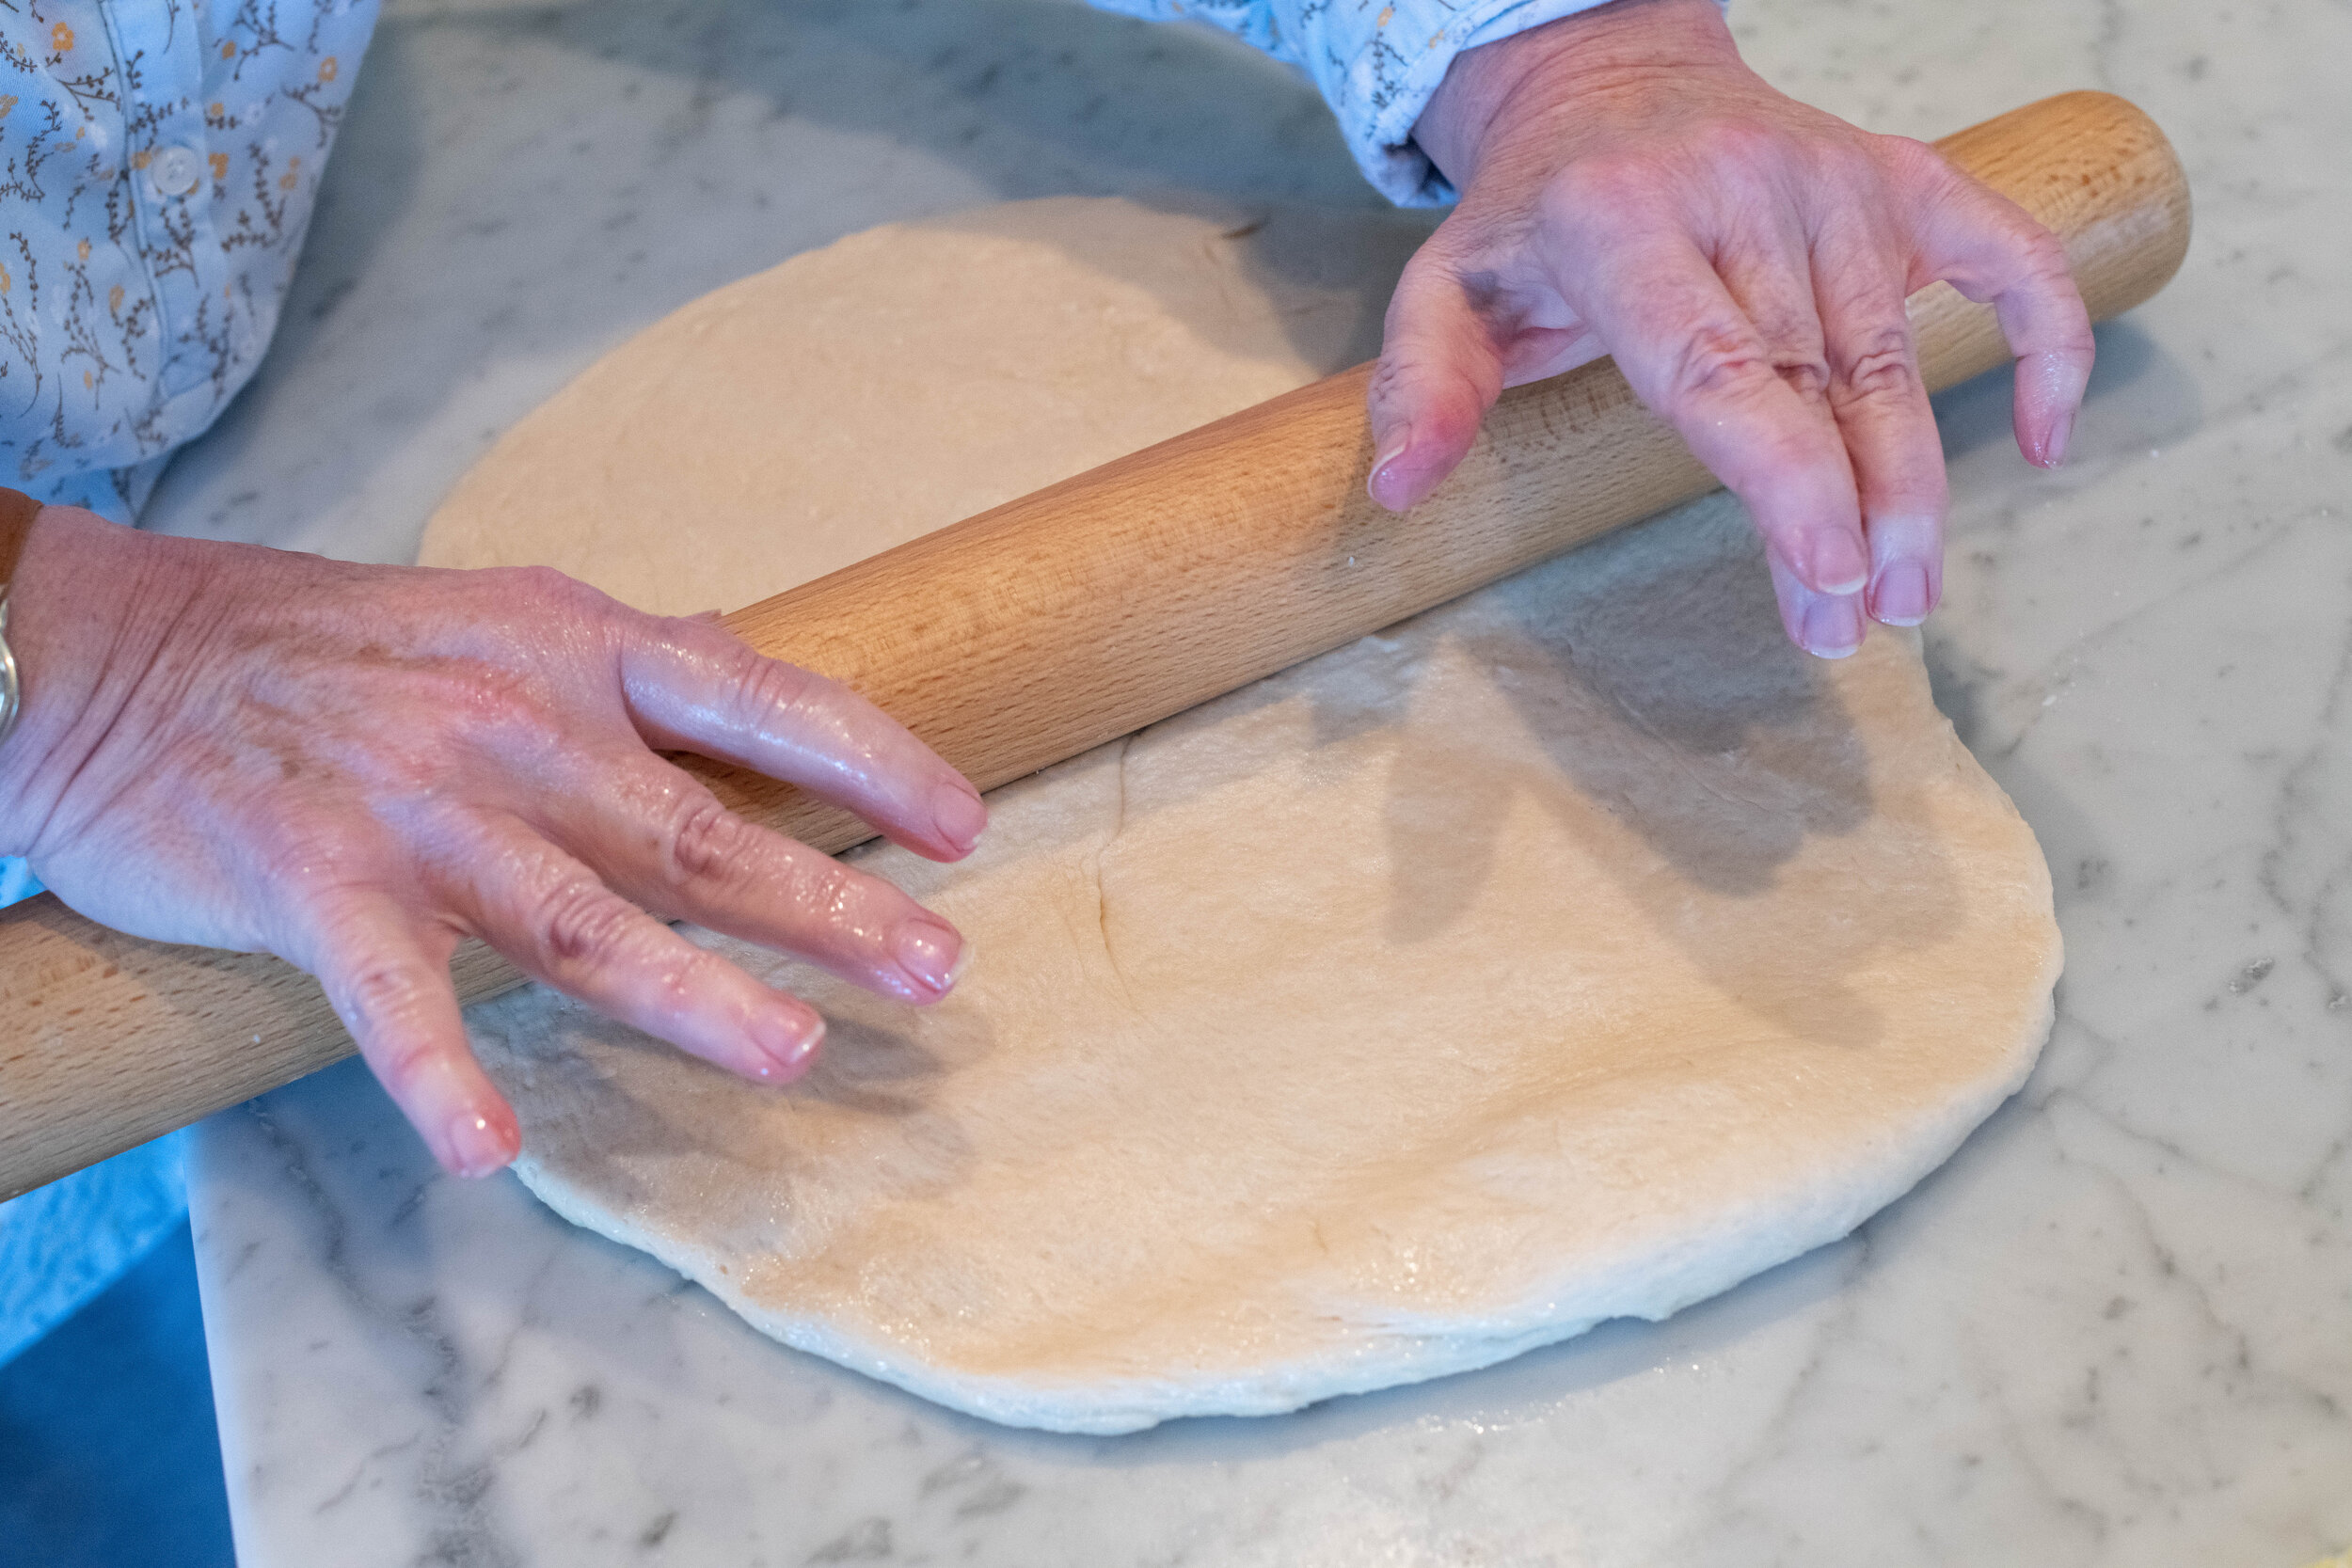
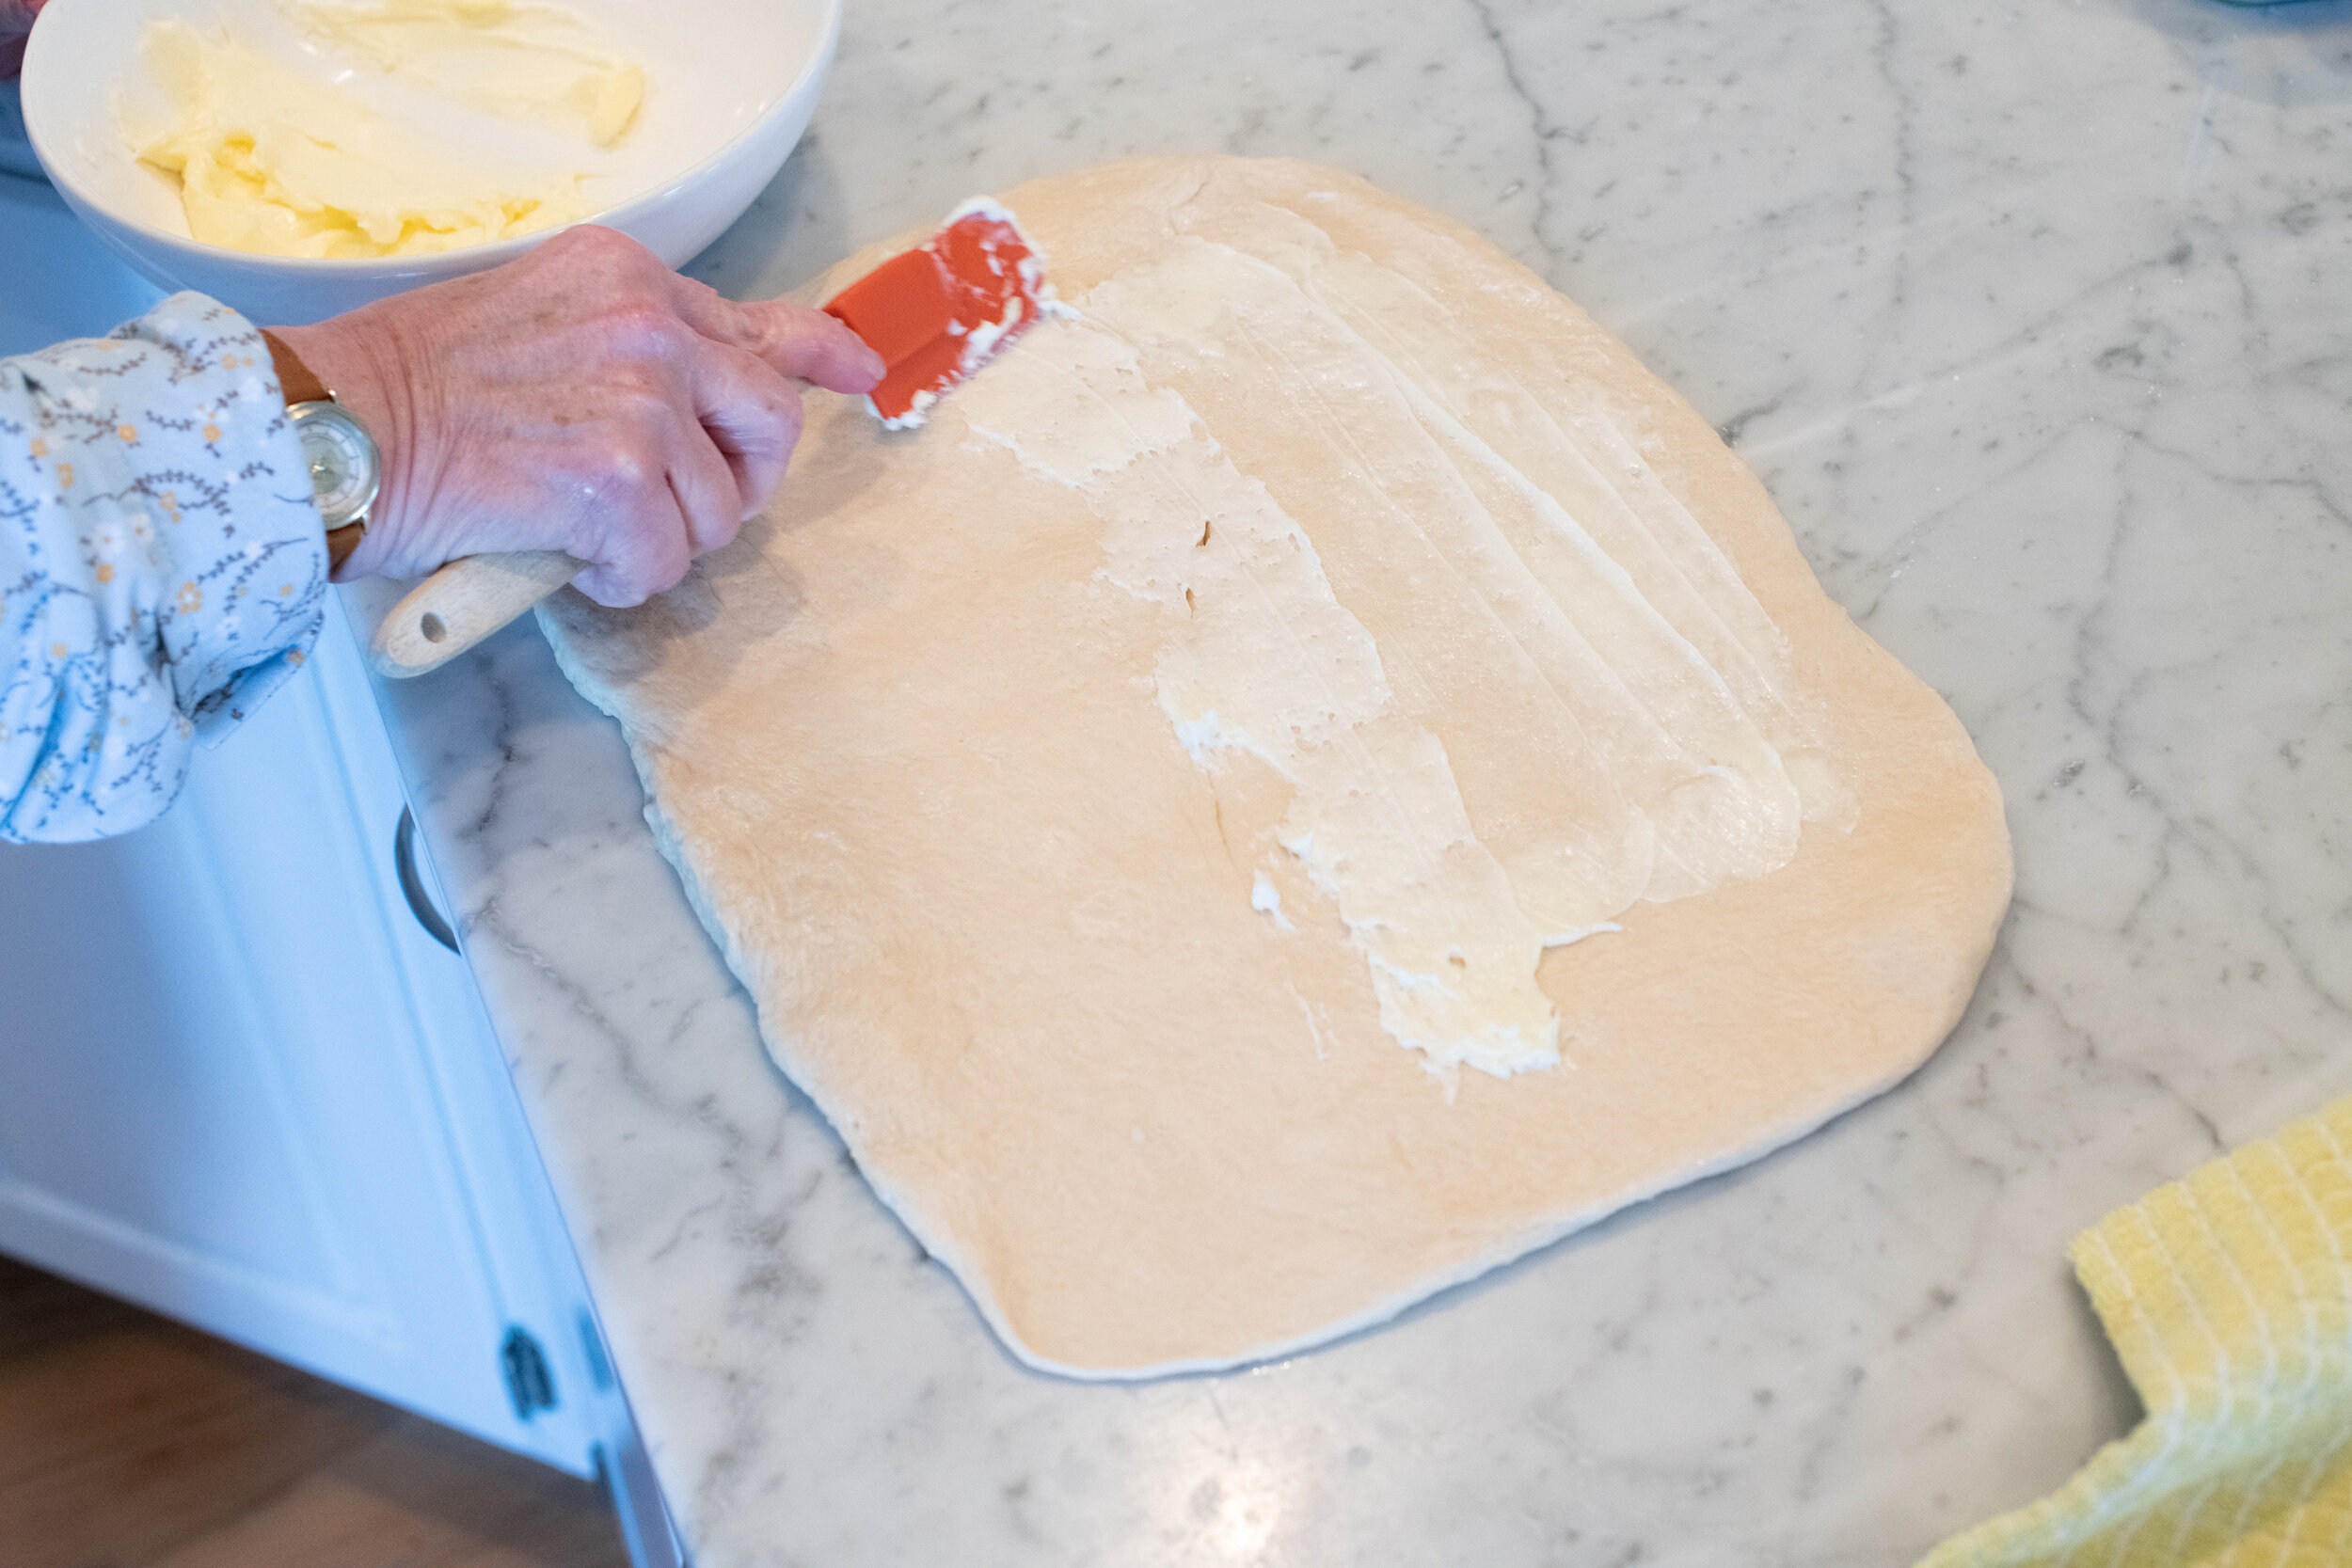
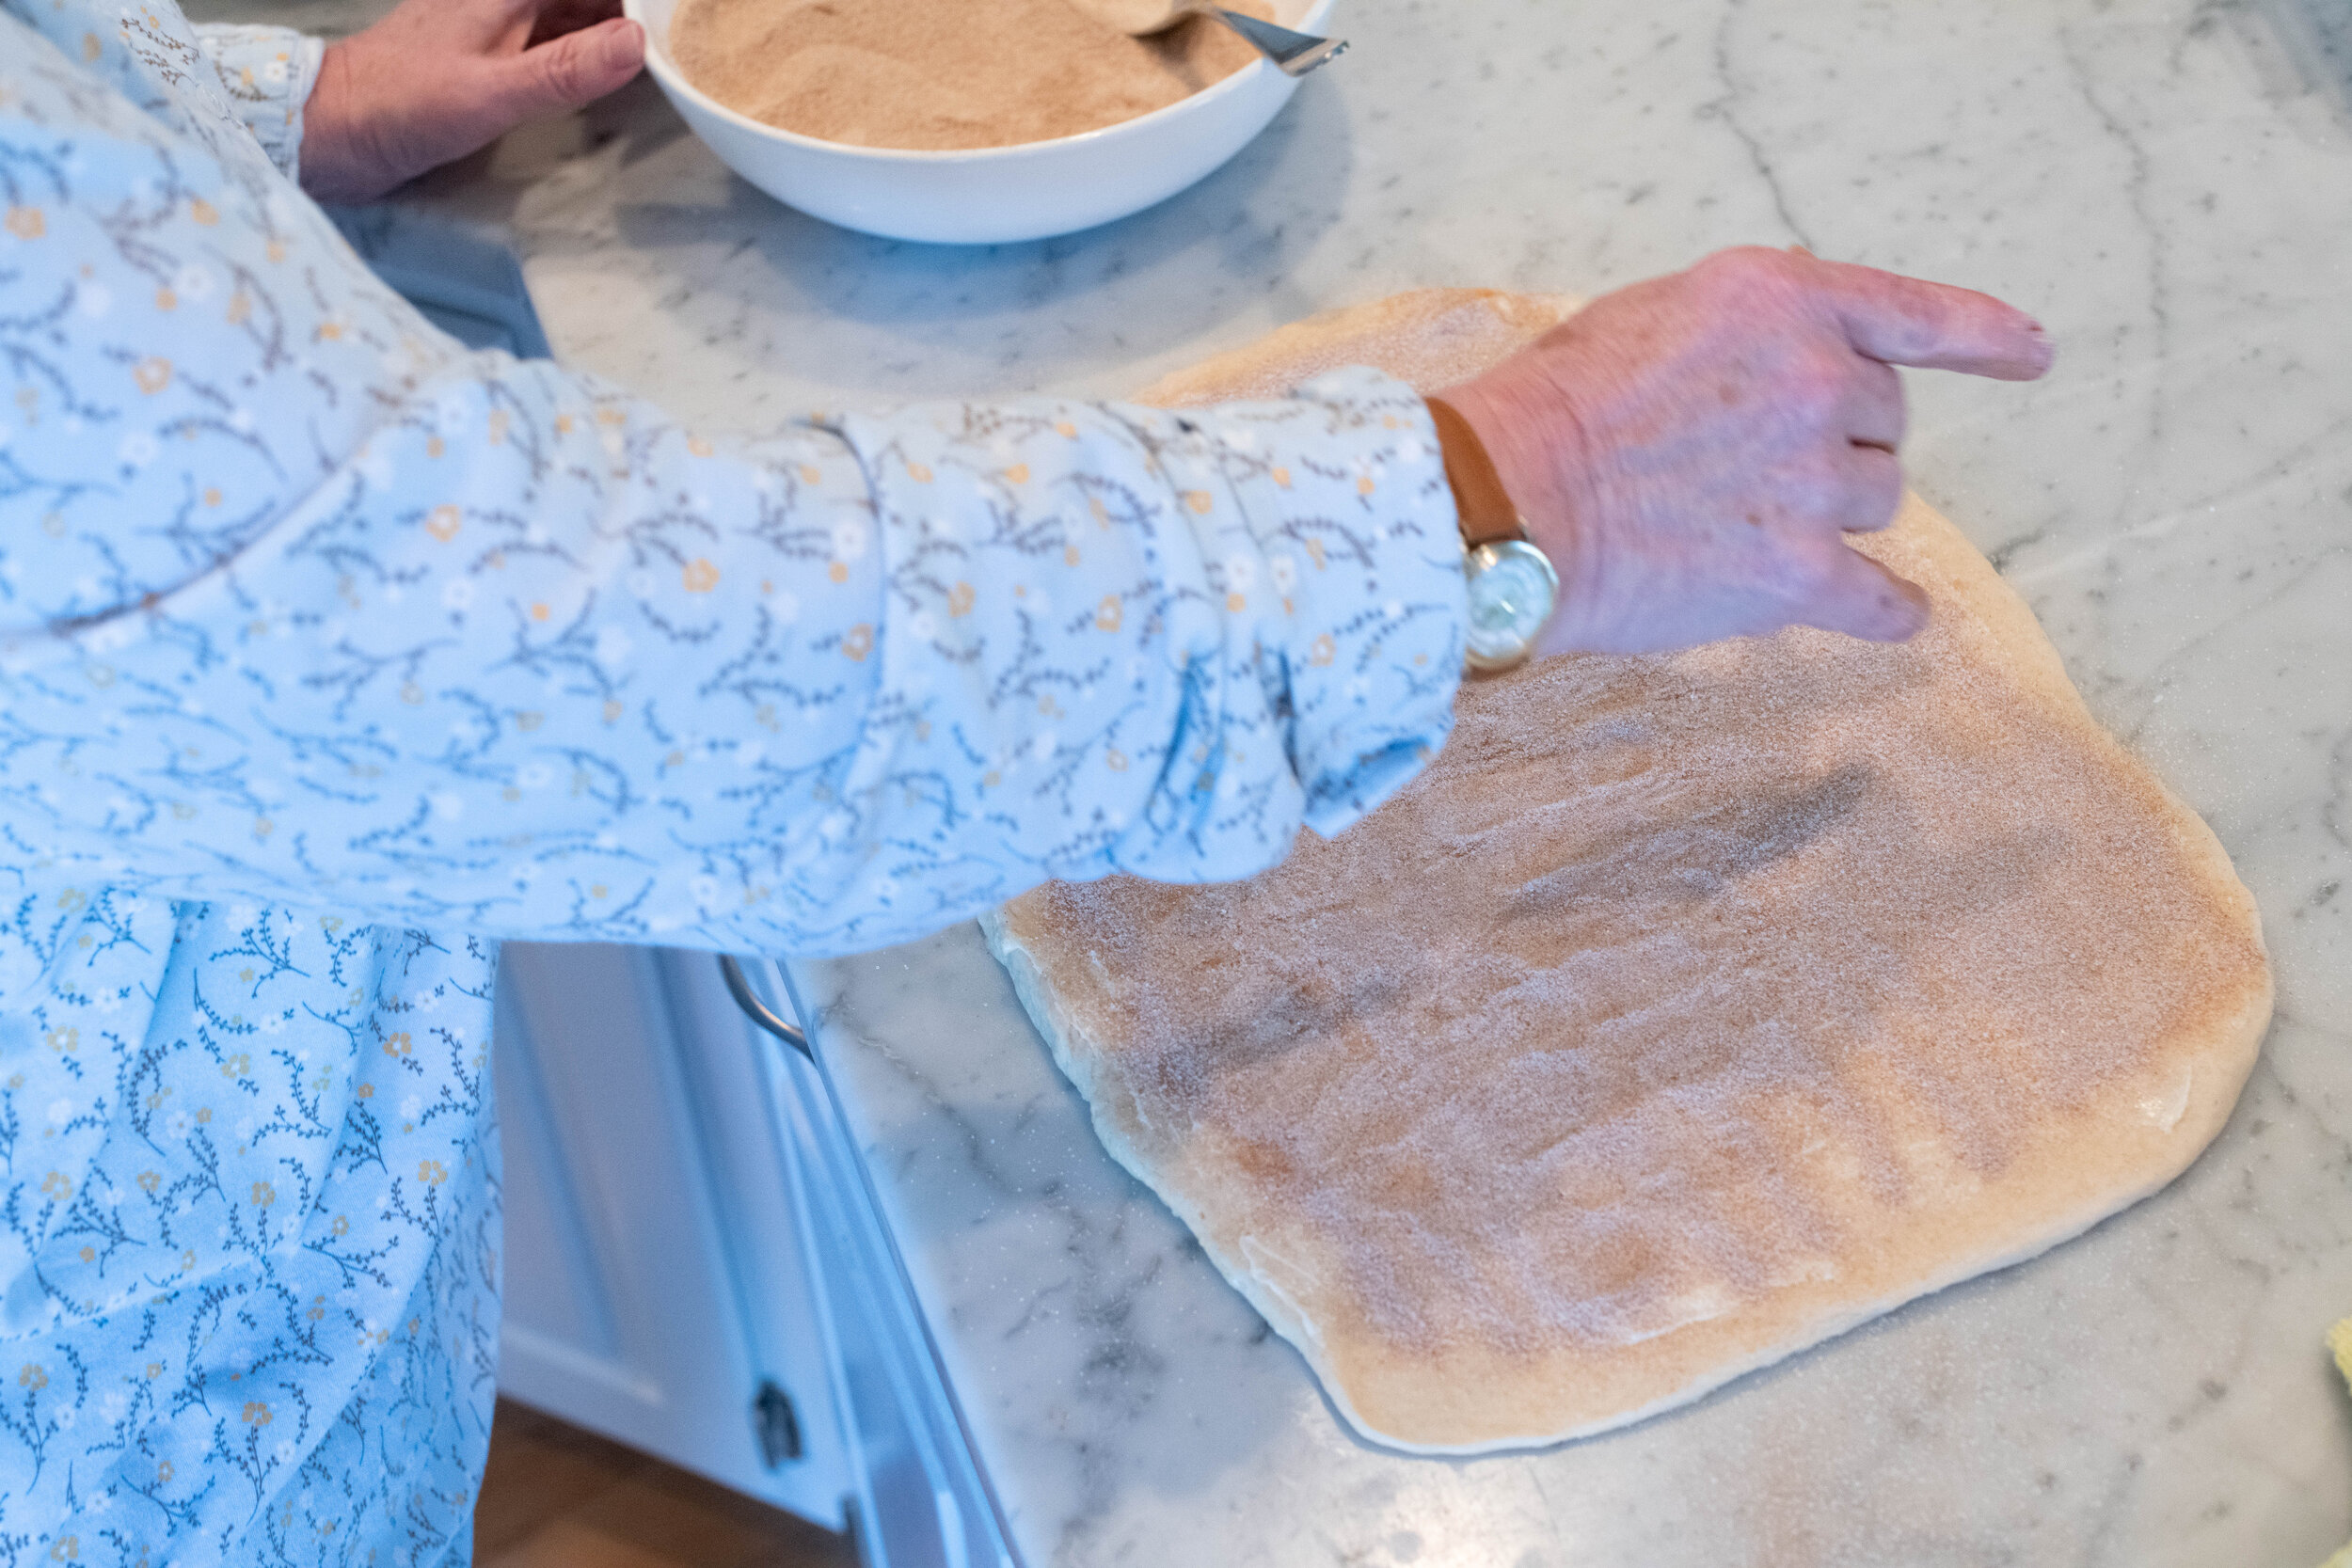
7. Sprinkle a little flour on a clean hard surface. Drop your dough on it and knead it into itself then shape it flat - working into kind of rectangle shape.
8. Continue shaping the dough into a large rectangle shape with a rolling pin. You want it to be about an inch thick.
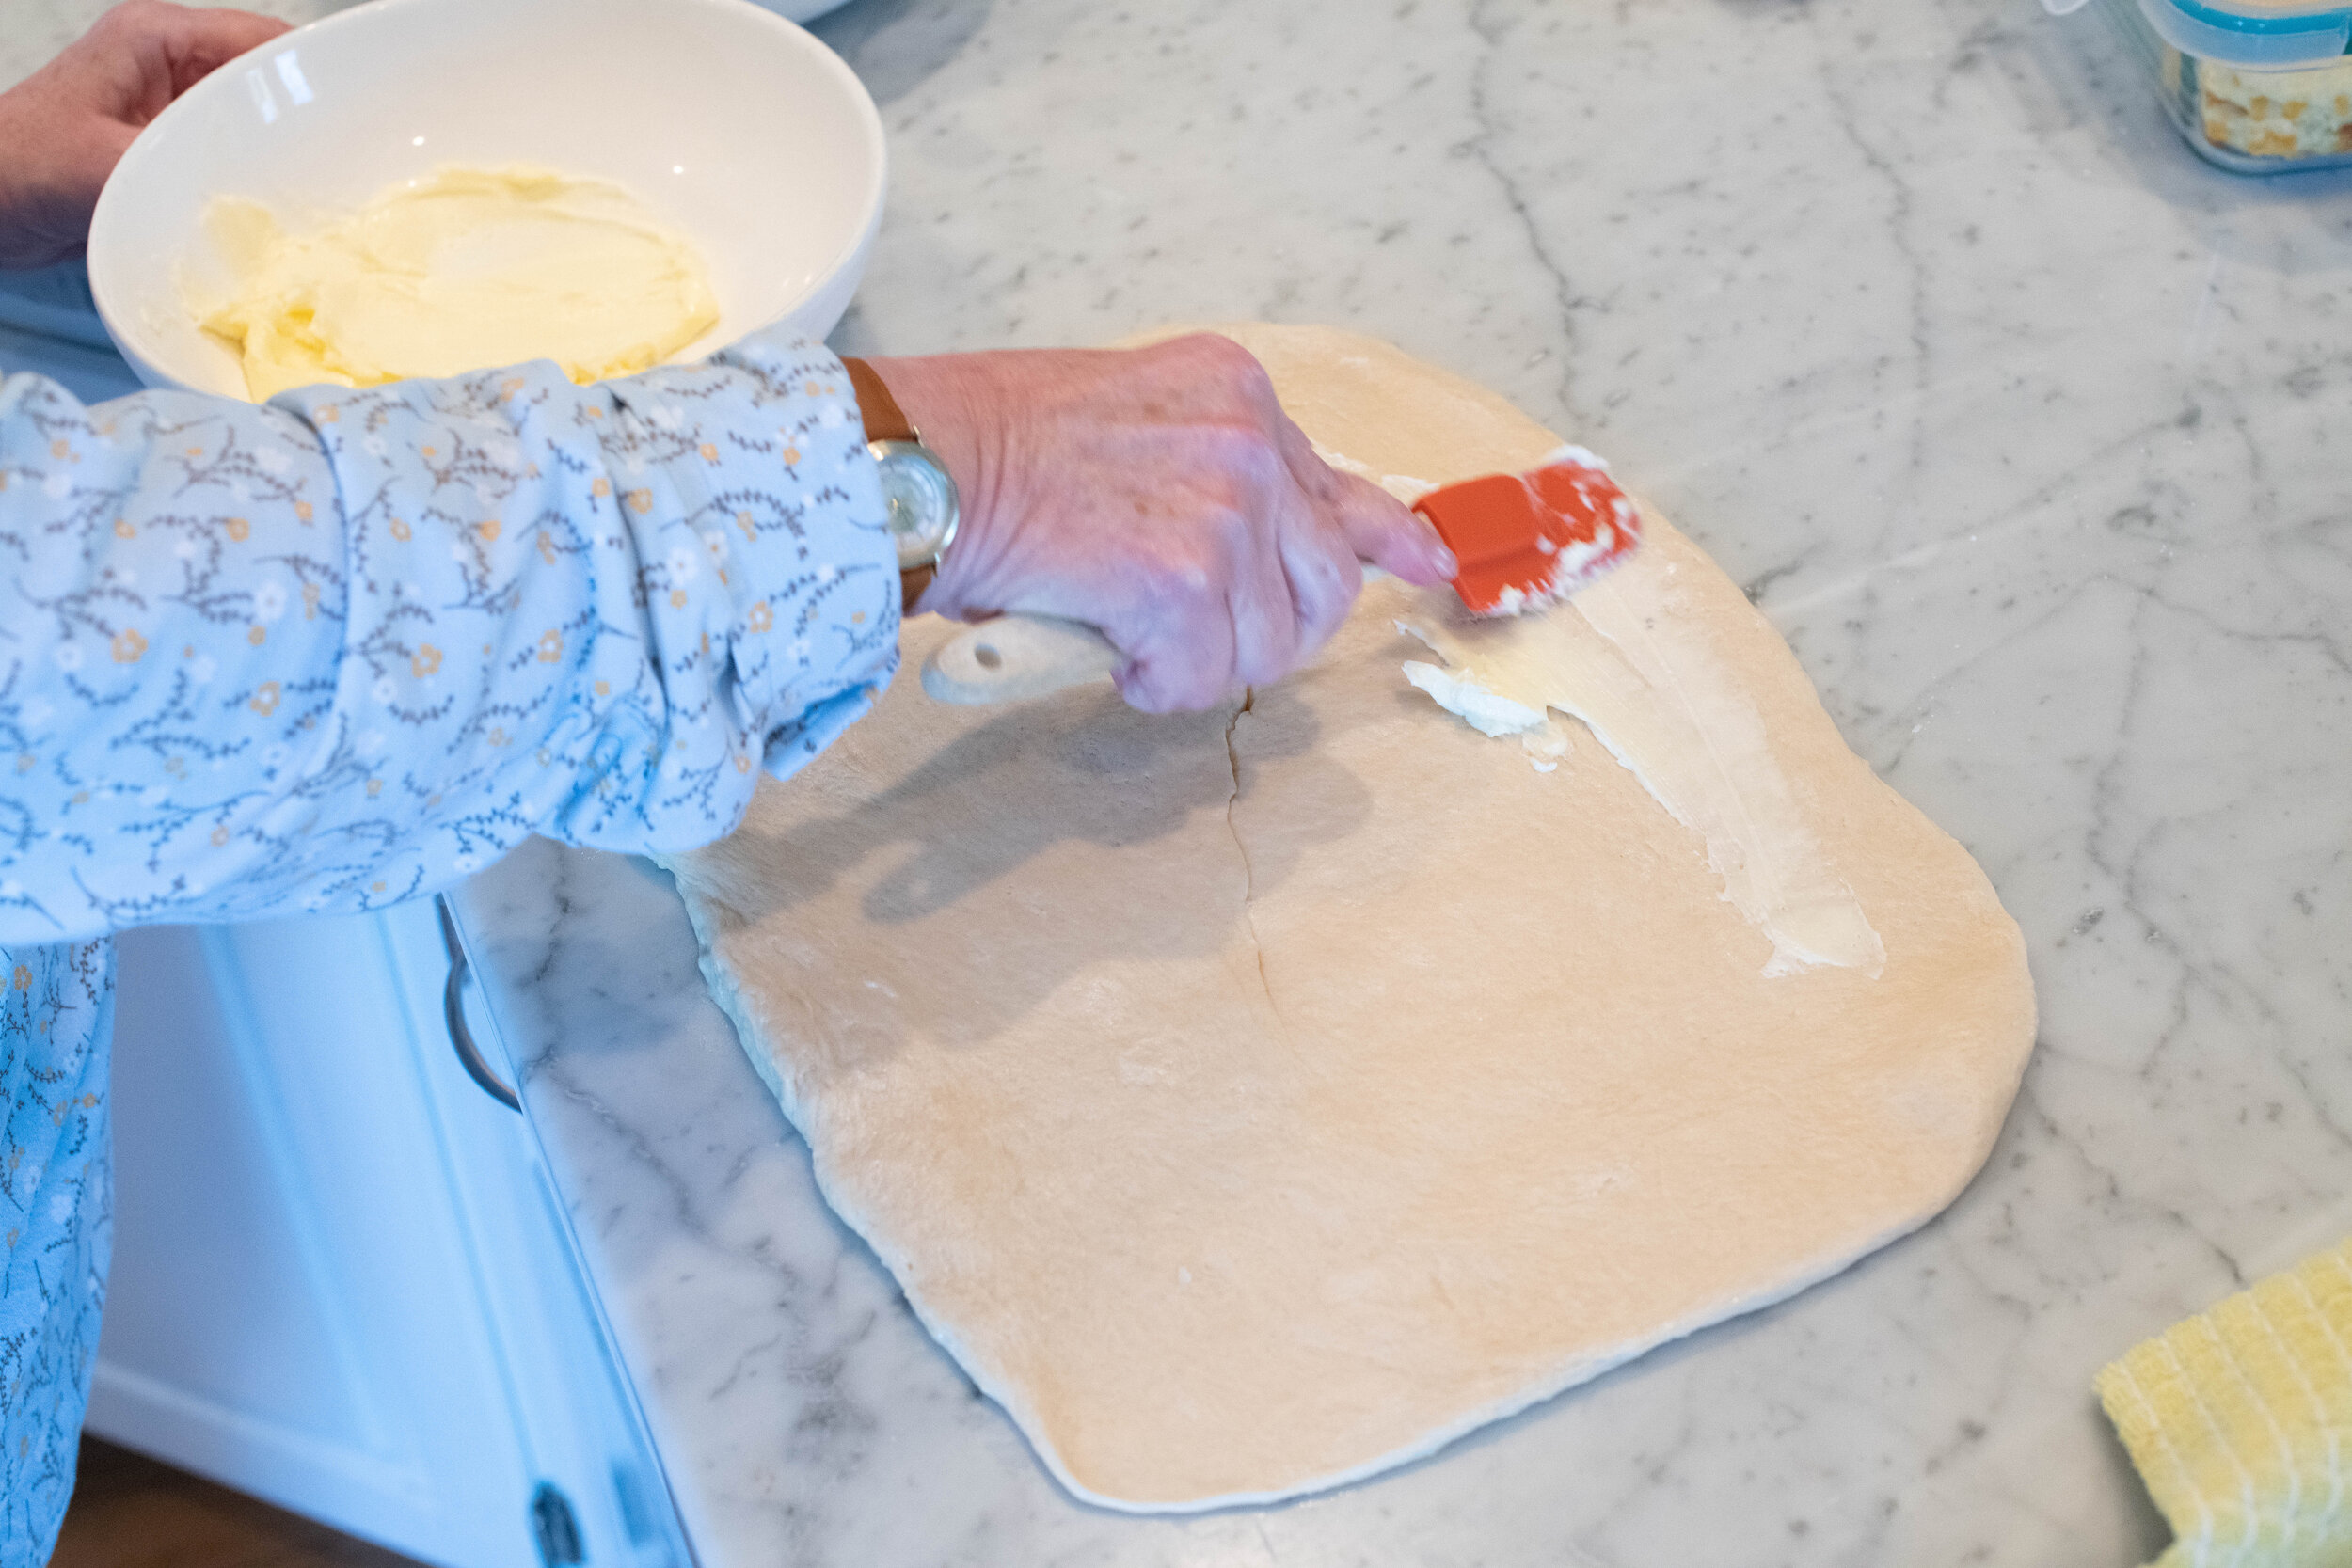
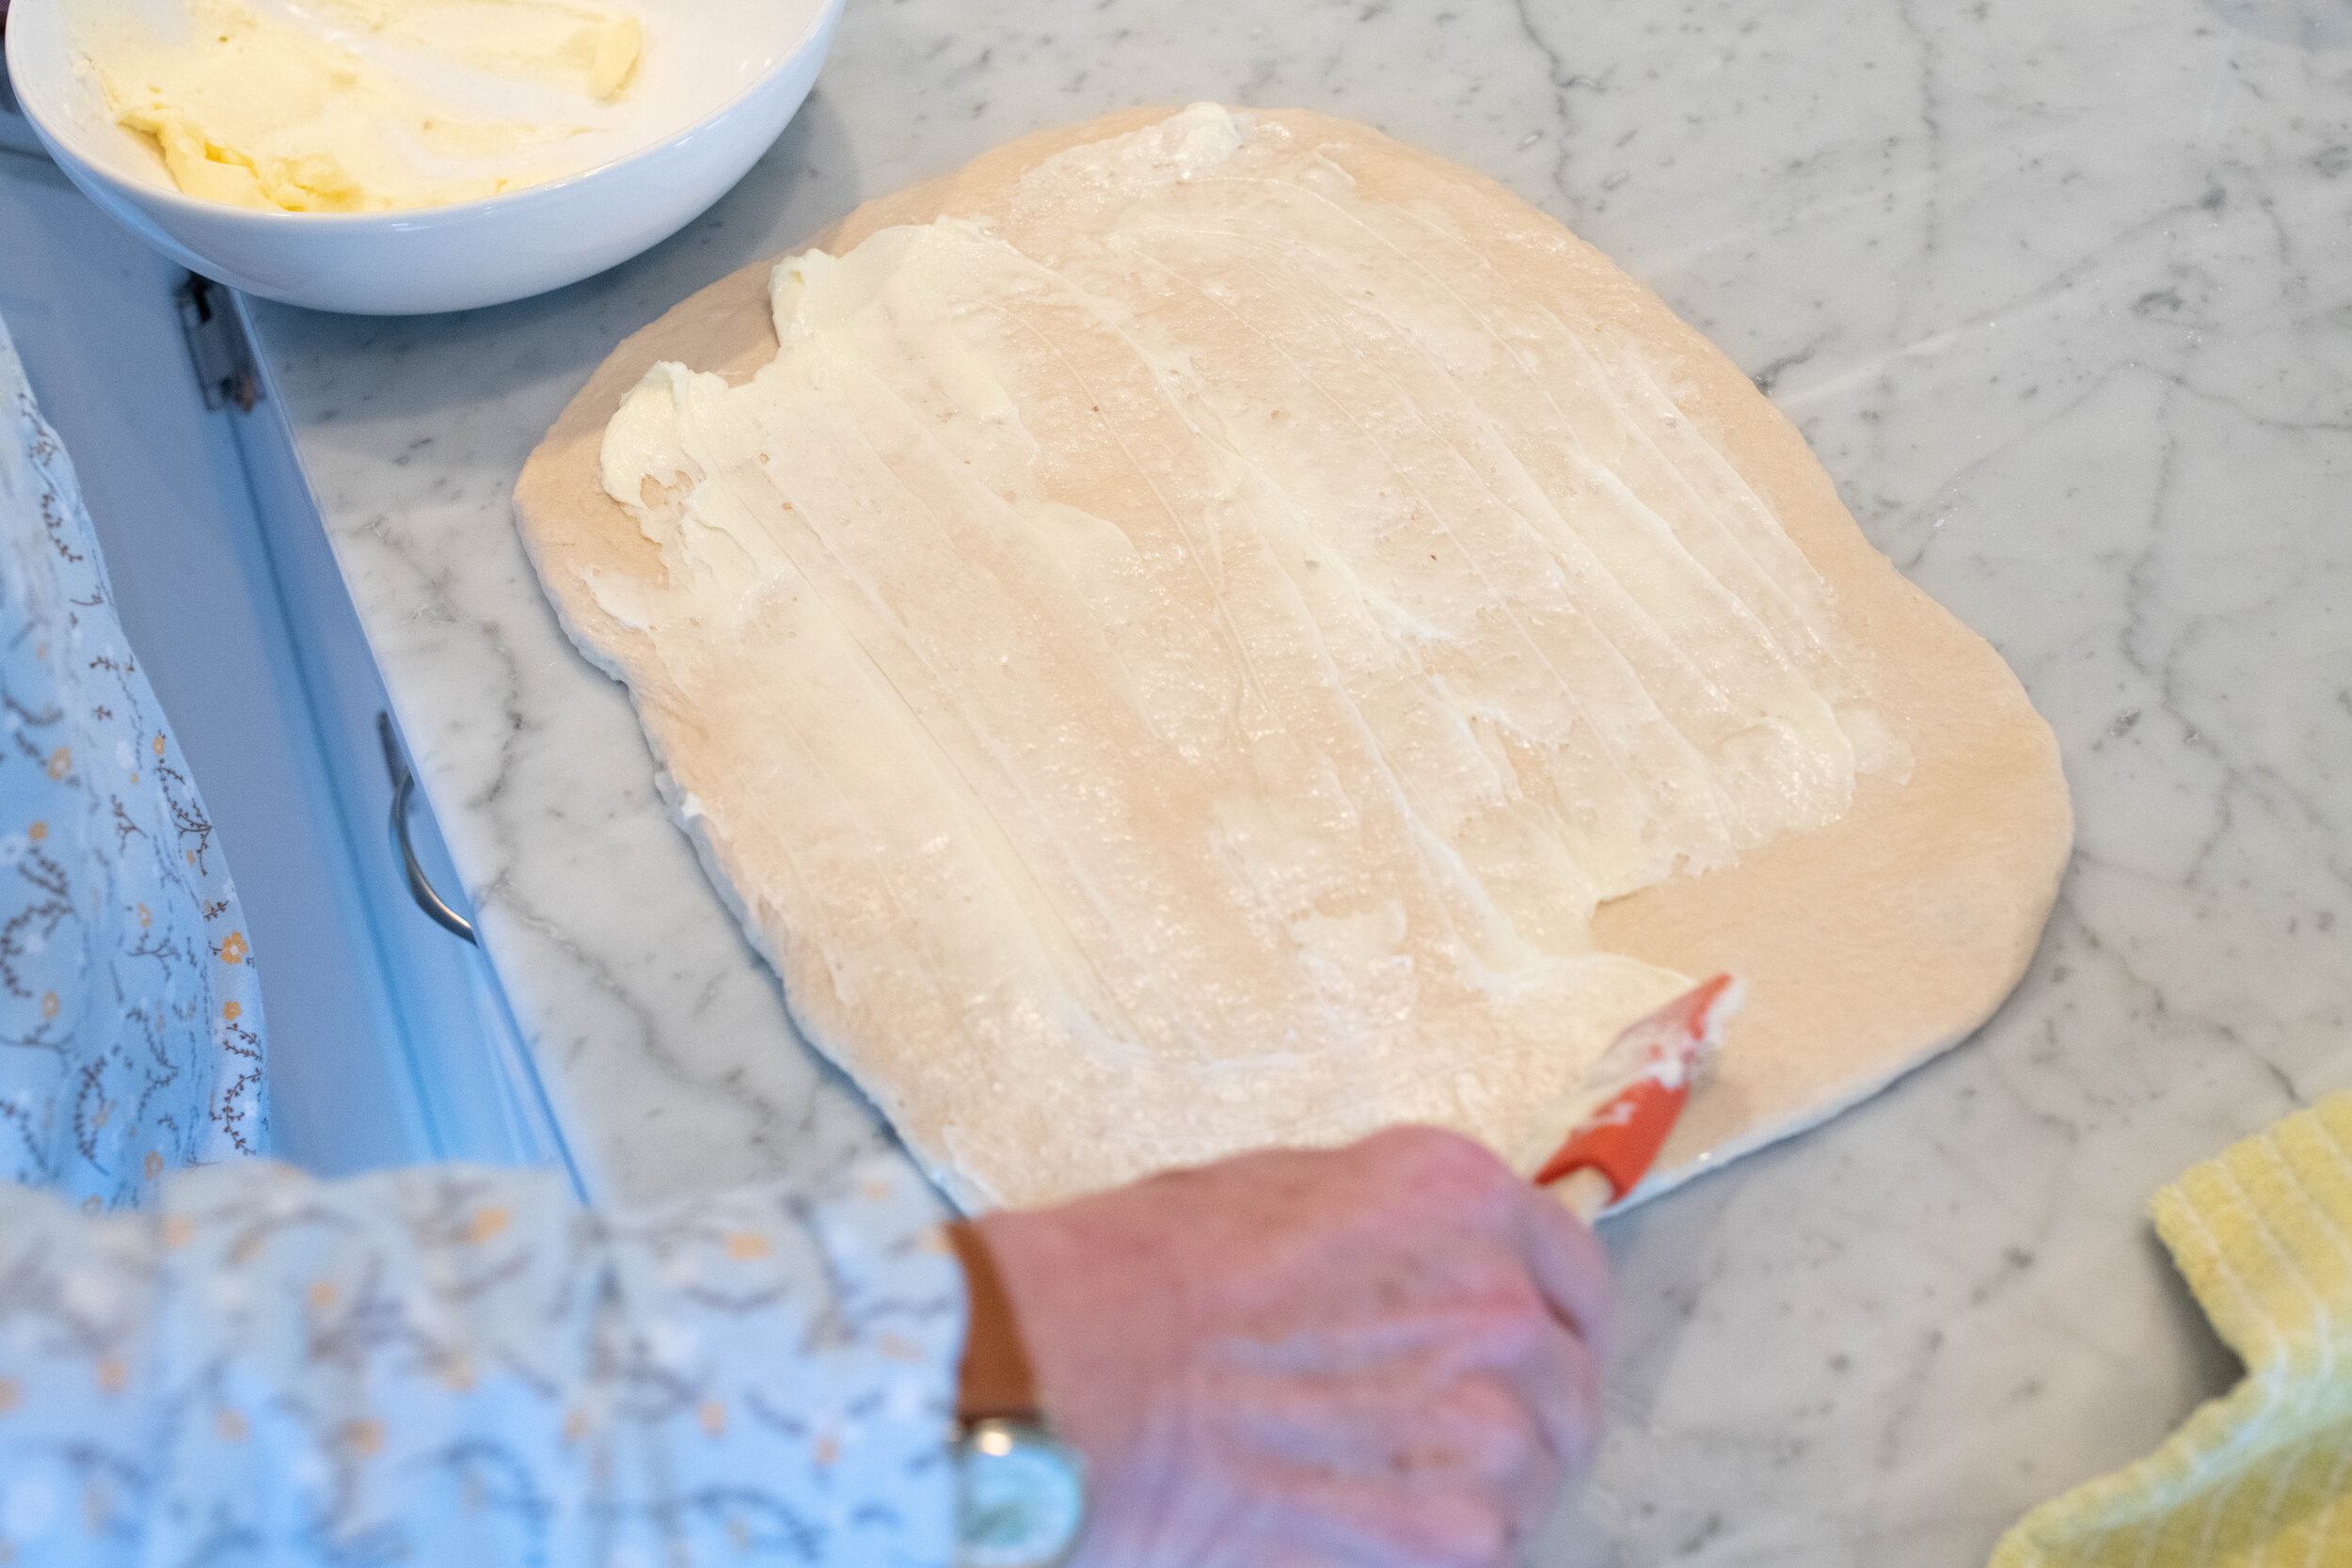
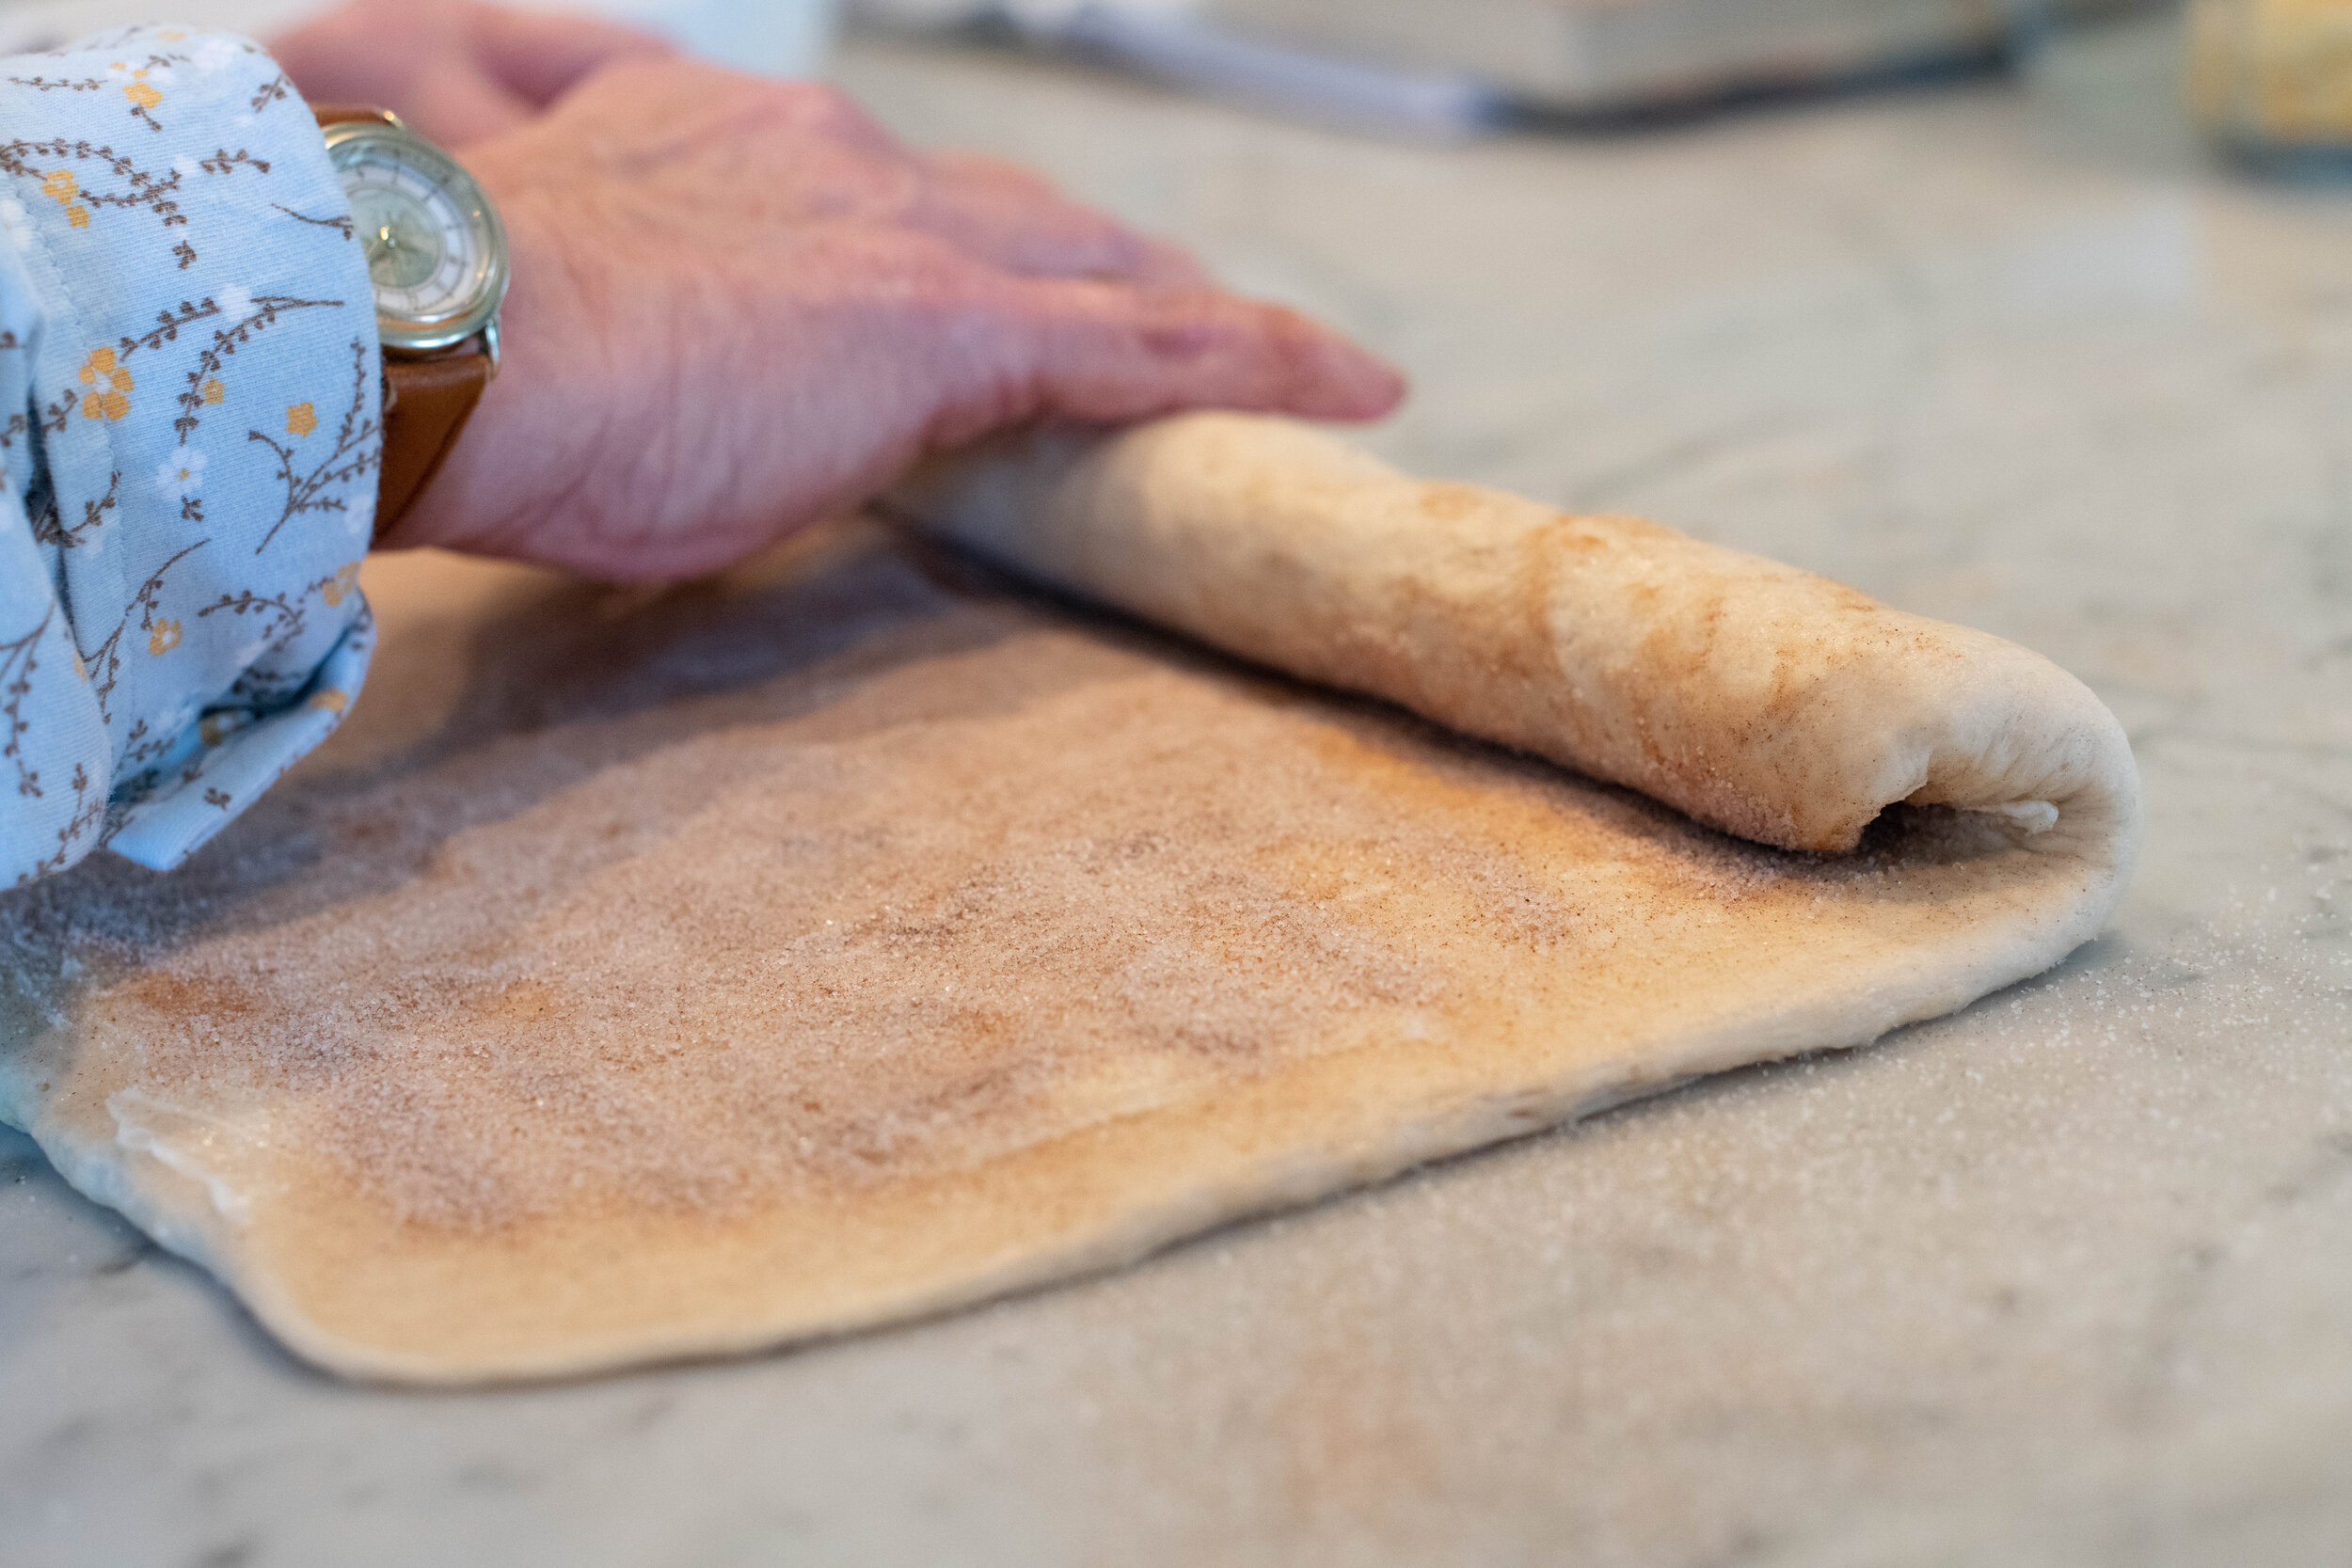
9. Using a soft spatula, generously smear the soft butter on the top of the raw dough and sprinkle your cinnamon and sugar mixture evenly on top.
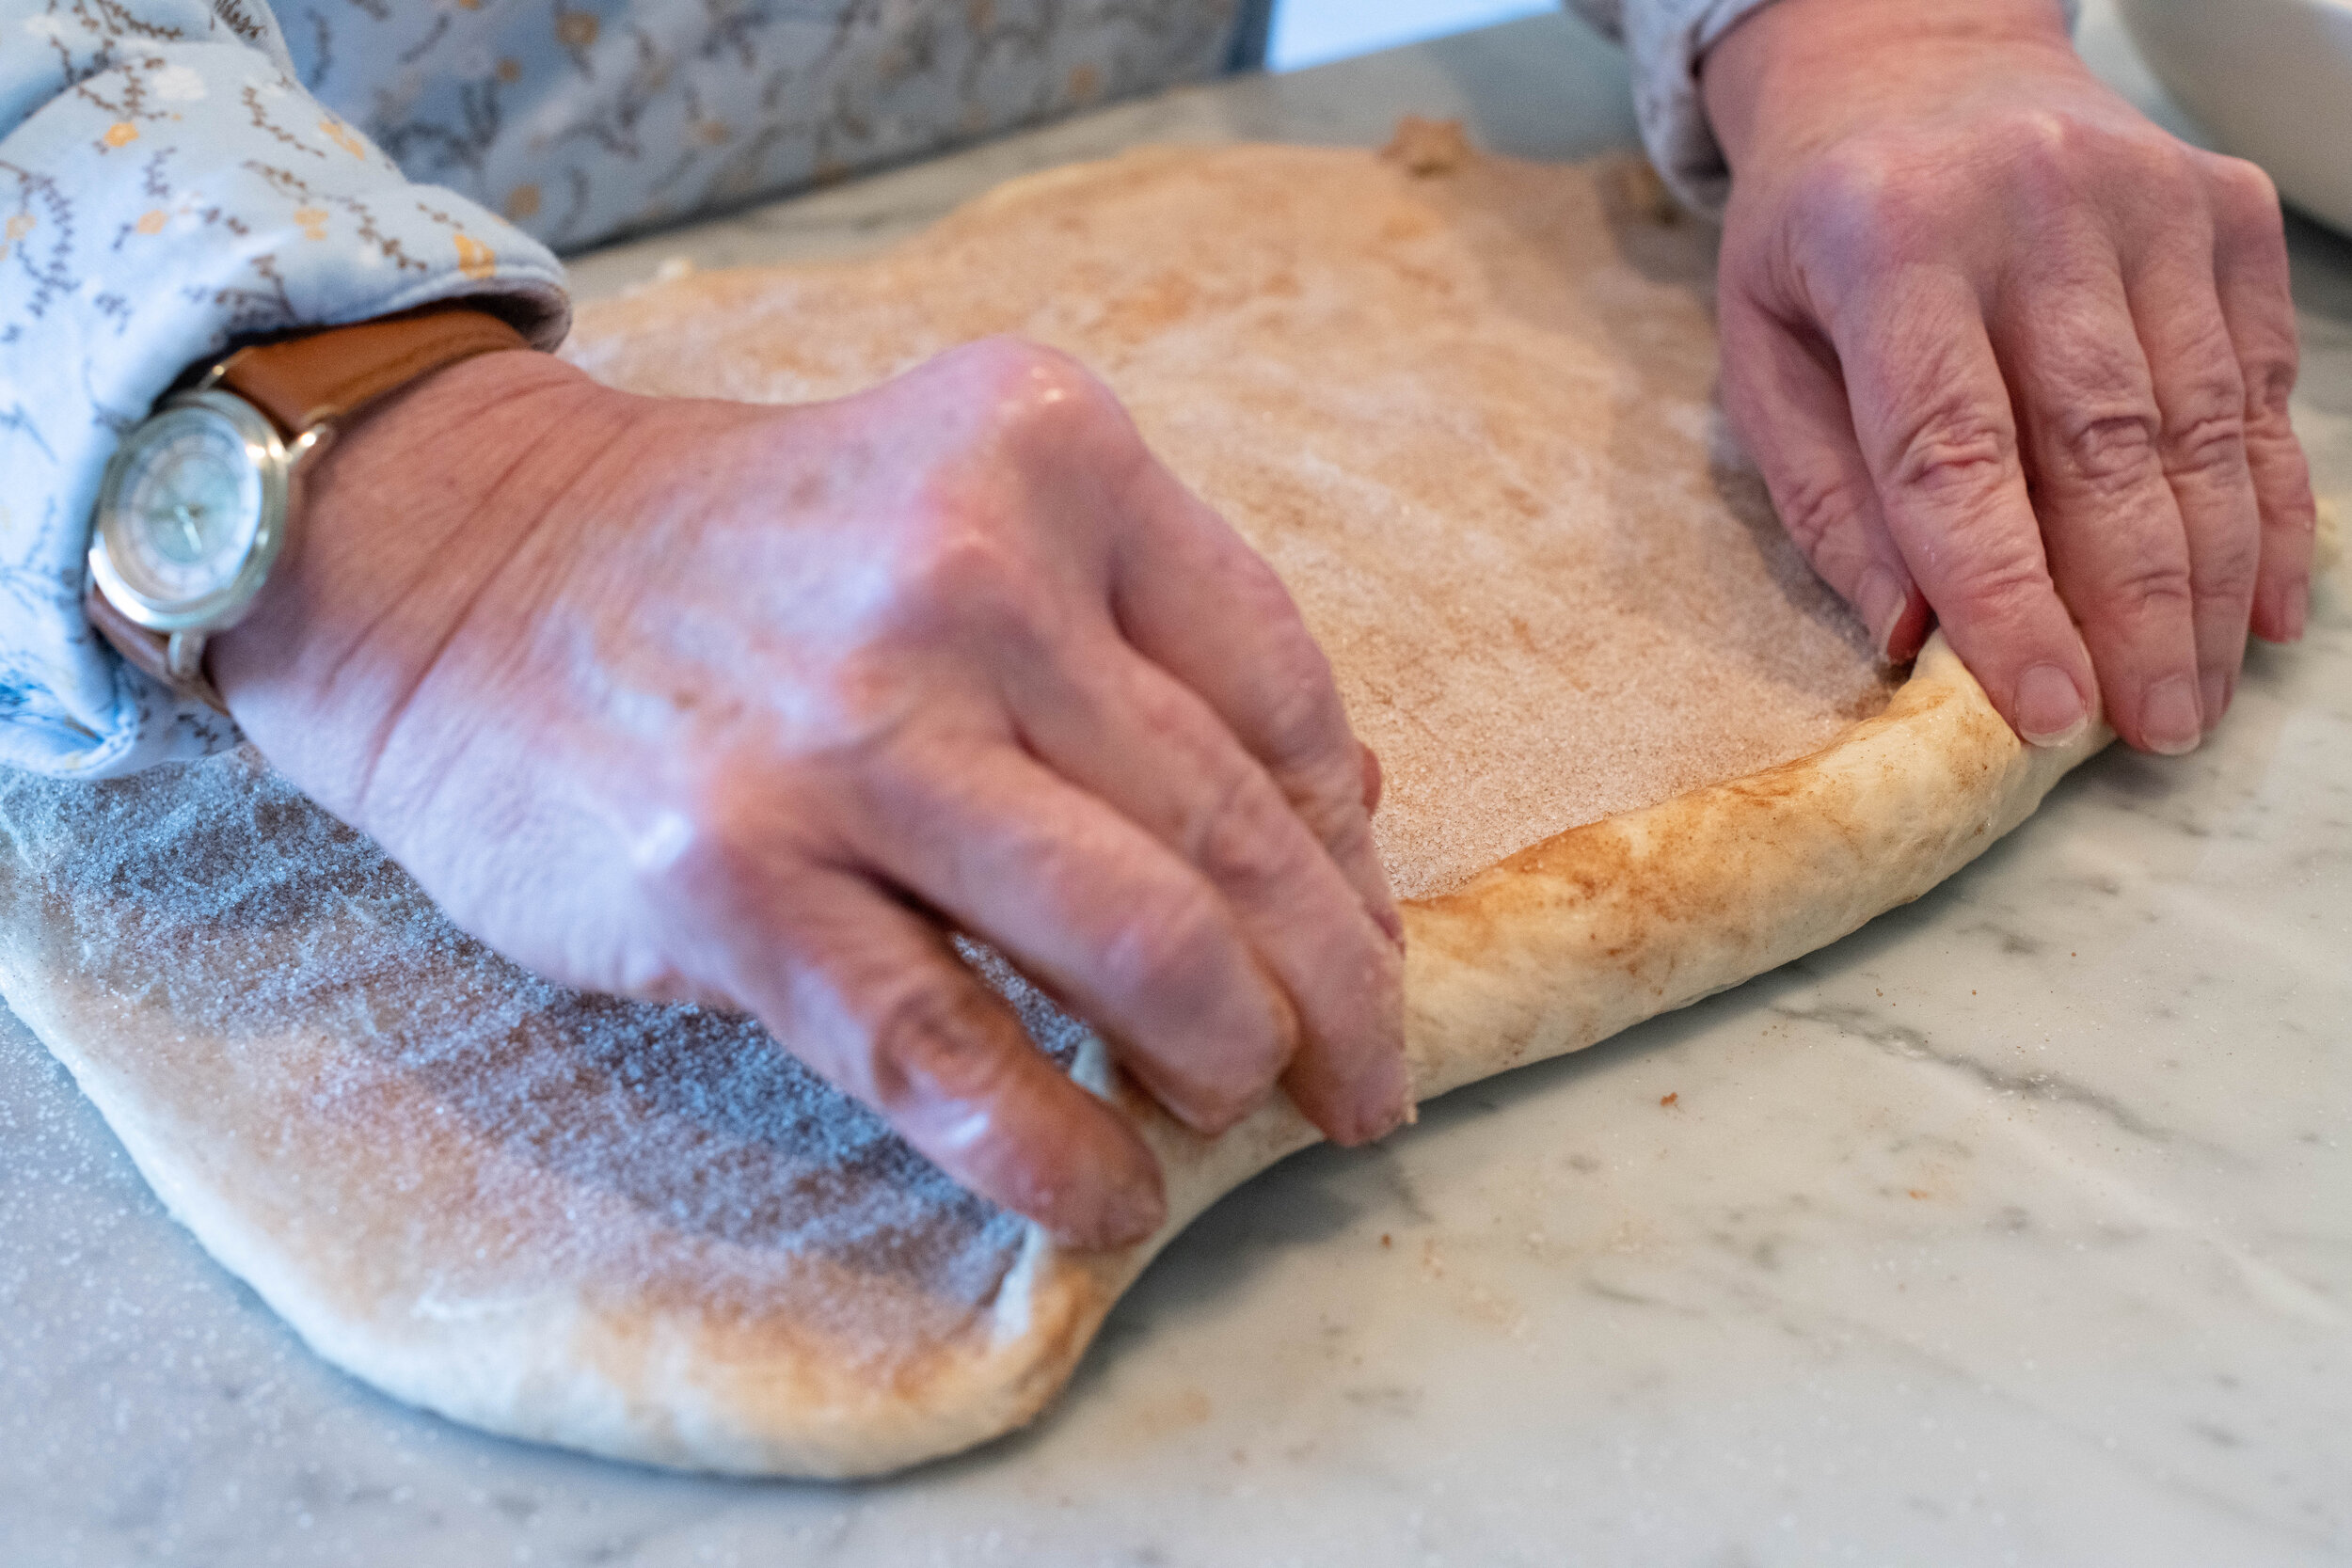
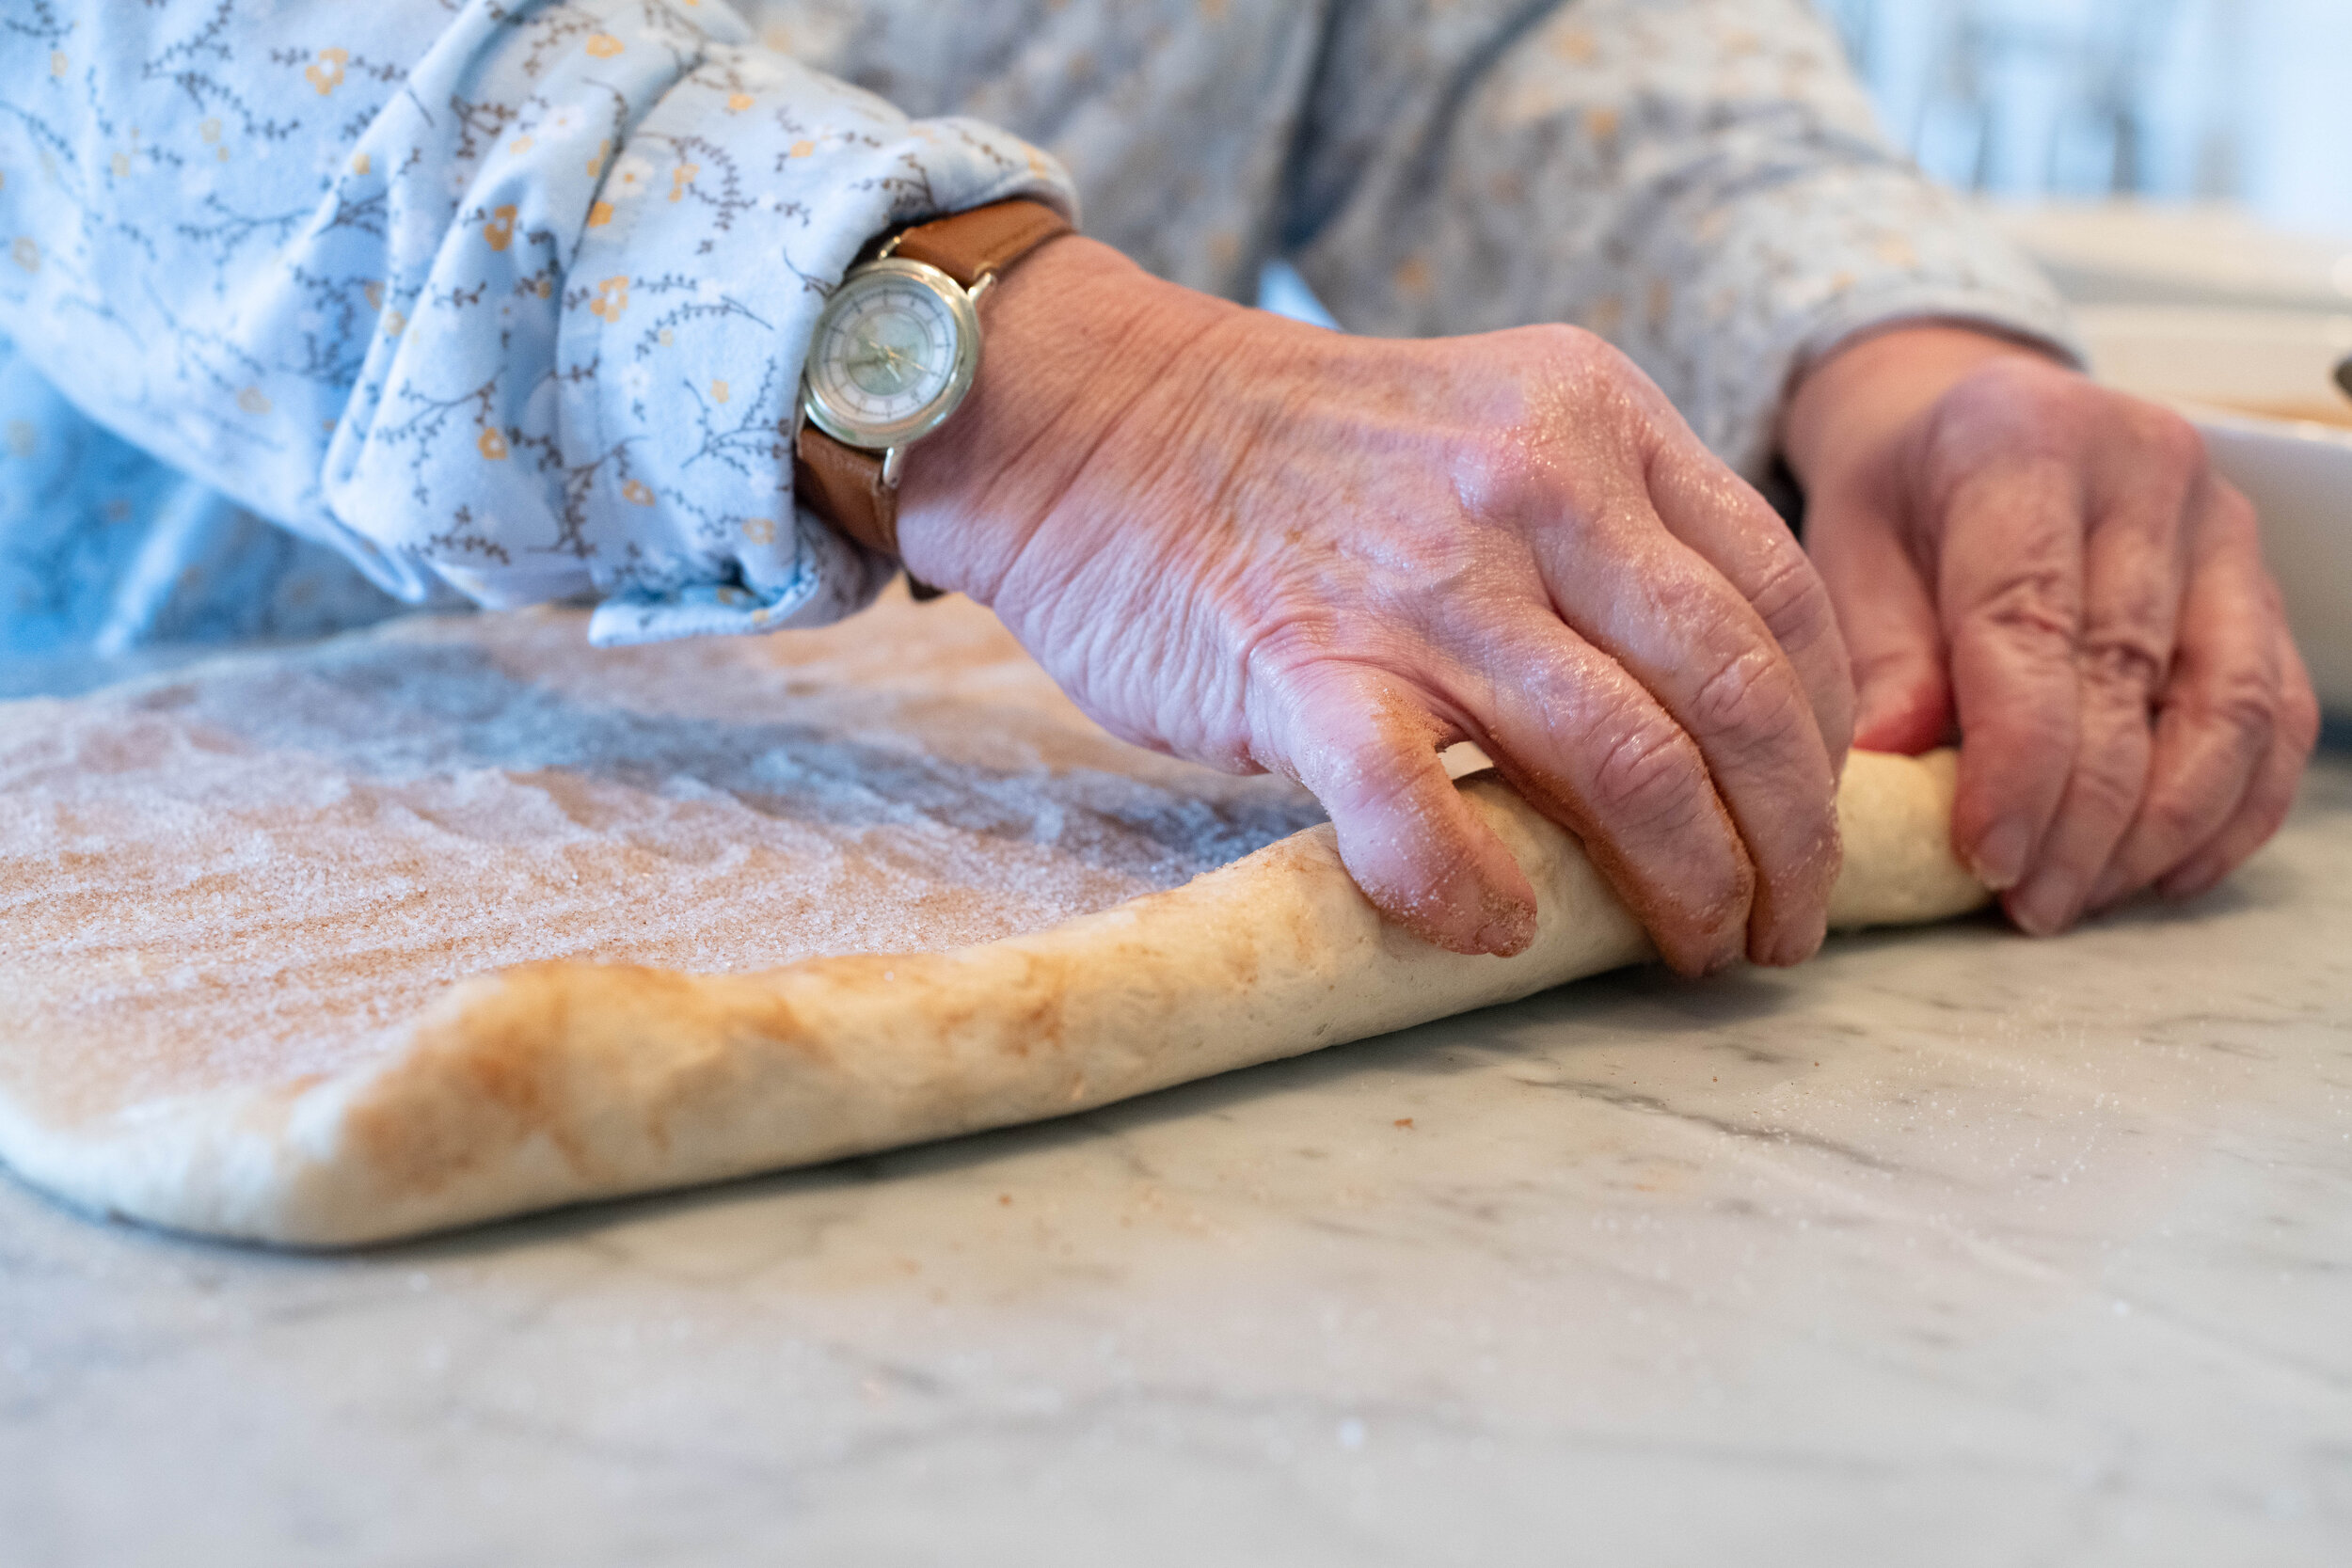
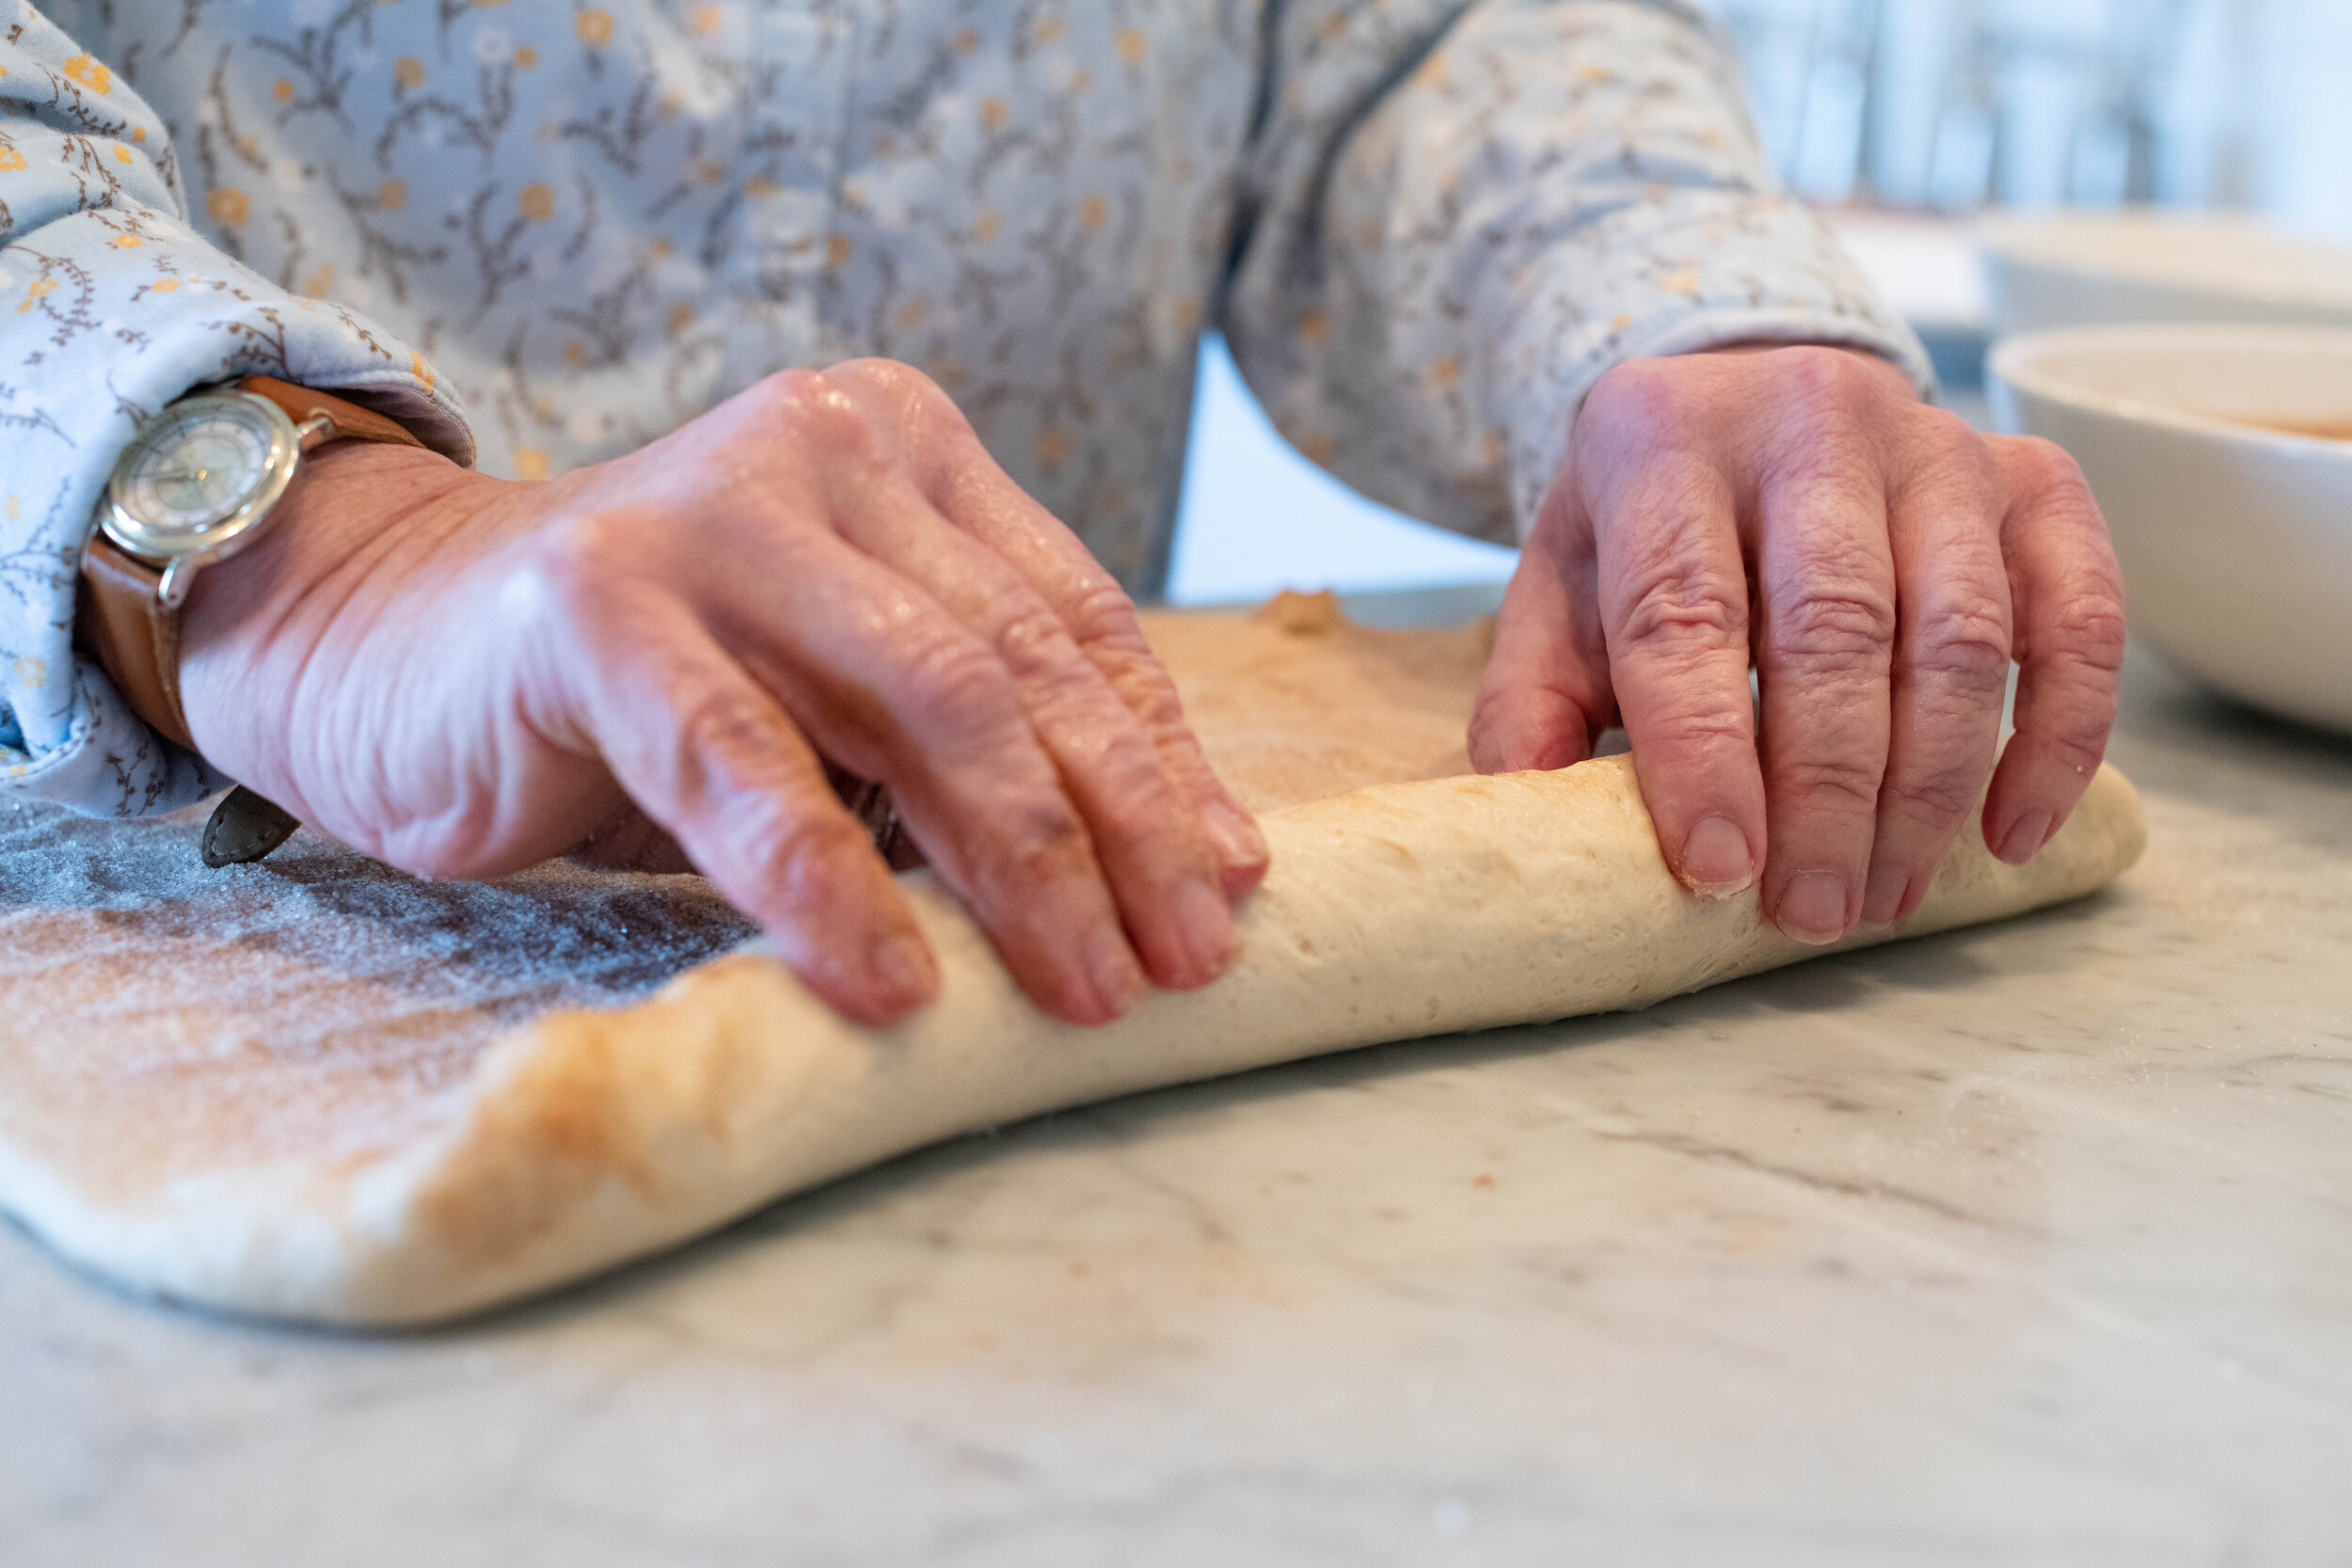
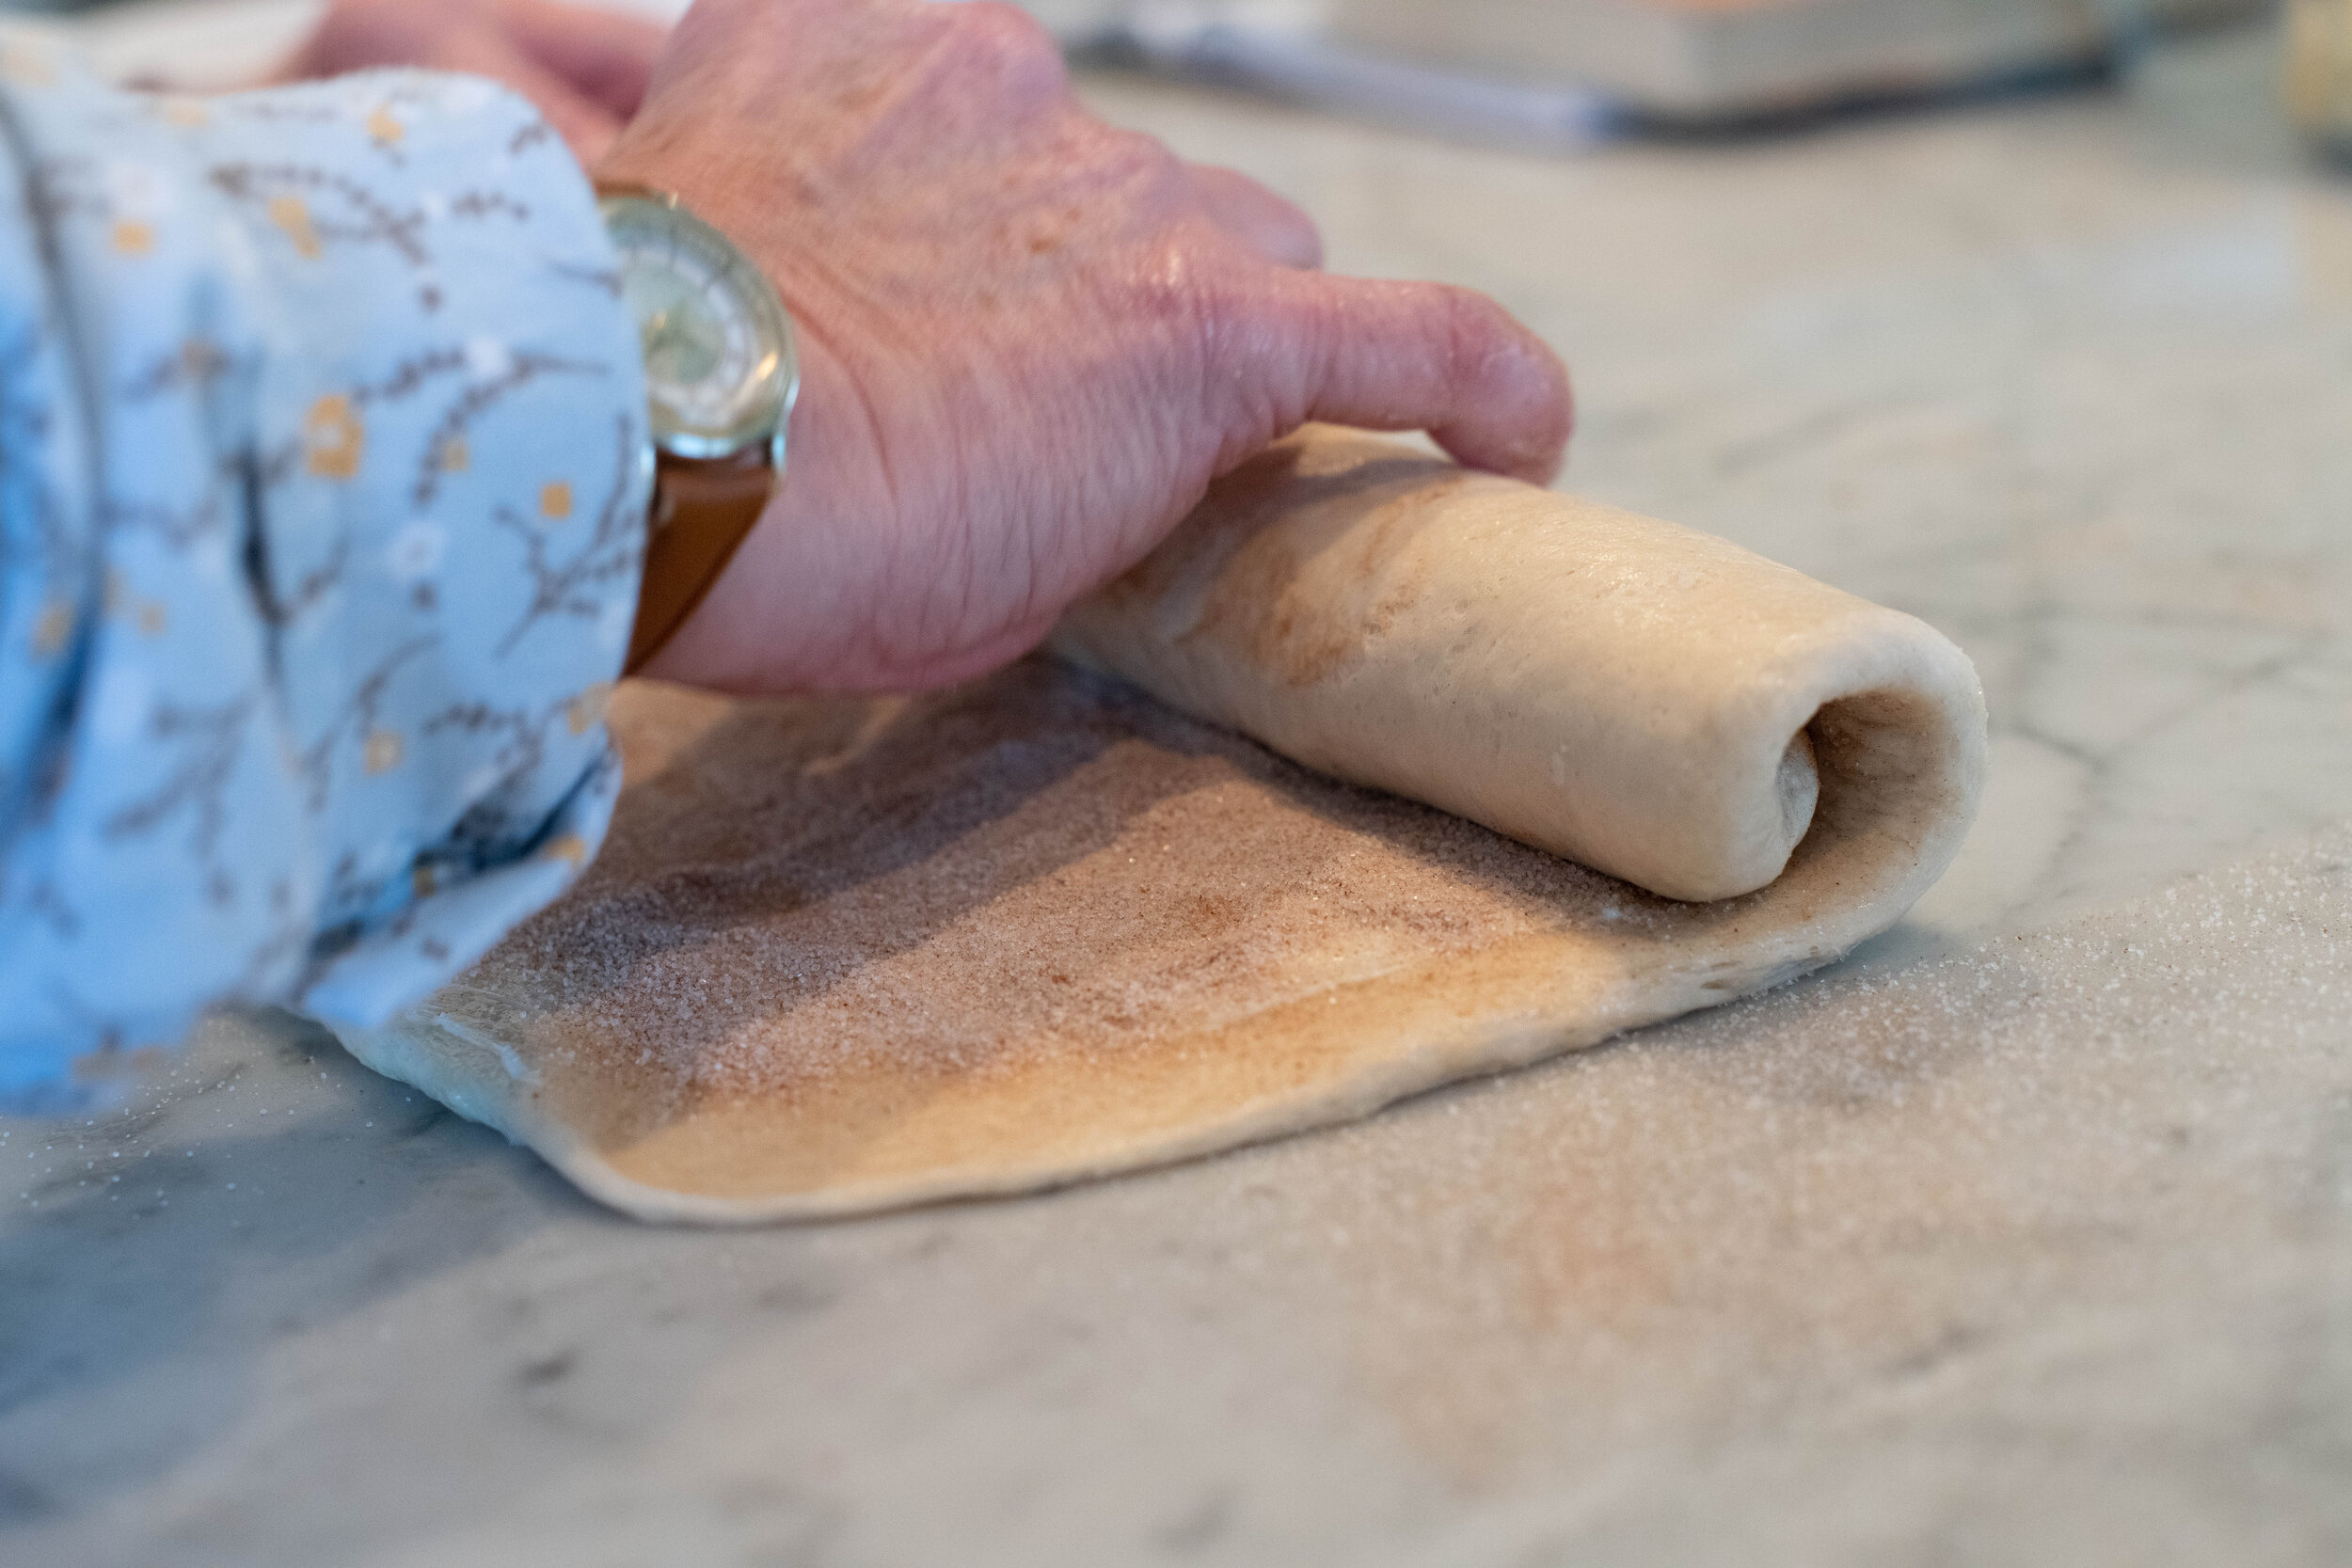
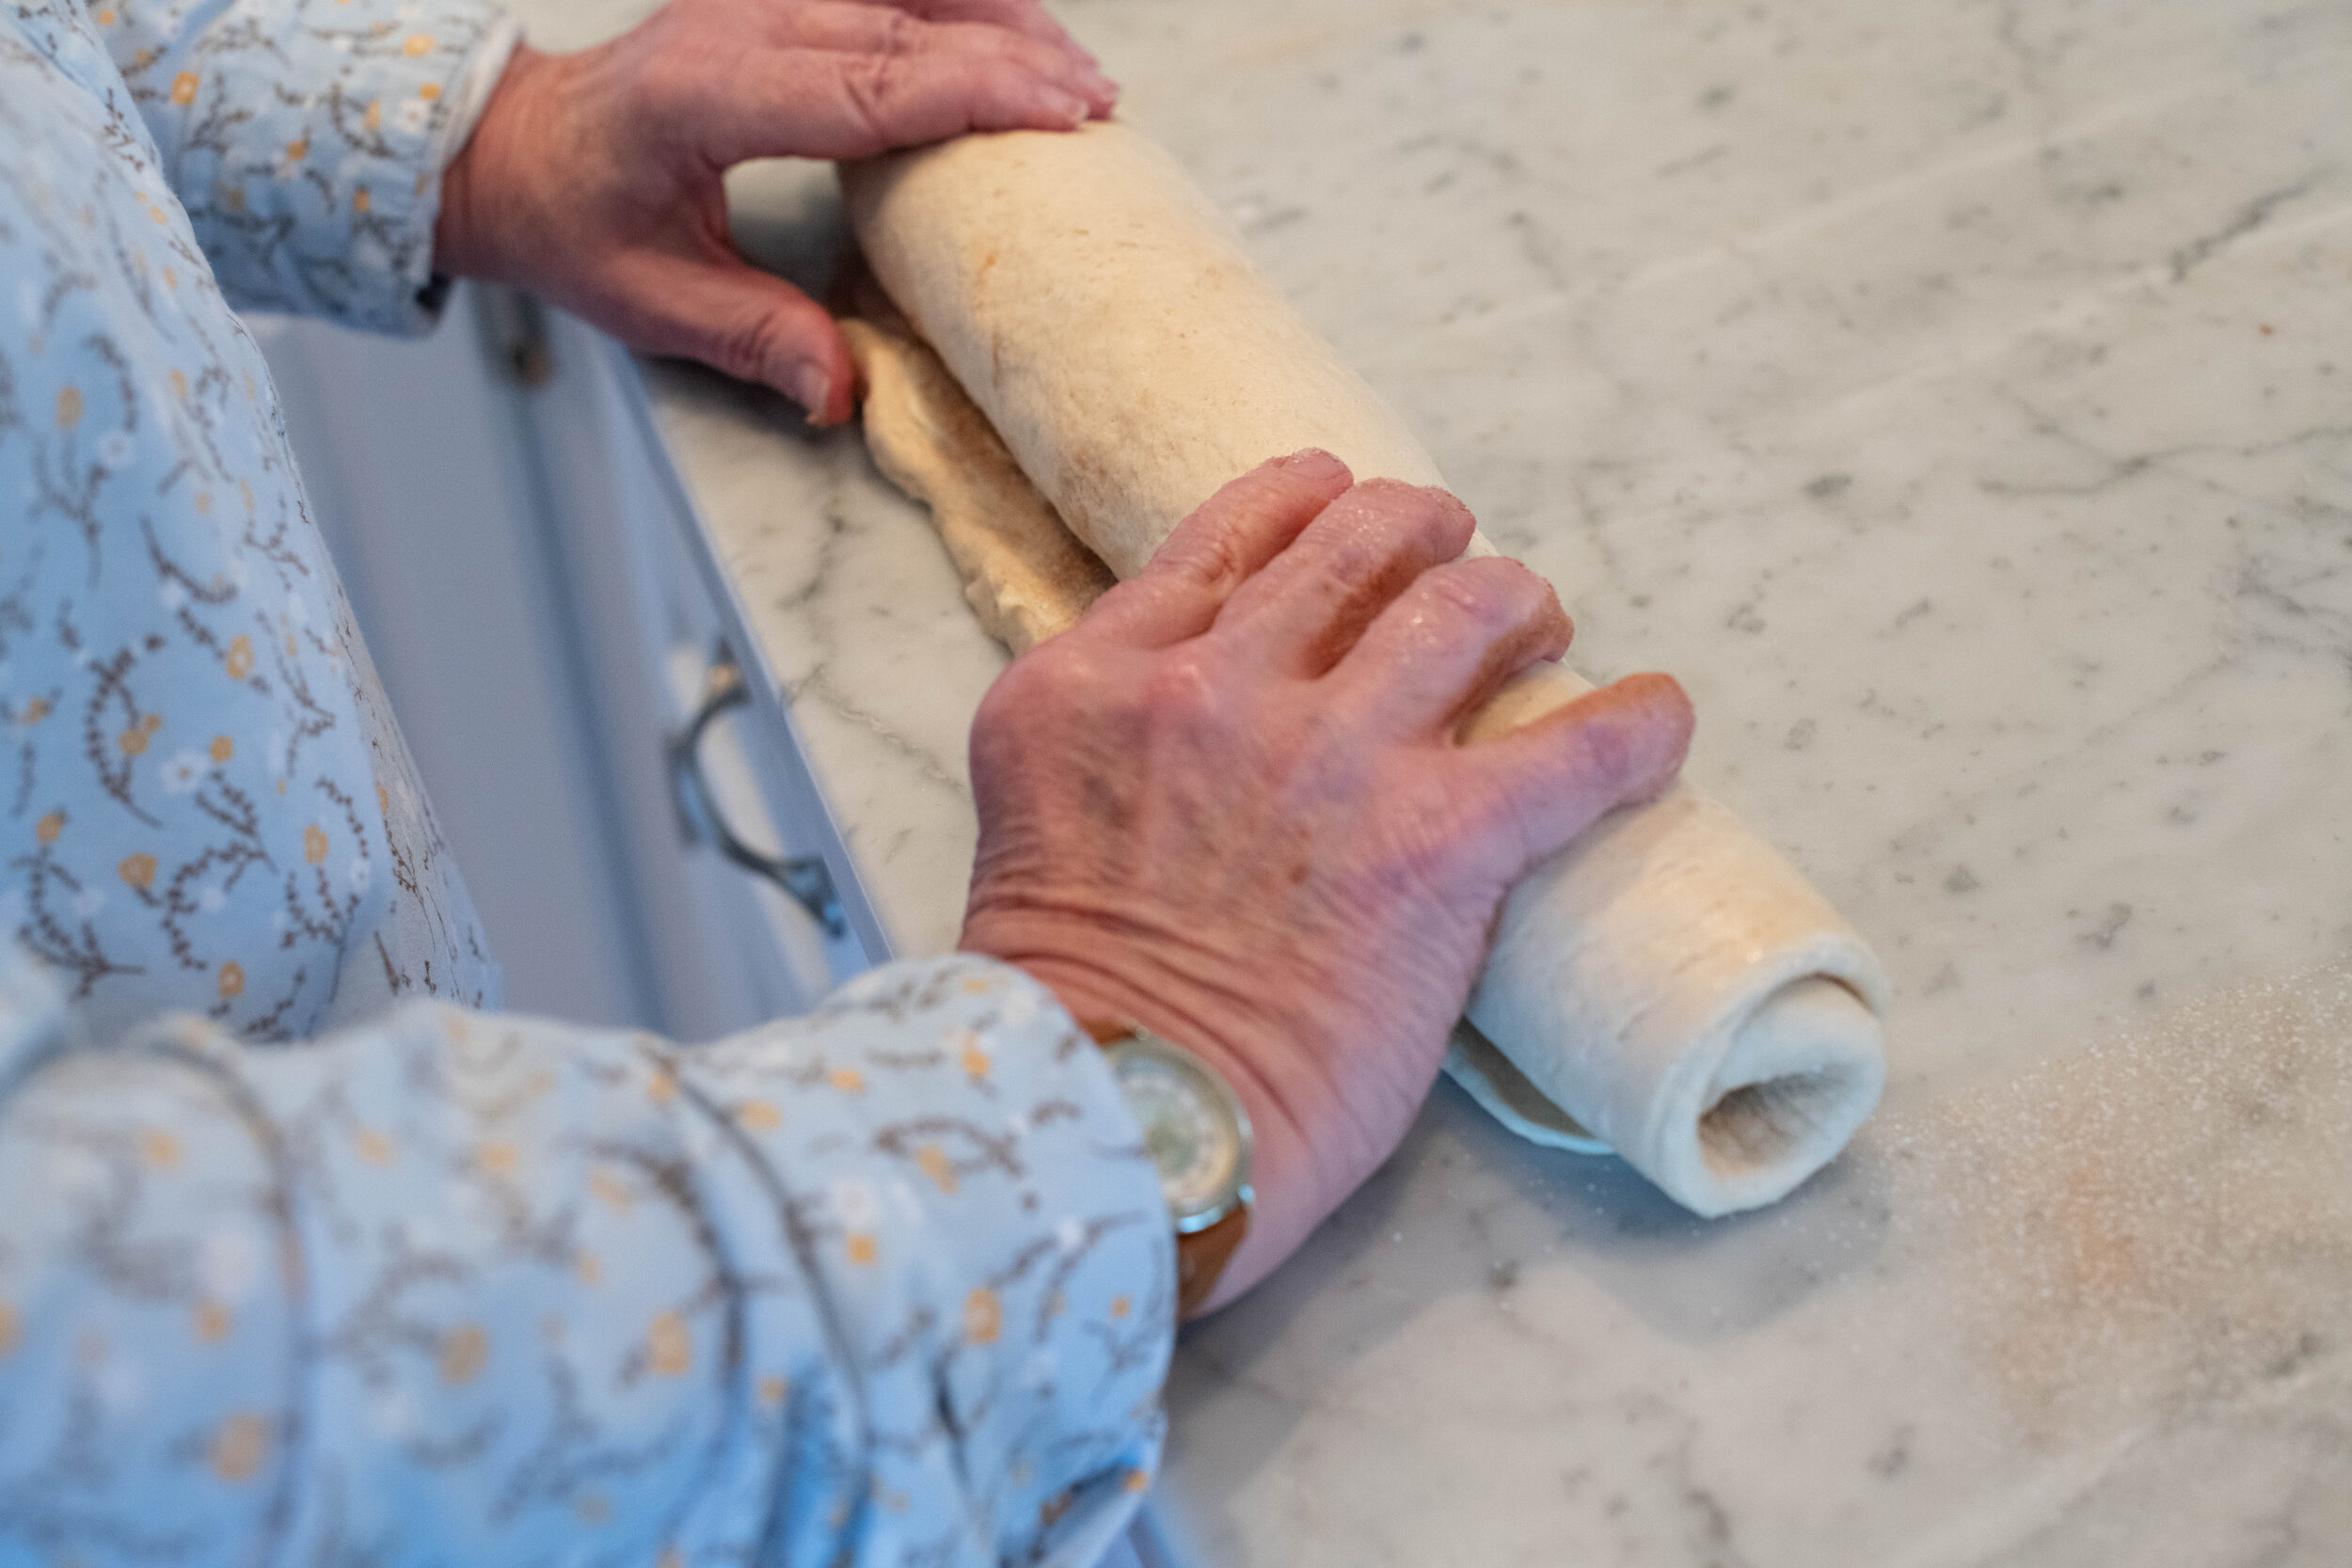
10. Starting with the edge farthest away from you, start rolling the dough into one long roll.
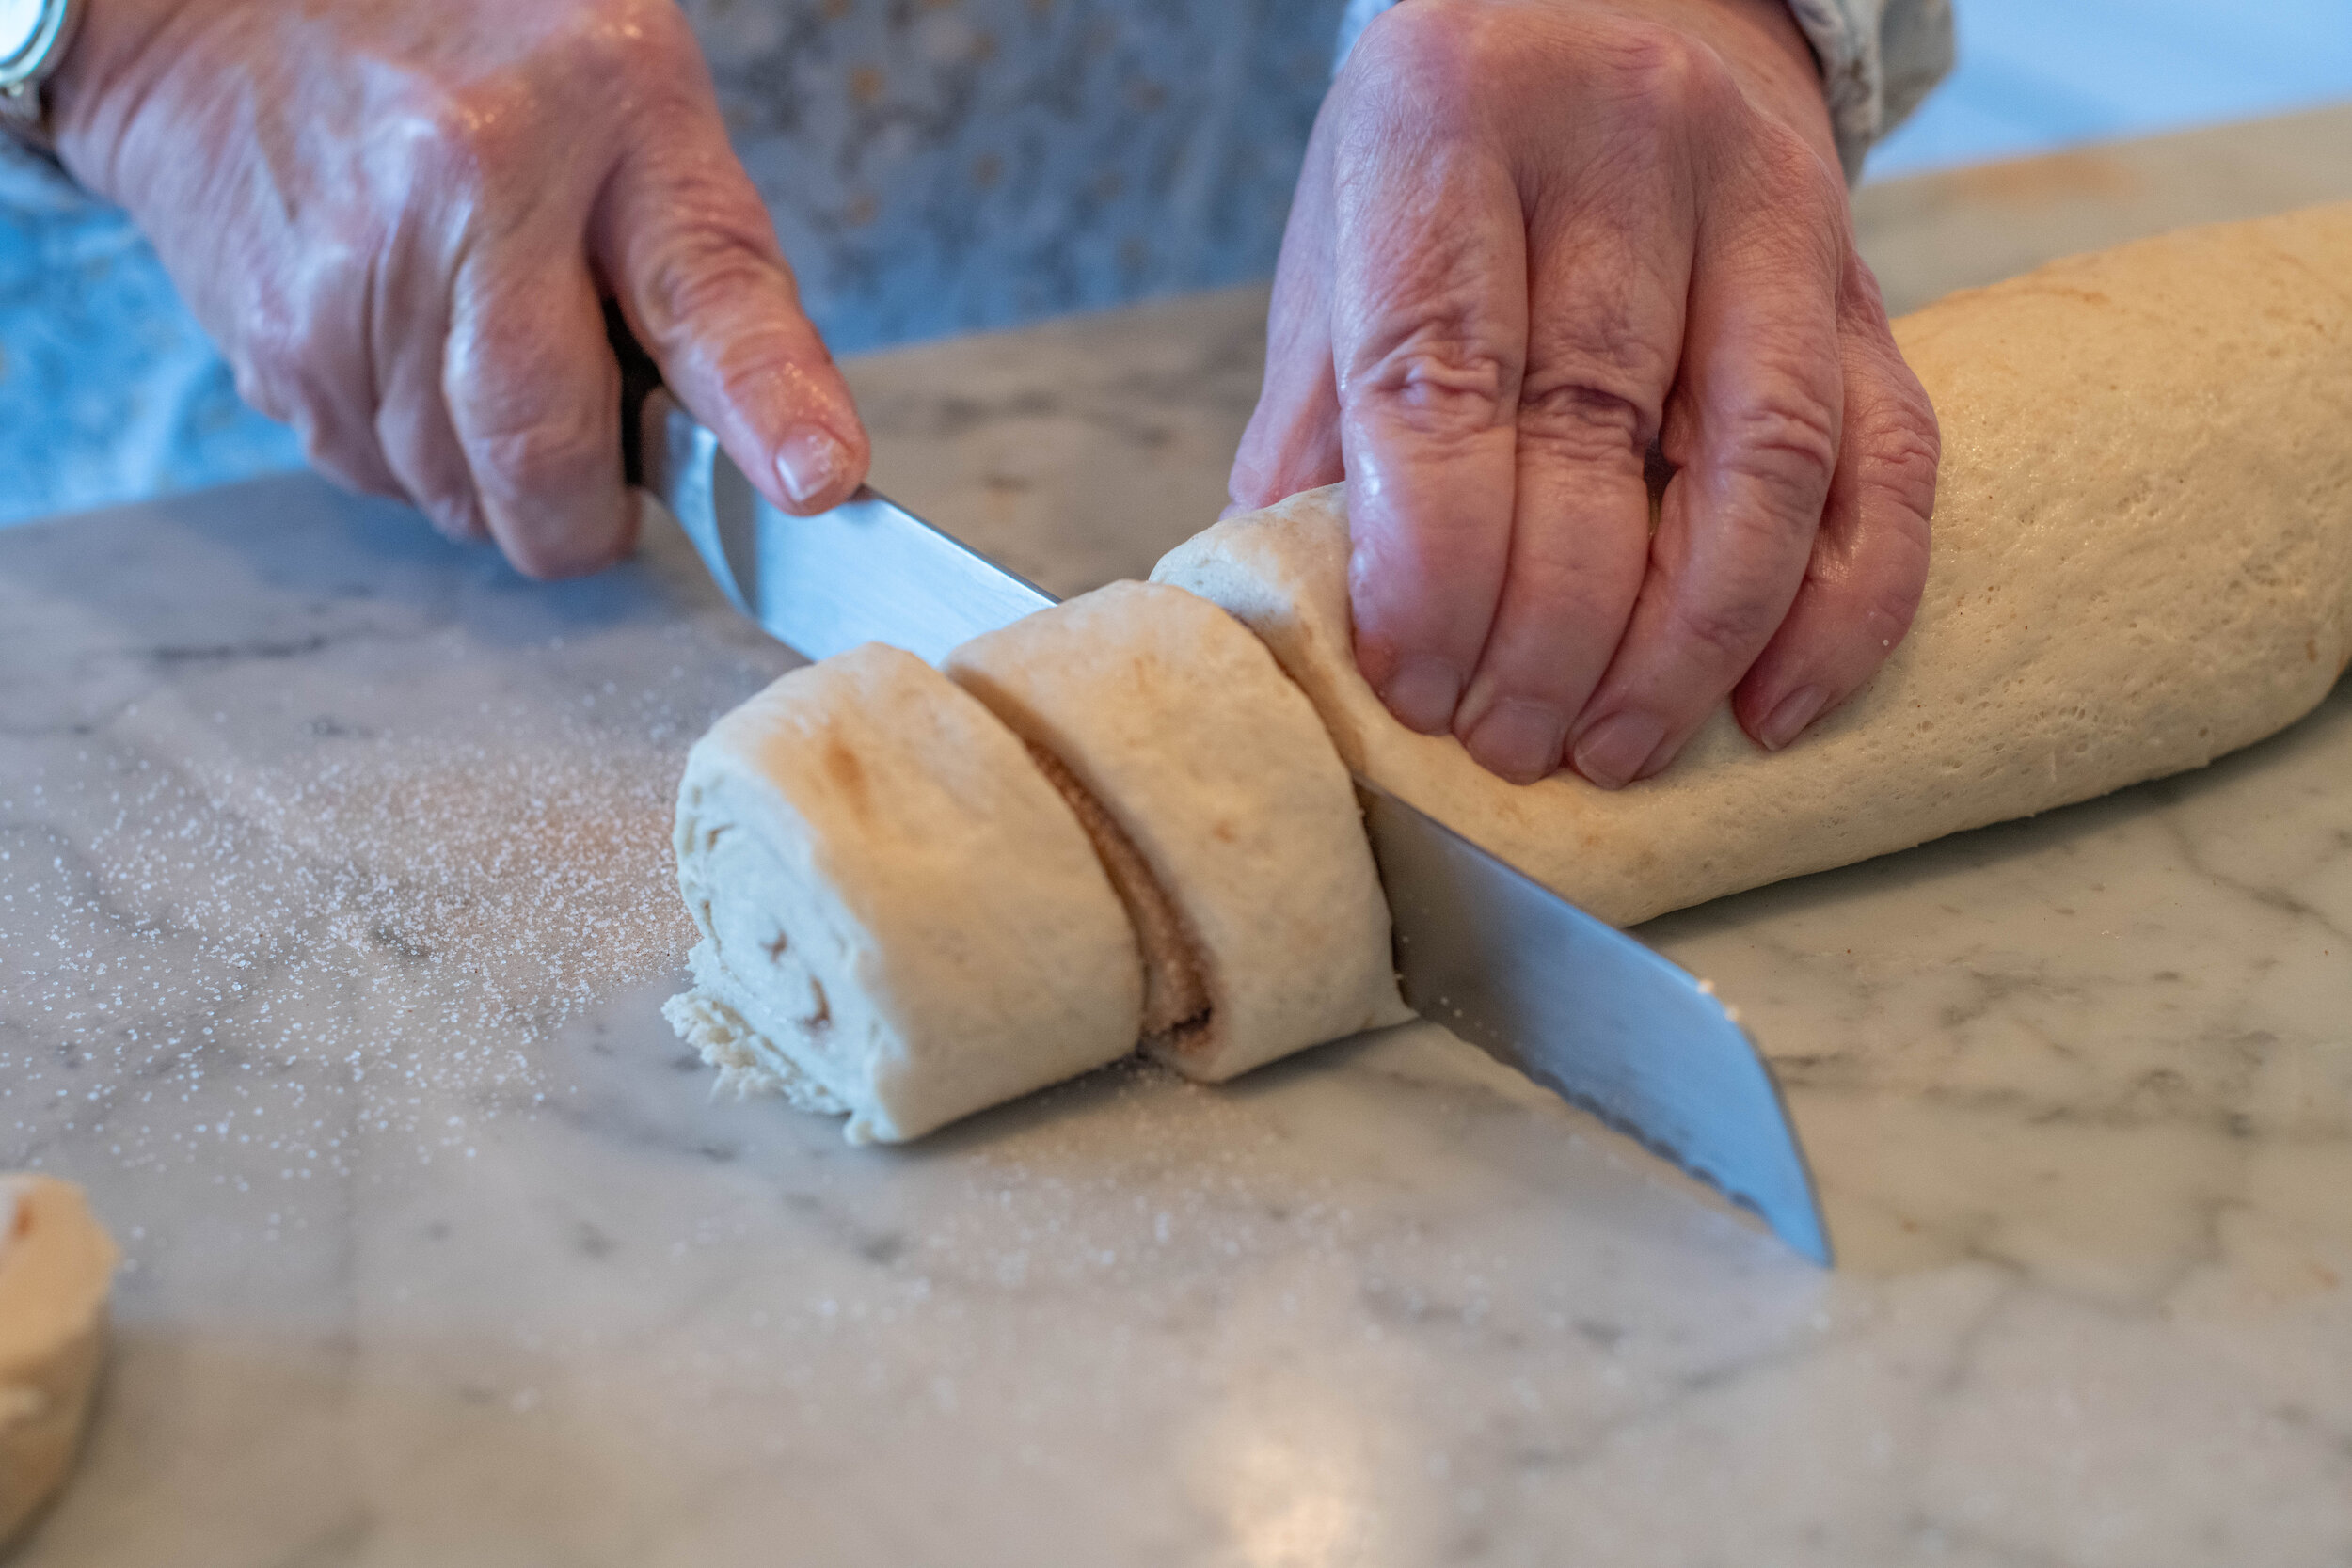
11. Using a serrated knife (jagged) – cut your rolls about one inch thick. This is basically the length from the tip of your thumb to your first thumb knuckle. **We use dental floss at camp to cut our rolls off (a knife can be harder as it will “smoosh” your dough). To do this, you slide the string under the roll, cross it on top, and then keep pulling to “pinch” off the perfect amount. If this makes no sense google “cutting dough with string” and you will figure it out :)
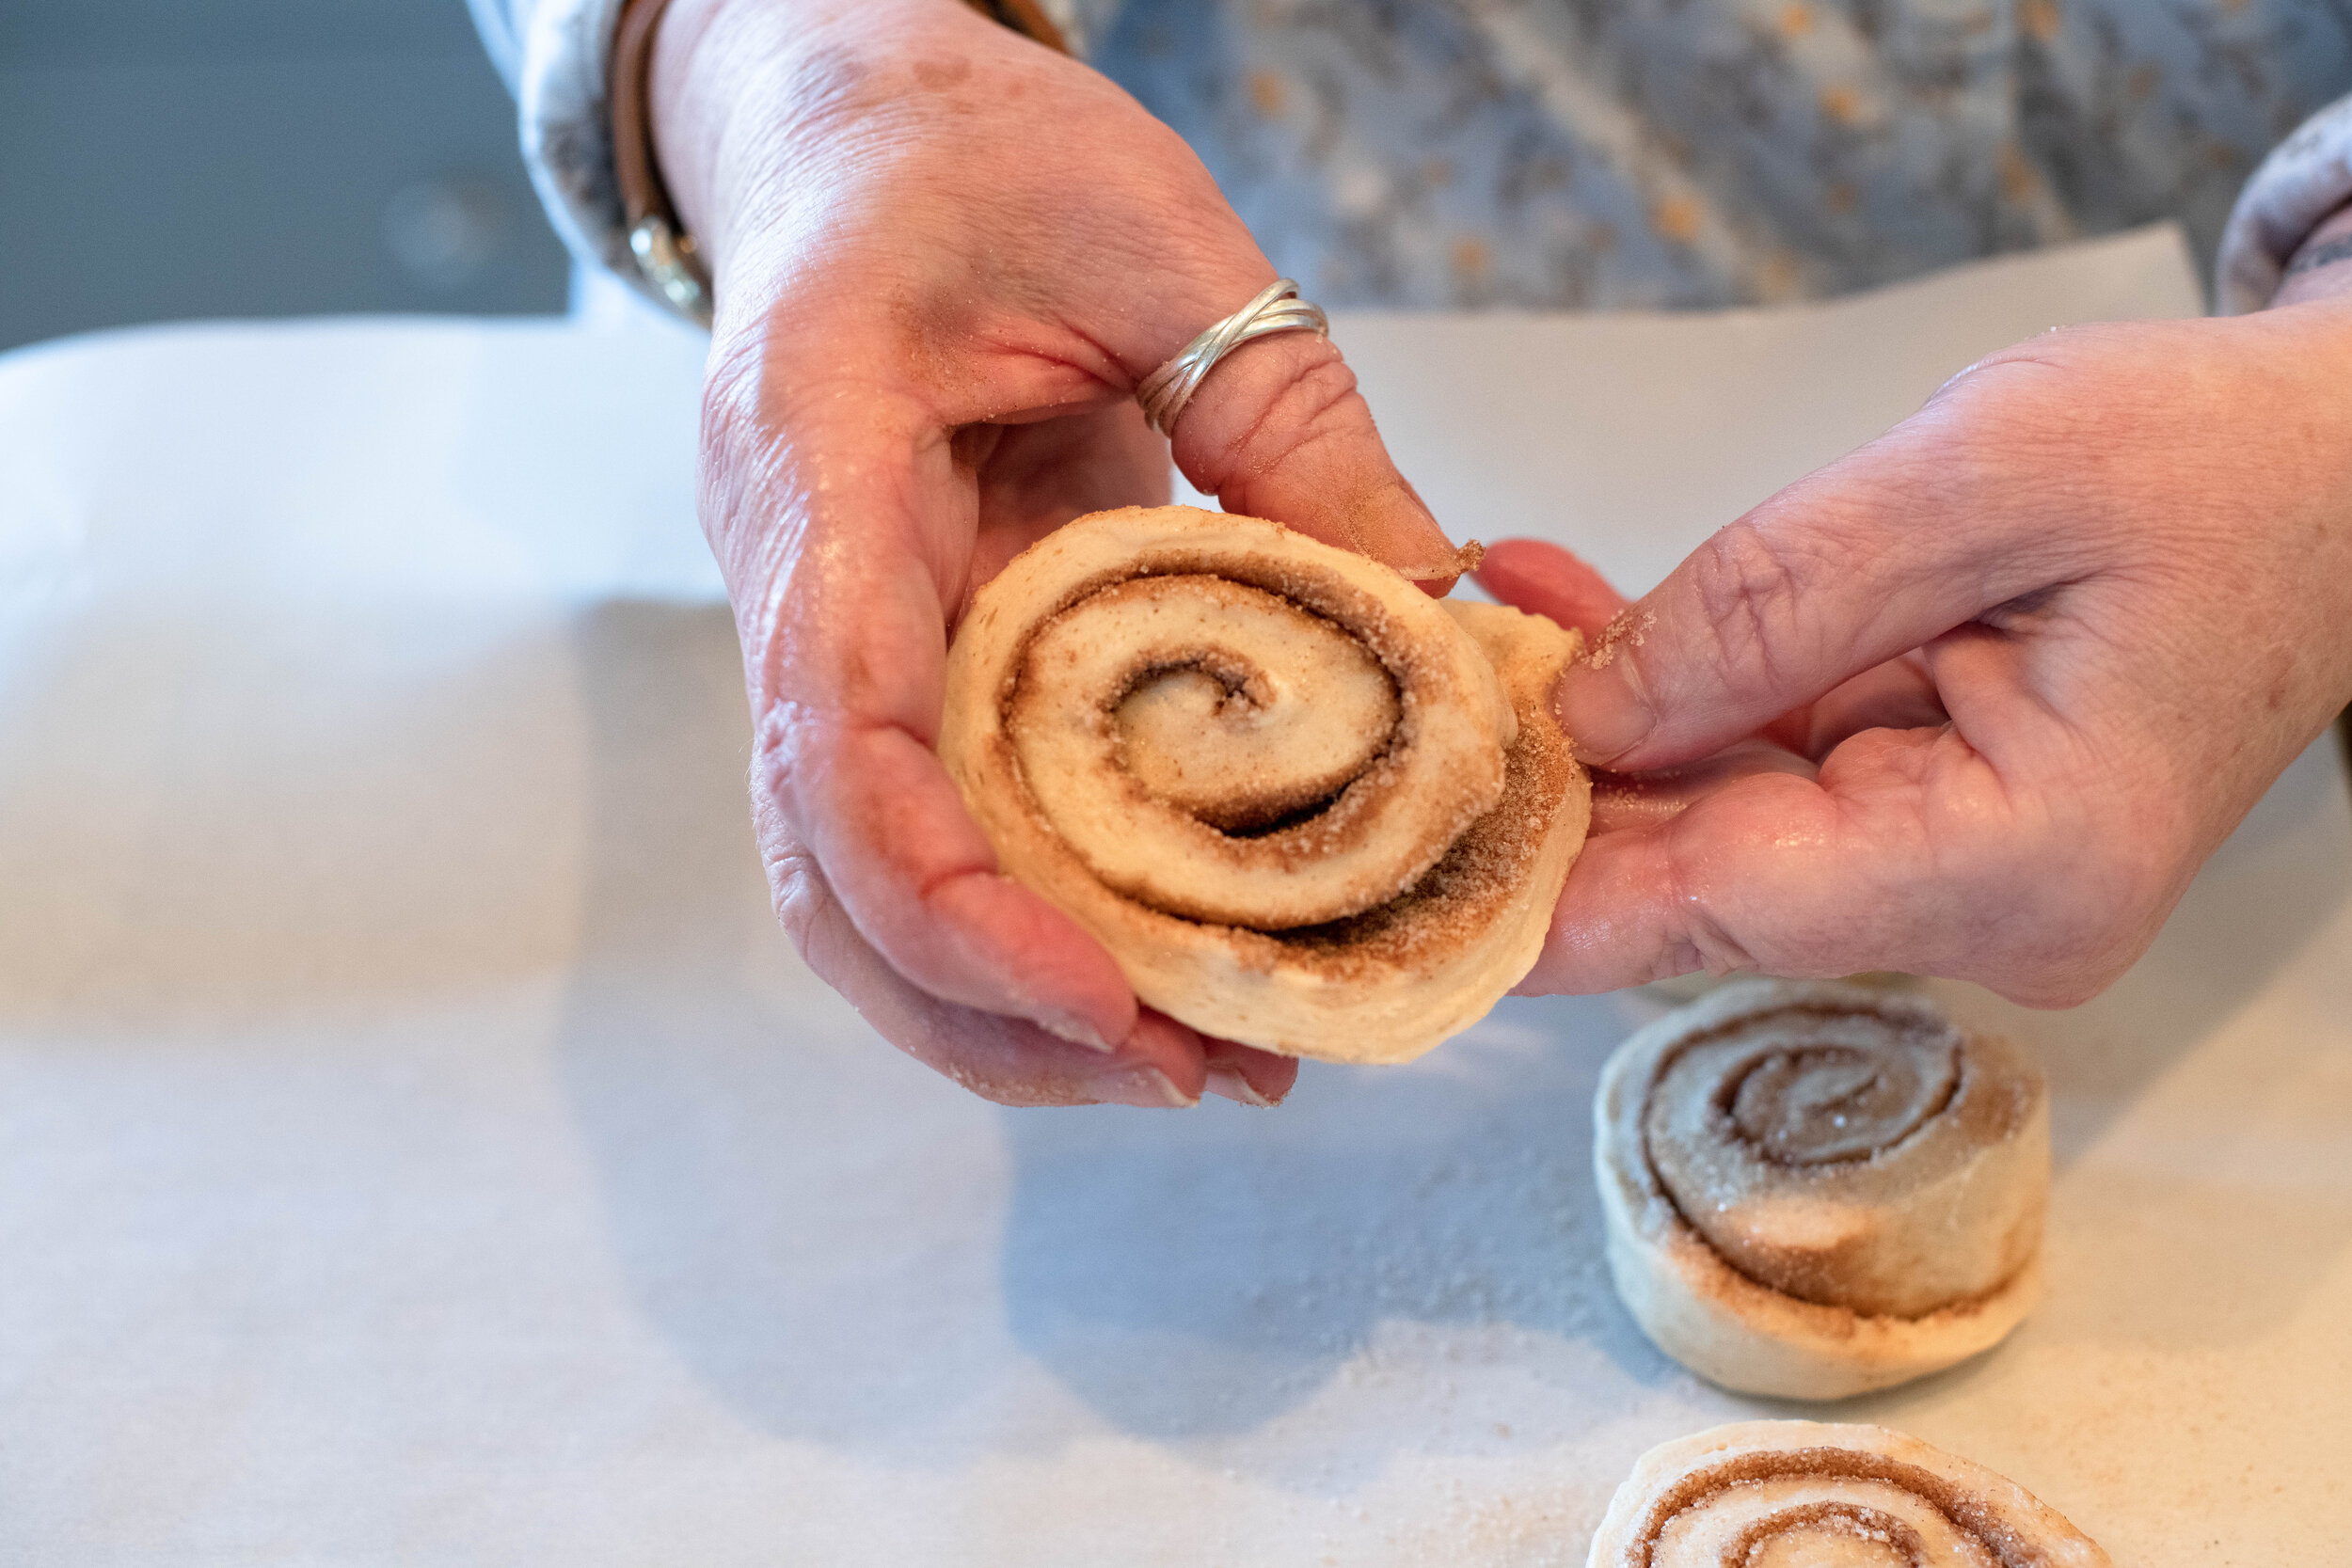
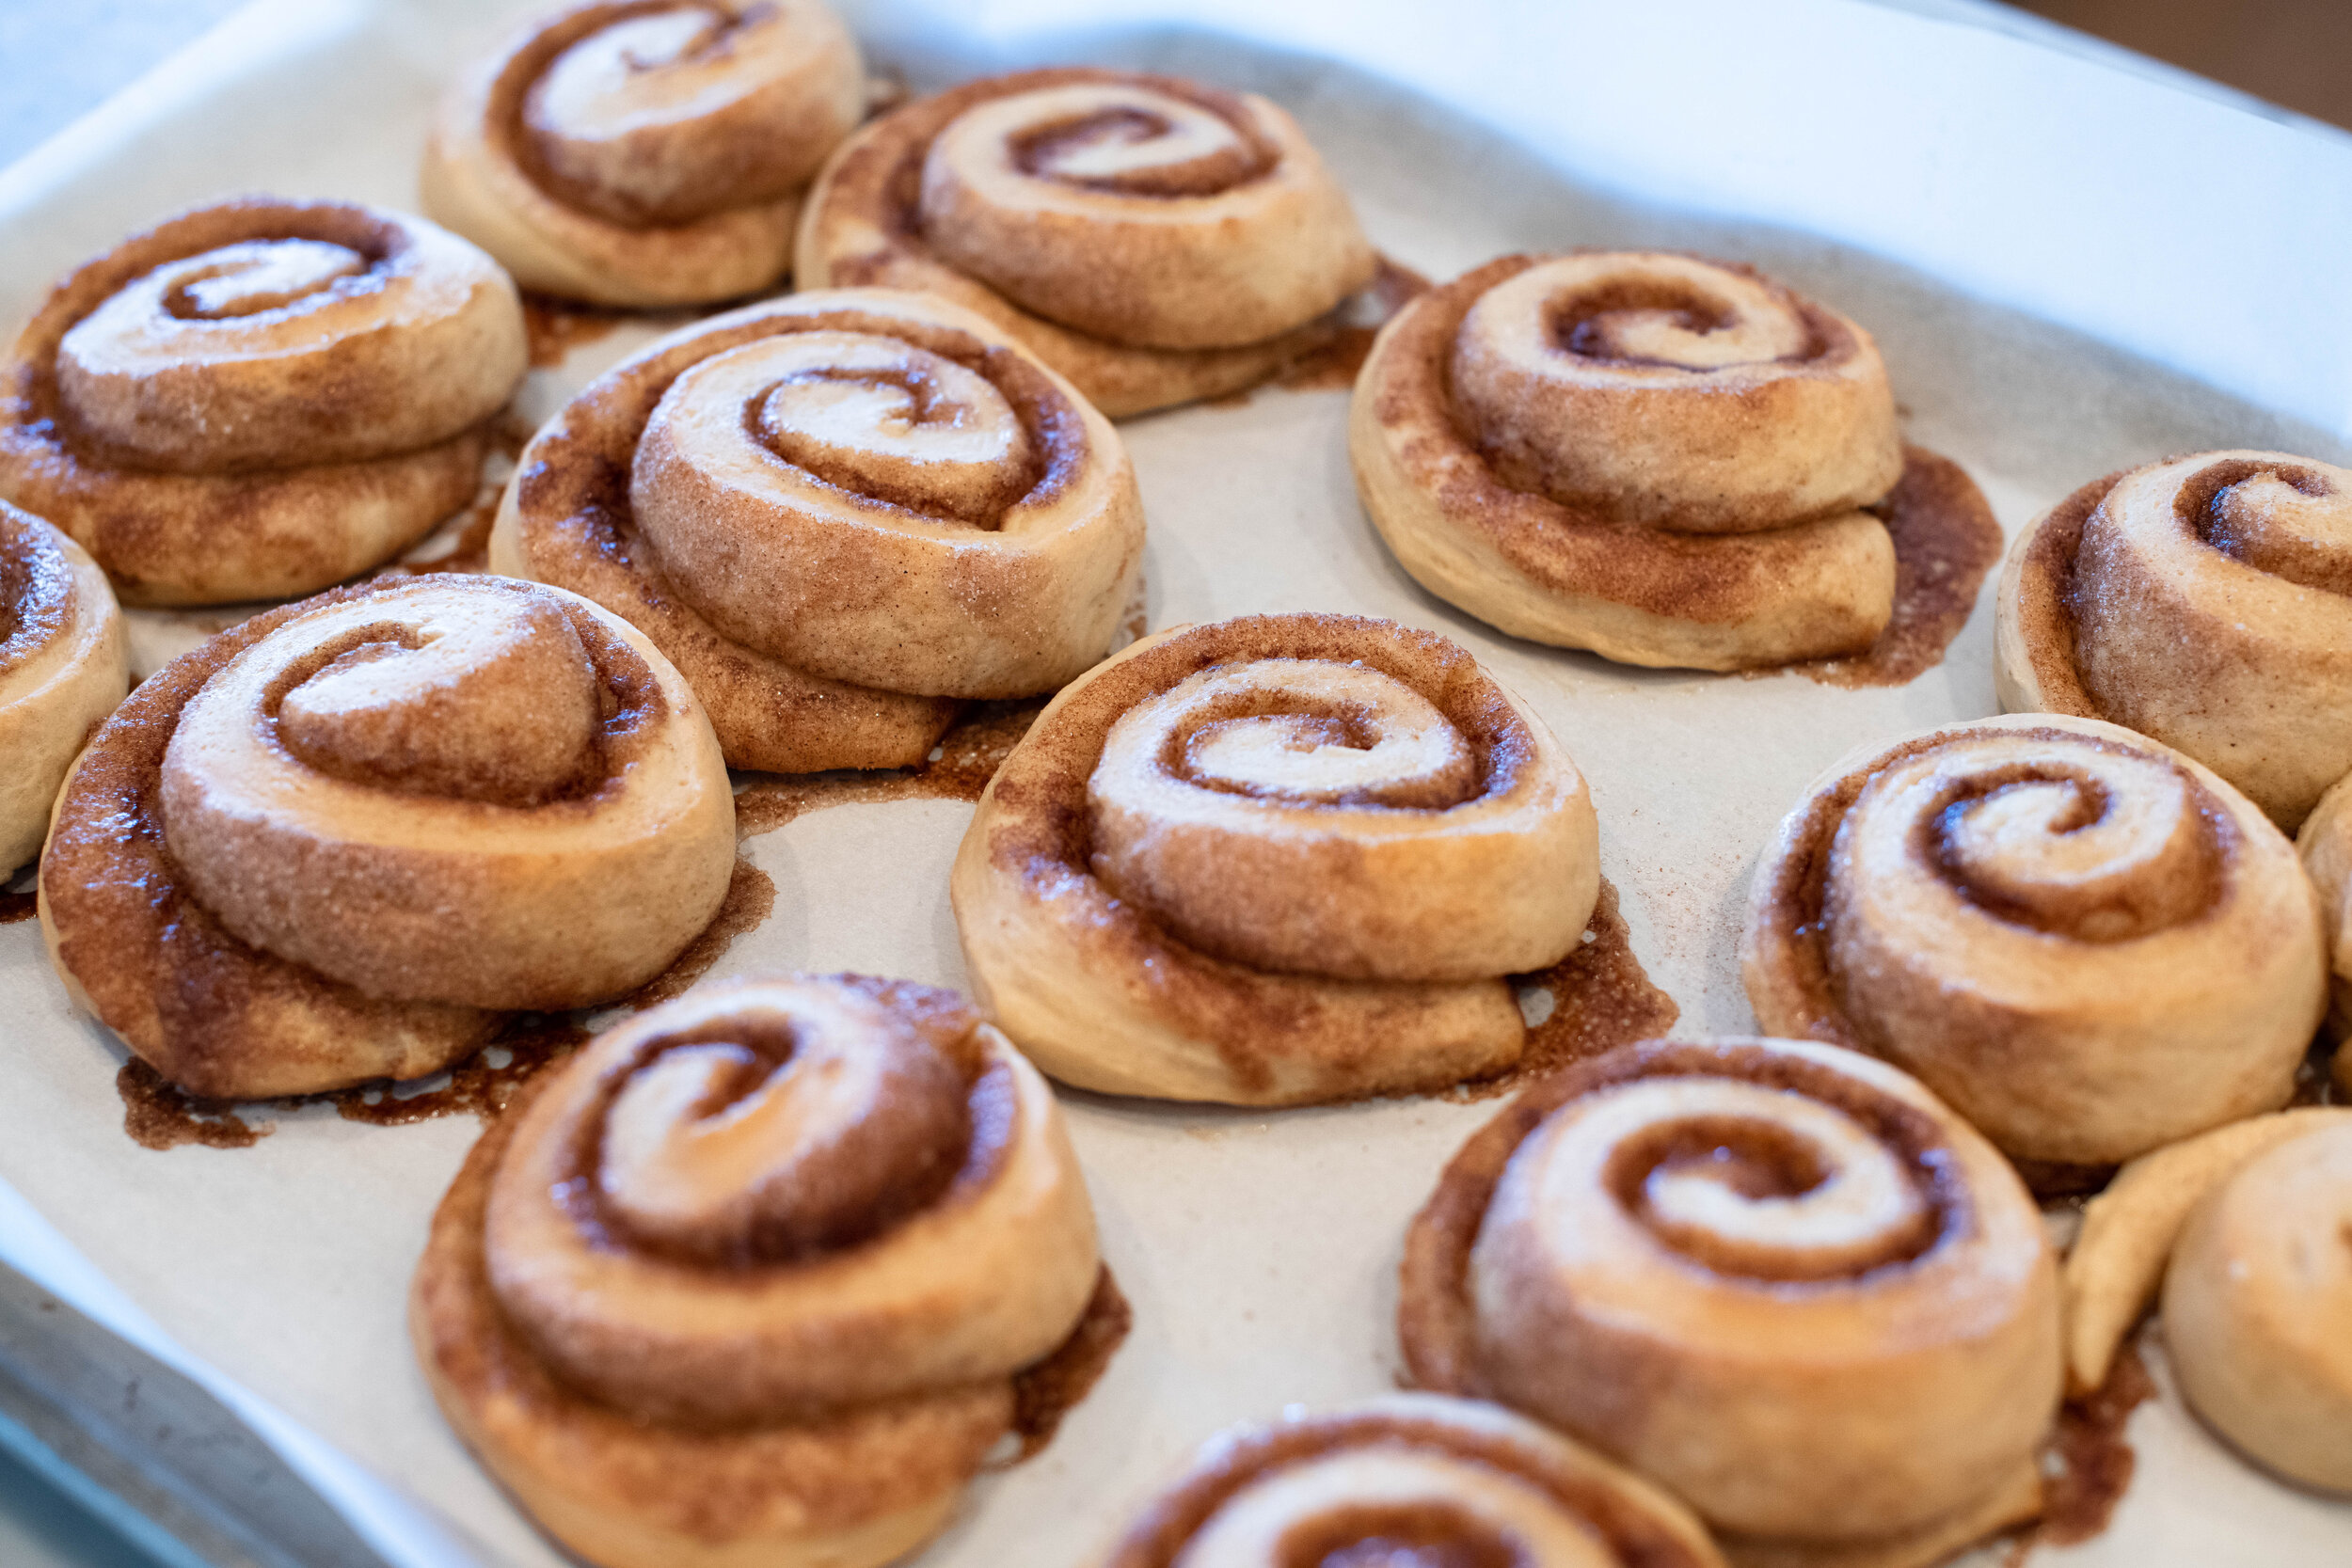
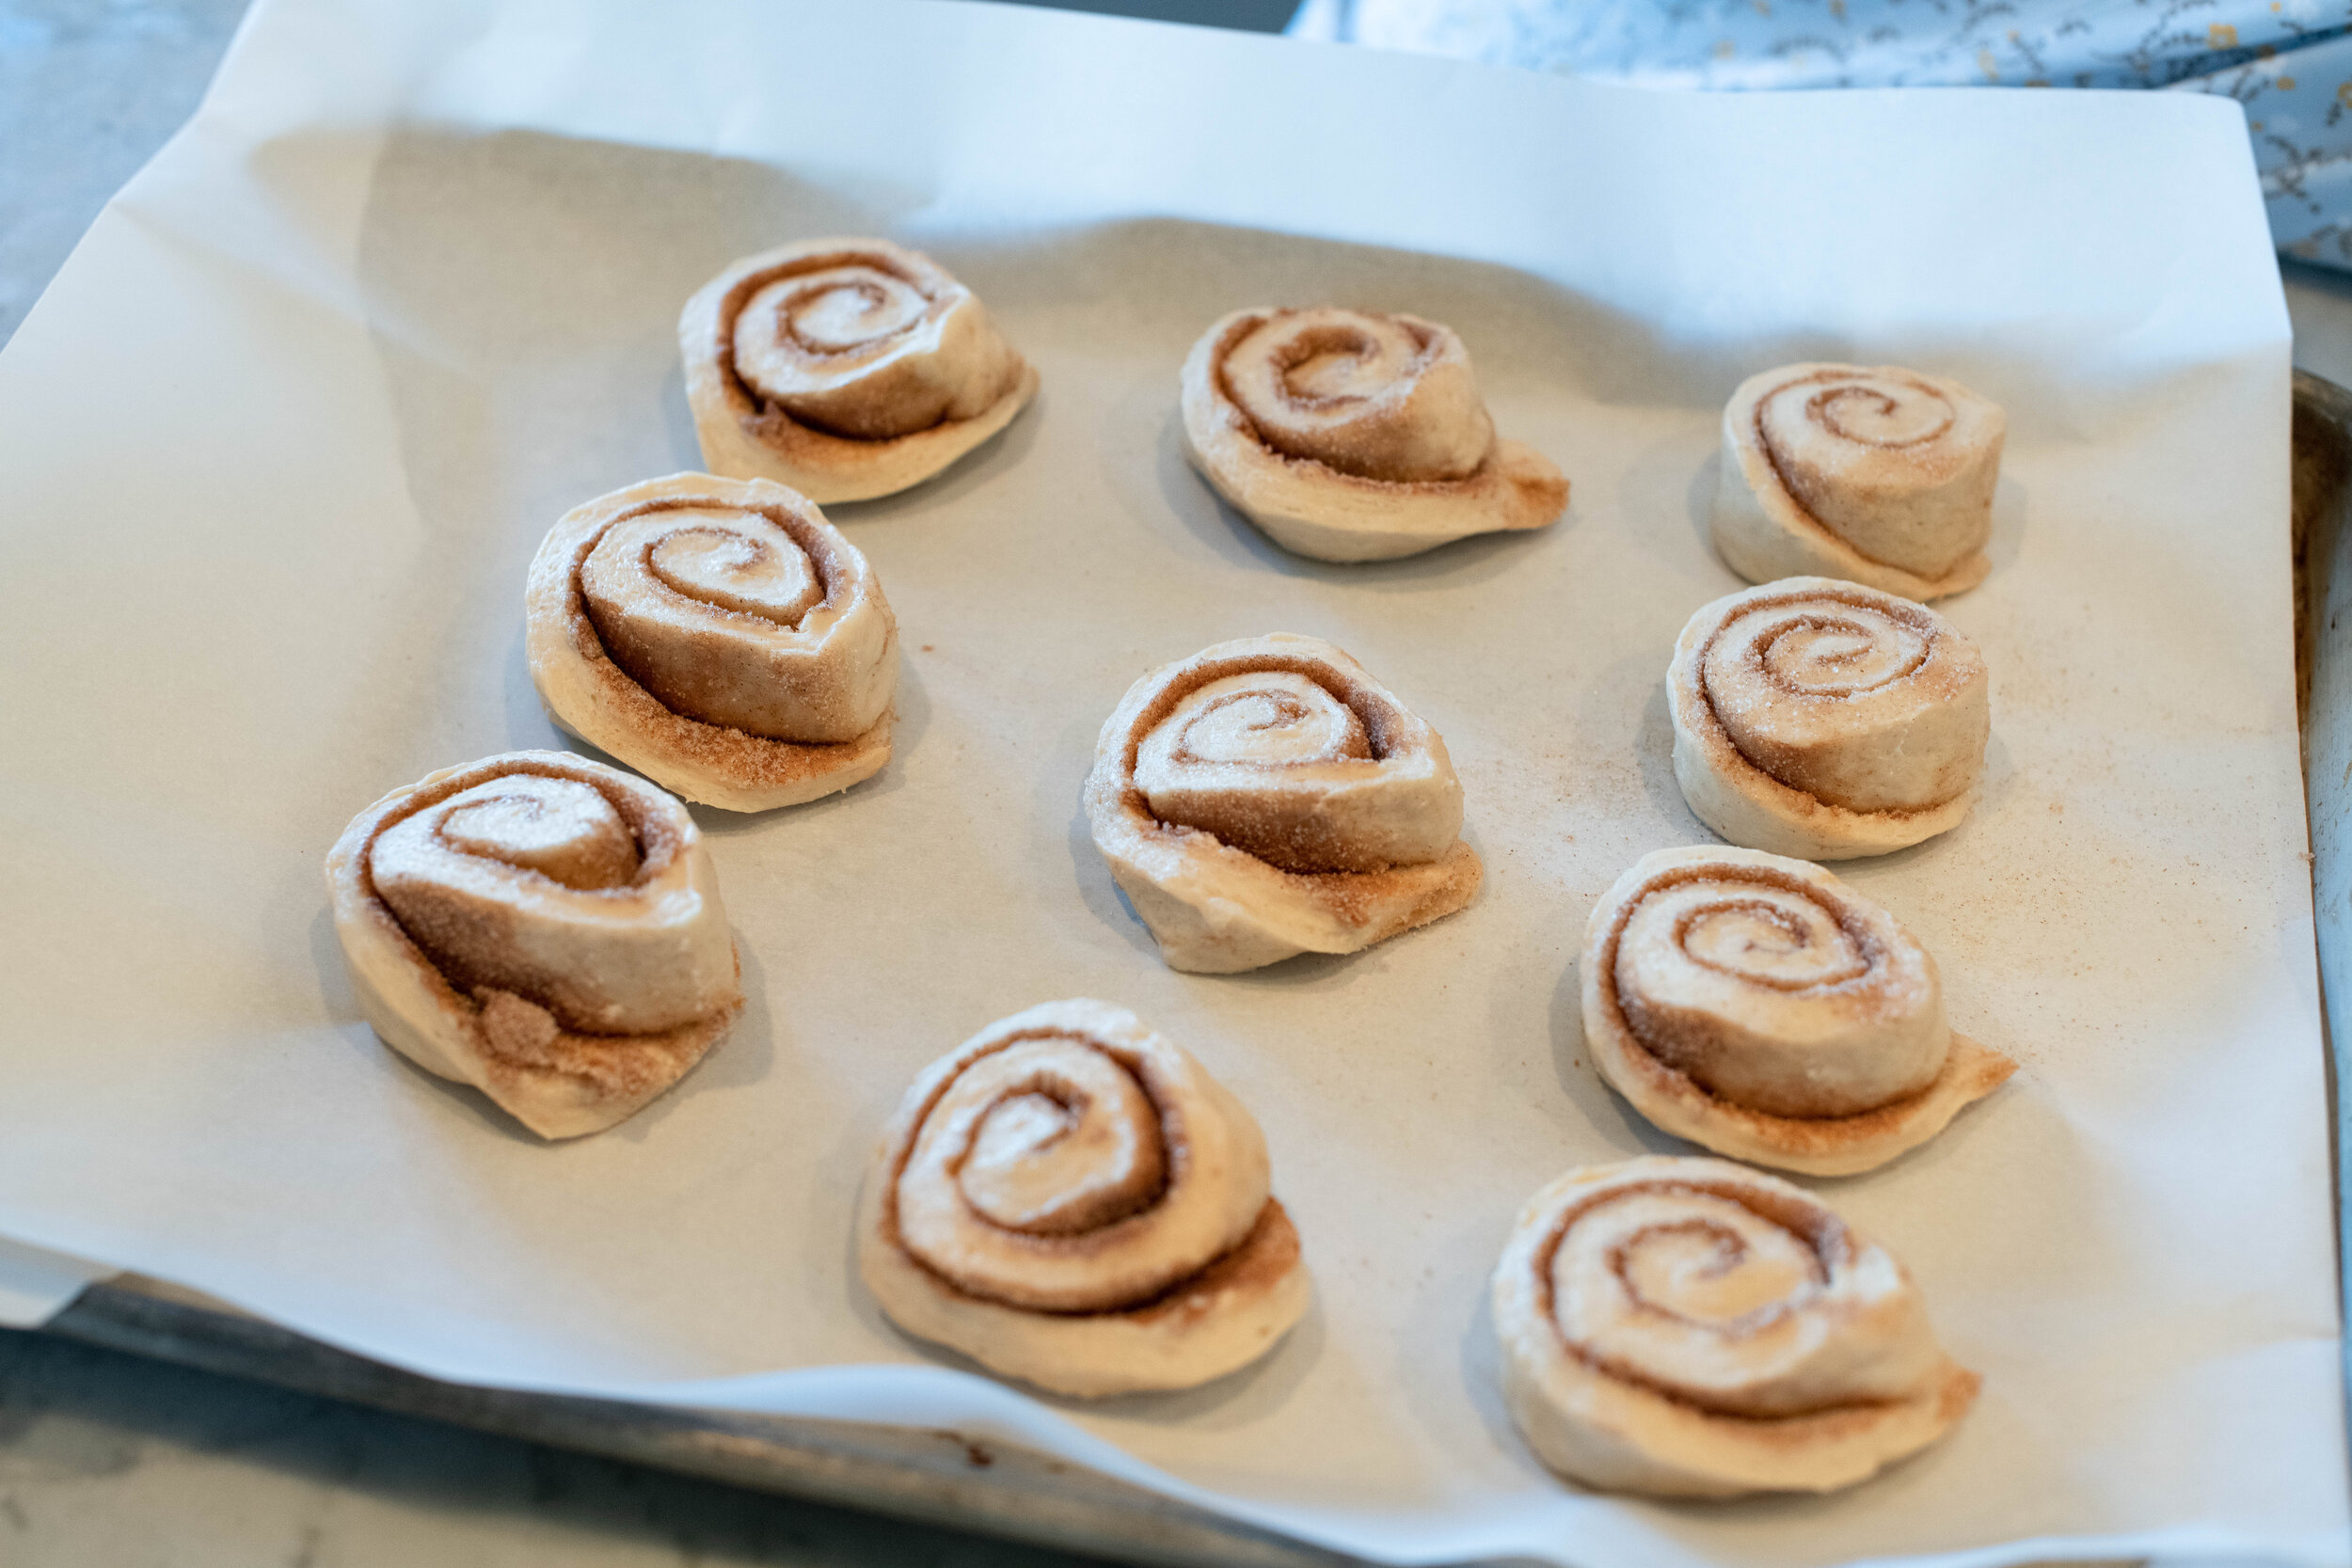
12. Place each roll on a buttered/oiled/sprayed sheet pan. Space them about 1-2 inches apart – or further if you don’t them to touch at all. Remember to “tuck the tails in” - that is - take the very ends of the rolls and gently tuck the tip underneath the rolled part to make them look nice. Otherwise that tail will rise and bust off the end and look goofy after baking.
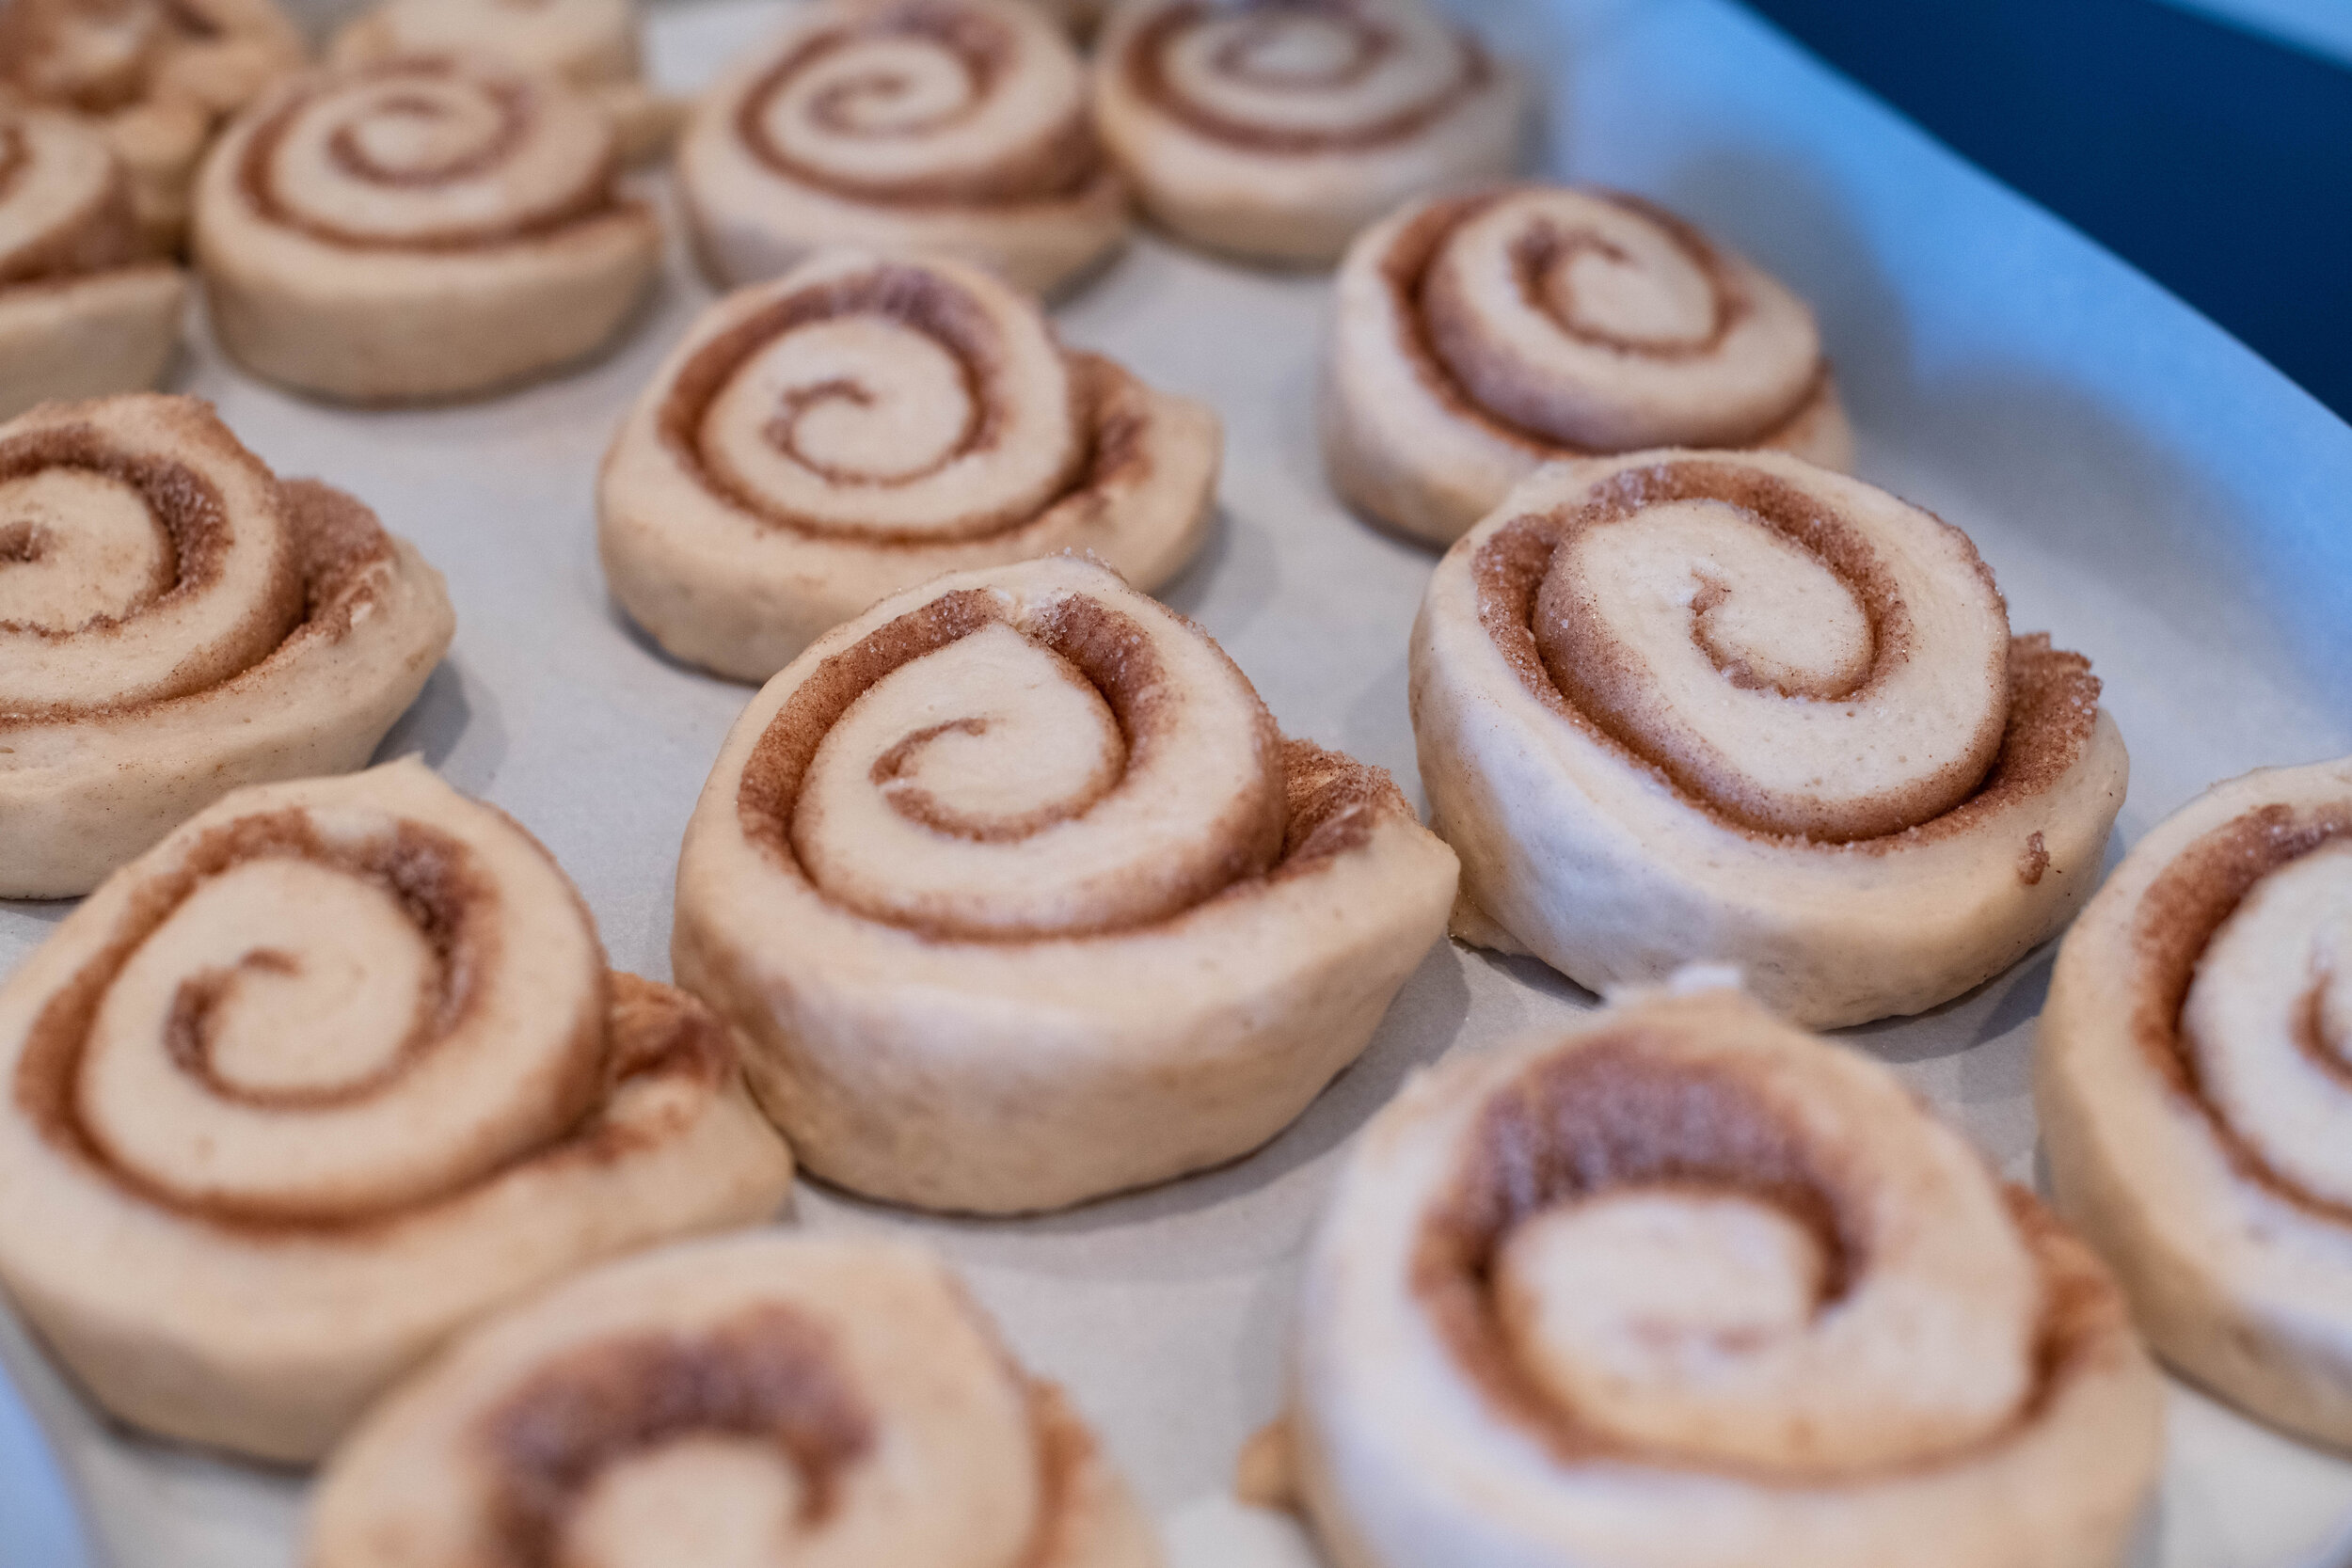
13. Let the rolls rise another 30-45 minutes until they double in size. (You can do this overnight in the refrigerator like we do at camp or even freeze the rolls for future baking).
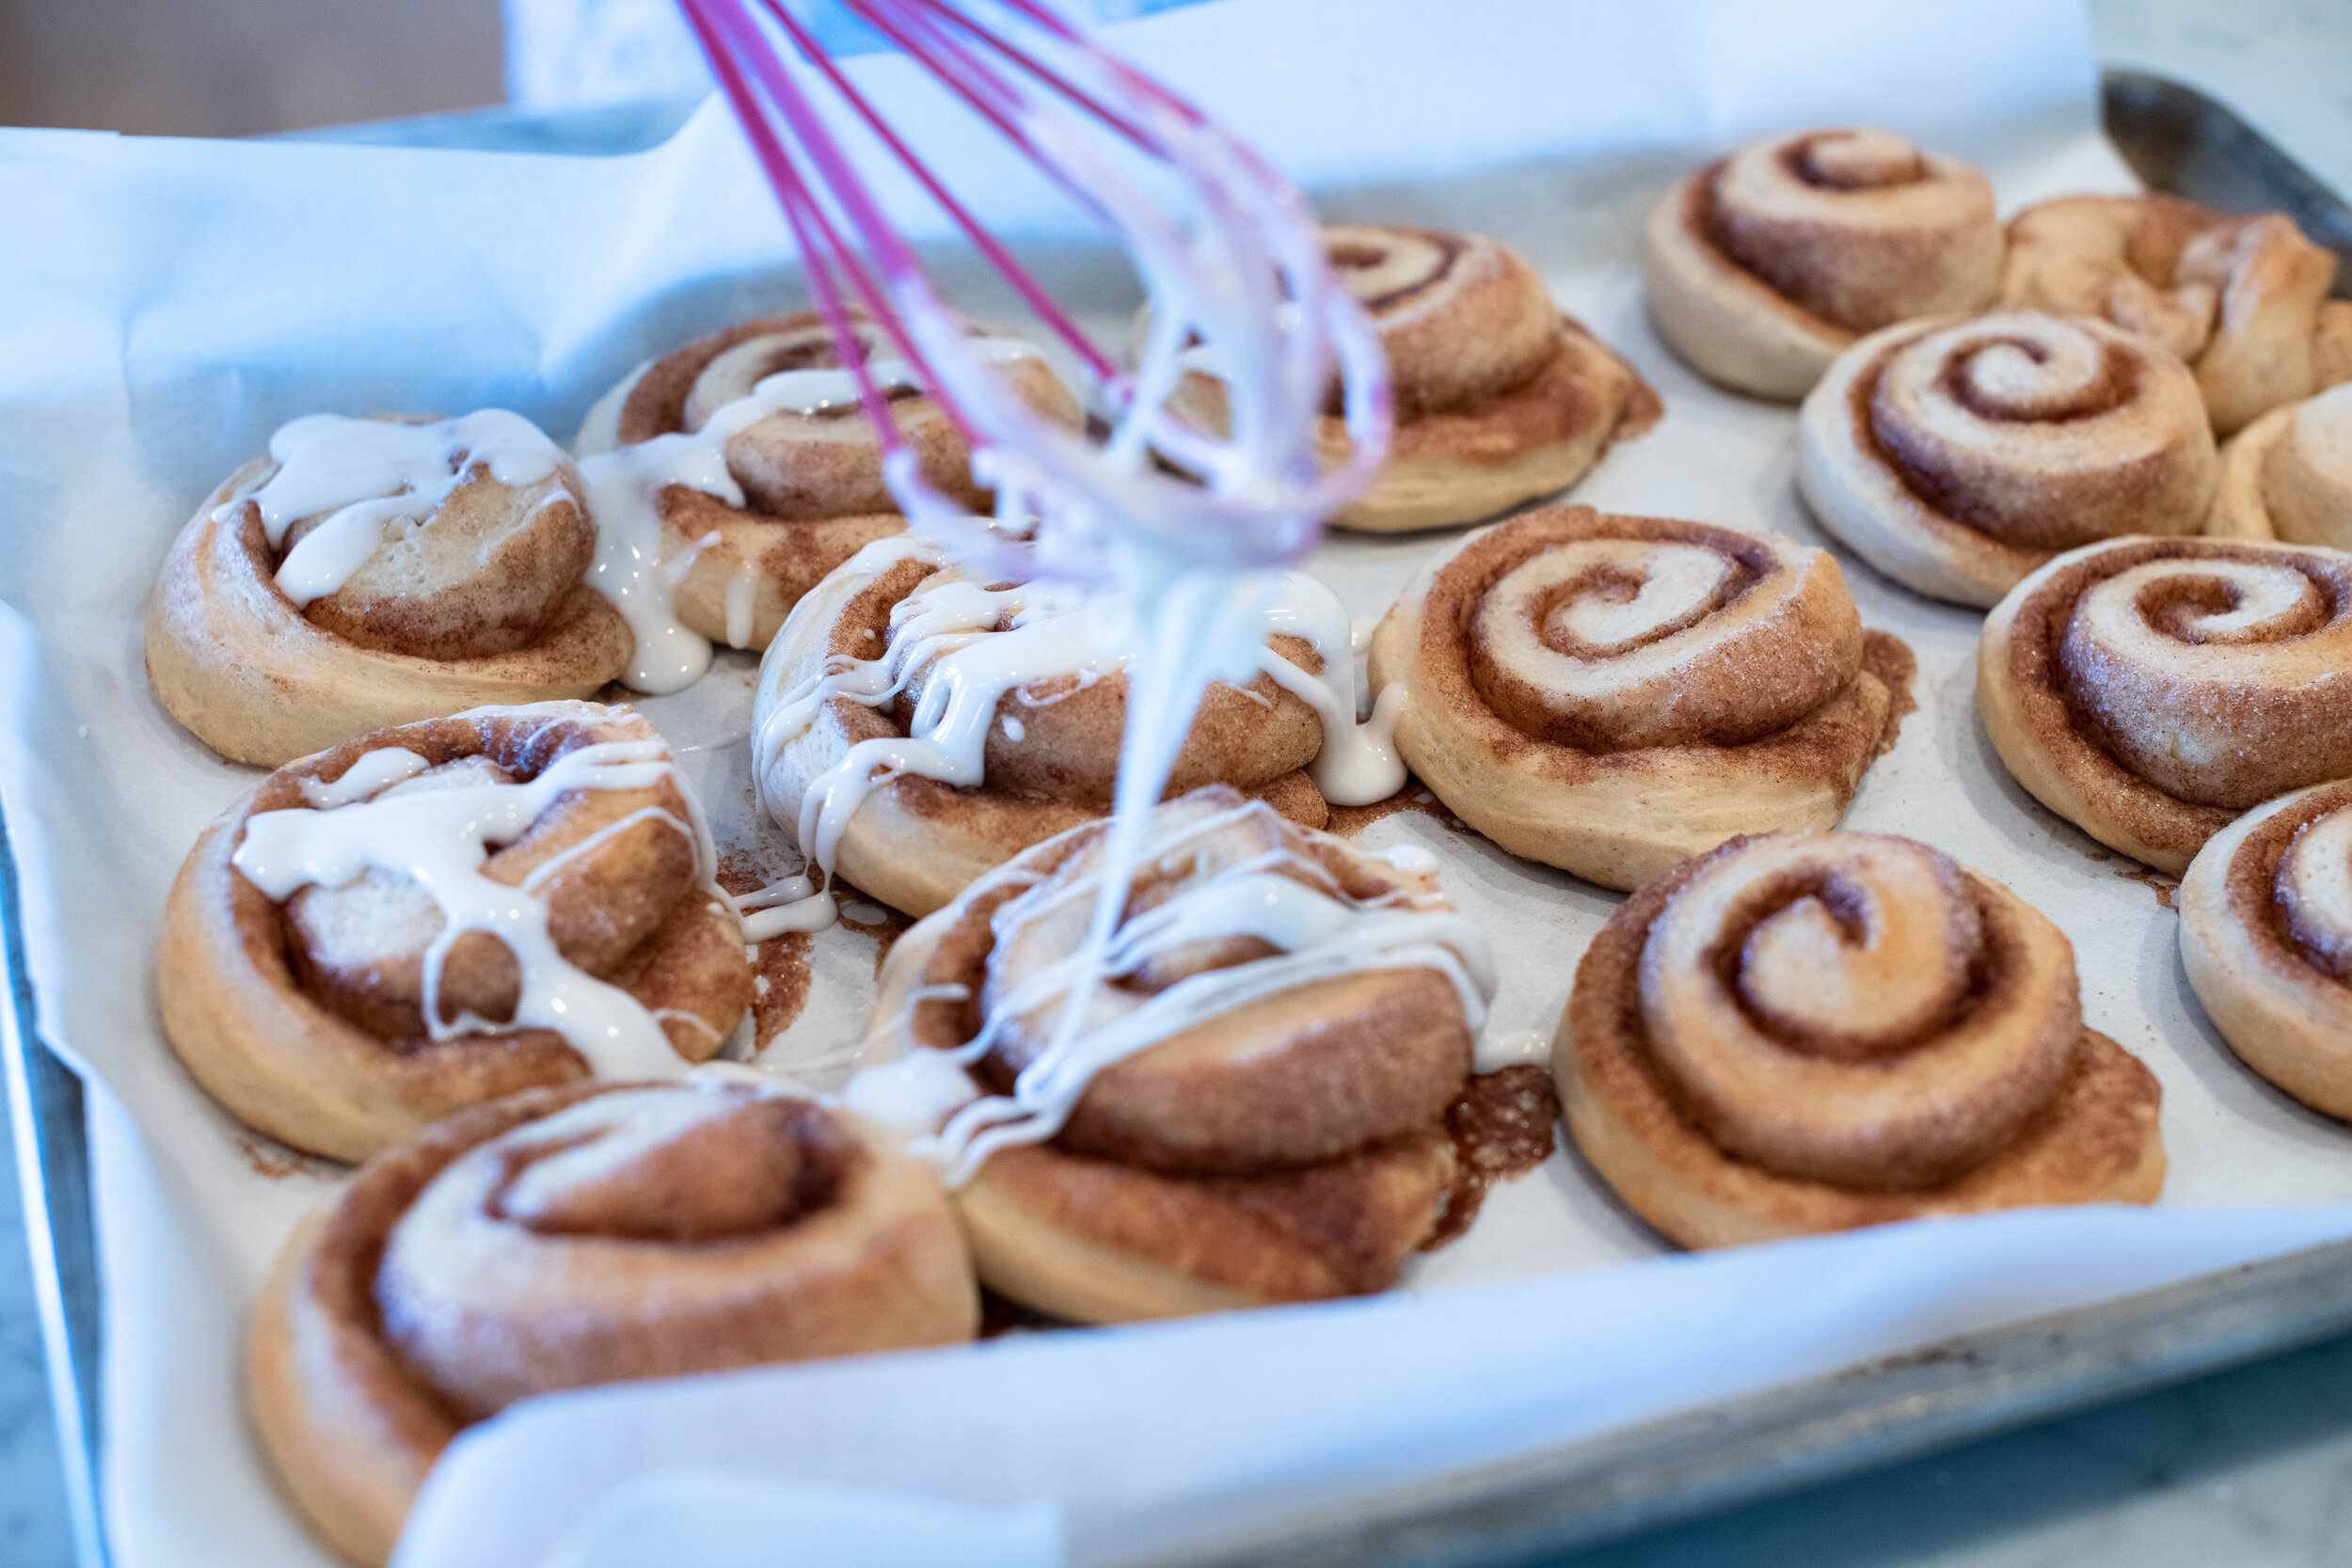
14. Bake at 350 degrees for about 12 to 18 minutes – until they are golden brown. While they are baking, make your frosting (mix sugar, milk or water, and vanilla in a bowl).
15. Let your rolls cool a little and then frost - drizzle it on like a glaze or make your frosting thicker and apply loads - it’s up to you!